Chapter 5 Backup
Back Up from the TeraStation
You can back up TeraStation folders to:
• A different folder on the TeraStation
• Another LinkStation on the network
• Another TeraStation on the network
You can also configure backup jobs from Easy Admin.
Note:
For best results, using LAN port 3 to connect a backup device is recommended.
Preparing a Backup Destination
First, configure a folder as a backup destination.
1
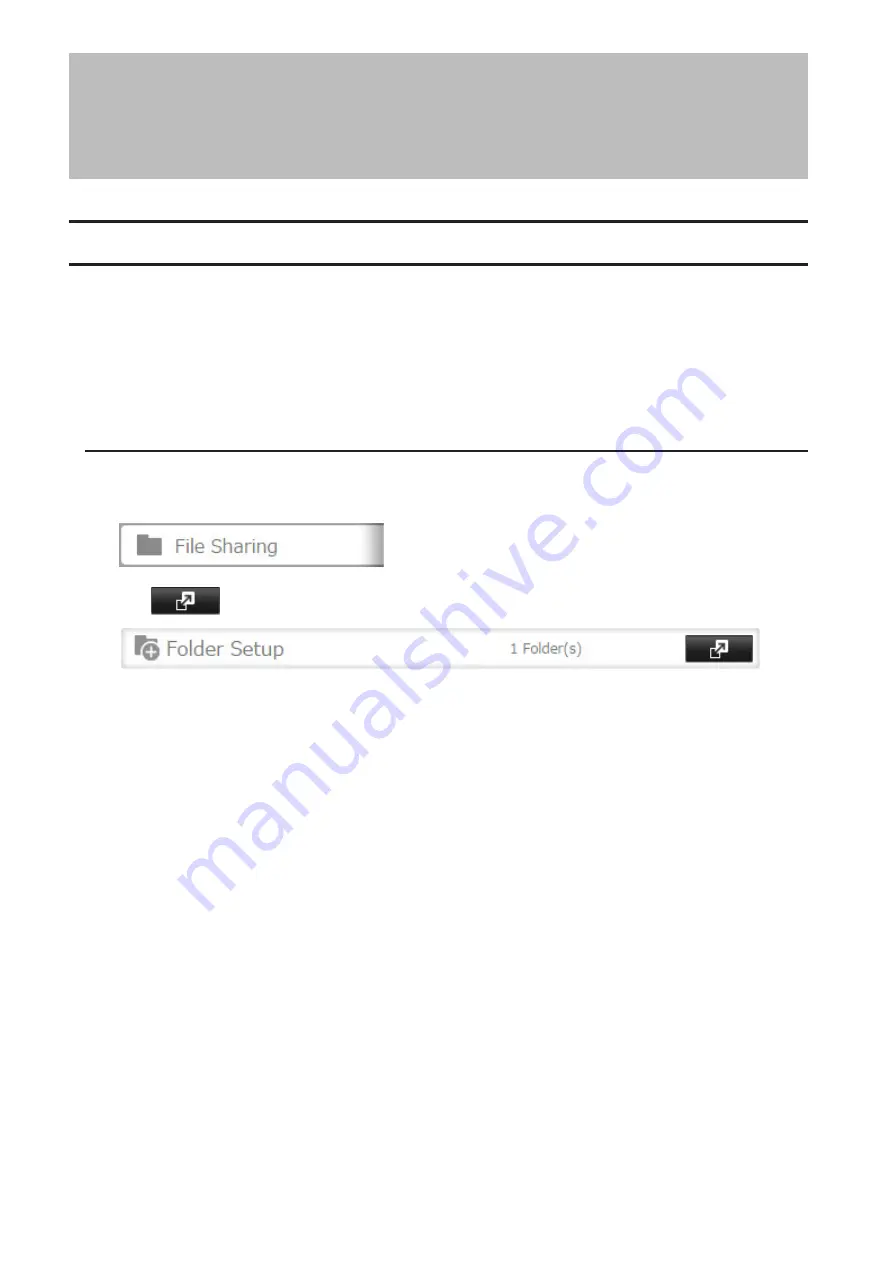
In Settings, click
File Sharing
.
2
Click
to the right of "Folder Setup".
3
Choose the folder to set as a backup destination.
4
Click
Edit
.
5
Under "LAN Protocol Support", select the "Backup" checkbox and click
OK
.
Note:
If a backup access password is configured for the shared folder, that folder will not show up as a target
for the backup source or destination when configuring a backup job on another LinkStation or TeraStation. To
configure a backup access password, enter it into the "Backup Access Password" box. Leave this box blank if you
don't want a backup access password.
Backing Up to a LinkStation or TeraStation on Another Network When Connected
via VPN
You can back up to a LinkStation or TeraStation on another network as long as the two networks are connected by a
VPN. Follow this procedure to enter the IP address or hostname of the destination LinkStation or TeraStation.
If your setup meets the requirements below, you don't have to configure these settings:
• The source and destination TeraStations are on the same network.
• No backup access password is set for the destination TeraStation.
• No TeraStation from outside the subnet or connected by a VPN is used.
65
Содержание TeraStation 5010
Страница 8: ...7 For Customers in Taiwan 175 ...
Страница 67: ...66 1 In Settings click Backup 2 Click to the right of Backup 3 Click List of LinkStations and TeraStations ...
Страница 75: ...74 3 Click Edit 4 Click Add 5 Click Browse under Replication Source ...
Страница 87: ...86 18Click Time Machine ...
Страница 88: ...87 19Click Select Backup Disk 20Select the TeraStation then click Use Disk ...
Страница 97: ...96 3 Click Create New Job 4 Select backup settings such as date and time to run 5 Click Add ...
Страница 103: ...102 4 Click the Options tab 5 Click Edit ...
Страница 114: ...113 7 Move the NFS switch to the position to enable NFS 8 Click to the right of NFS 9 Click the Client Settings tab ...
Страница 128: ...127 Updating Automatically 1 In Settings click Management 2 Click to the right of Update 3 Click Edit ...
Страница 137: ...136 3 Click Edit ...
Страница 138: ...137 4 Select or enter the desired MTU size and click OK ...
Страница 140: ...139 3 Click Edit 4 Clear the DHCP checkbox and enter the desired IP address and its subnet mask ...


