26
Read-Only Shares
By default, new shares are set with read and write access, but you may change the attribute to
Read only
in
Attribute
.
Read-only shares and HFS Plus-formatted USB drives will have "(Read Only)" added to comments in Explorer.
Note:
Configure read-only file attribute in Settings. Configuring them from within Windows is not supported
and may cause unexpected behavior.
Hidden Shares
If hidden shares are enabled, shared SMB folders will not be displayed in Network, and only certain users are allowed
to access them. To hide a shared SMB folder, follow the procedure below.
1
In Settings, navigate to
File Sharing
-
Folder Setup
and choose a shared folder or a USB drive to configure
hidden shares.
2
Select the "Hidden share (SMB only)" checkbox and click
OK
.
Notes:
• If protocols other than "SMB" or "Backup" under "LAN Protocol Support" are enabled, the hidden shares
option will be grayed out and cannot be selected.
• Configure hidden share attribute in Settings. Configuring them from within Windows is not supported and
may cause unexpected behavior.
To access a hidden folder, open File Explorer in your computer and enter "\\TeraStation name\Shared folder name$\"
for the name. For example, if the TeraStation name is "TSXXX001" and the shared folder name is "share", enter "\\
TSXXX001\share$\" to open it.
Configuring Users
Adding a User
Note:
The TeraStation can register a maximum 300 of users, which includes the default users "admin" and
"guest".
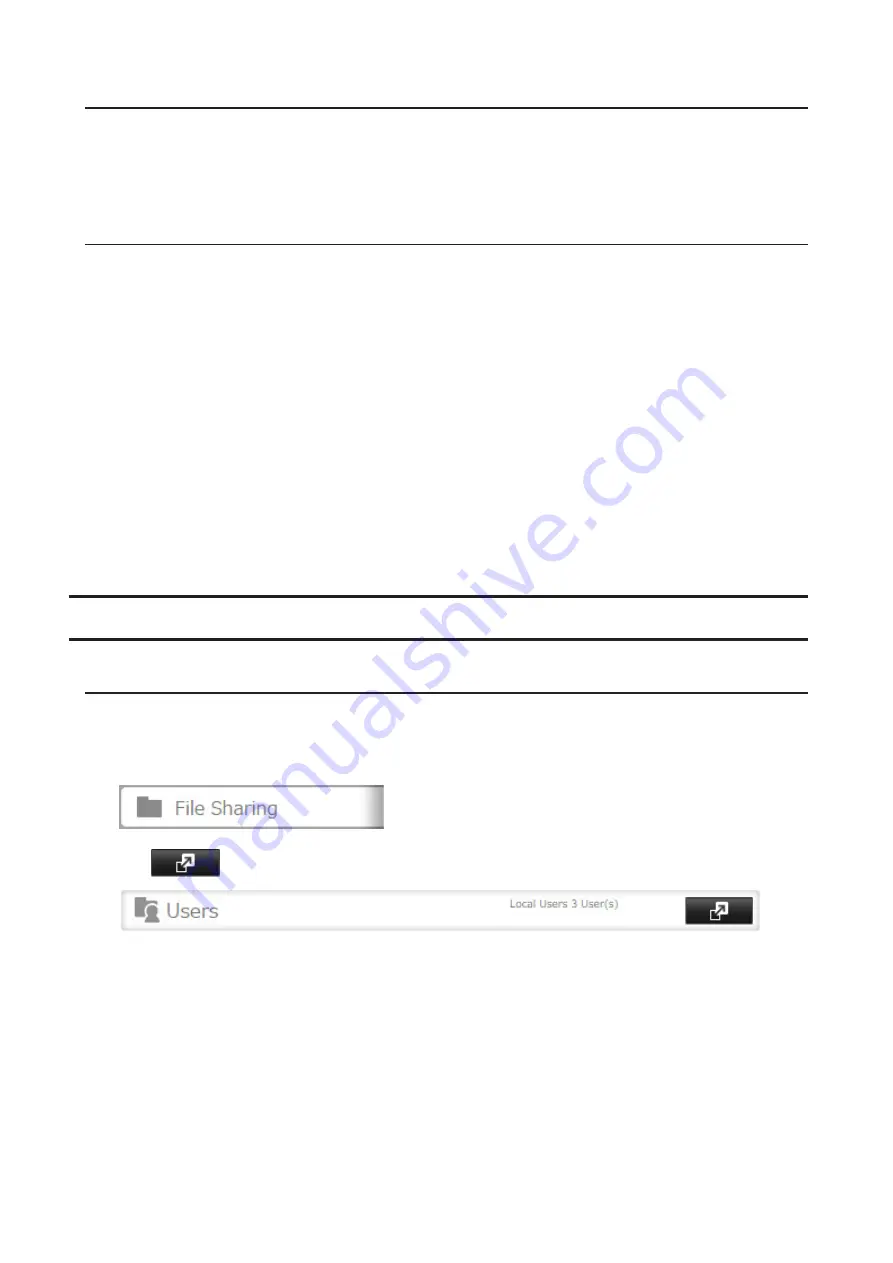
1
In Settings, click
File Sharing
.
2
Click
to the right of "Users".
3
Click
Create User
.
Содержание TeraStation 5010
Страница 8: ...7 For Customers in Taiwan 175 ...
Страница 67: ...66 1 In Settings click Backup 2 Click to the right of Backup 3 Click List of LinkStations and TeraStations ...
Страница 75: ...74 3 Click Edit 4 Click Add 5 Click Browse under Replication Source ...
Страница 87: ...86 18Click Time Machine ...
Страница 88: ...87 19Click Select Backup Disk 20Select the TeraStation then click Use Disk ...
Страница 97: ...96 3 Click Create New Job 4 Select backup settings such as date and time to run 5 Click Add ...
Страница 103: ...102 4 Click the Options tab 5 Click Edit ...
Страница 114: ...113 7 Move the NFS switch to the position to enable NFS 8 Click to the right of NFS 9 Click the Client Settings tab ...
Страница 128: ...127 Updating Automatically 1 In Settings click Management 2 Click to the right of Update 3 Click Edit ...
Страница 137: ...136 3 Click Edit ...
Страница 138: ...137 4 Select or enter the desired MTU size and click OK ...
Страница 140: ...139 3 Click Edit 4 Clear the DHCP checkbox and enter the desired IP address and its subnet mask ...


