70
9
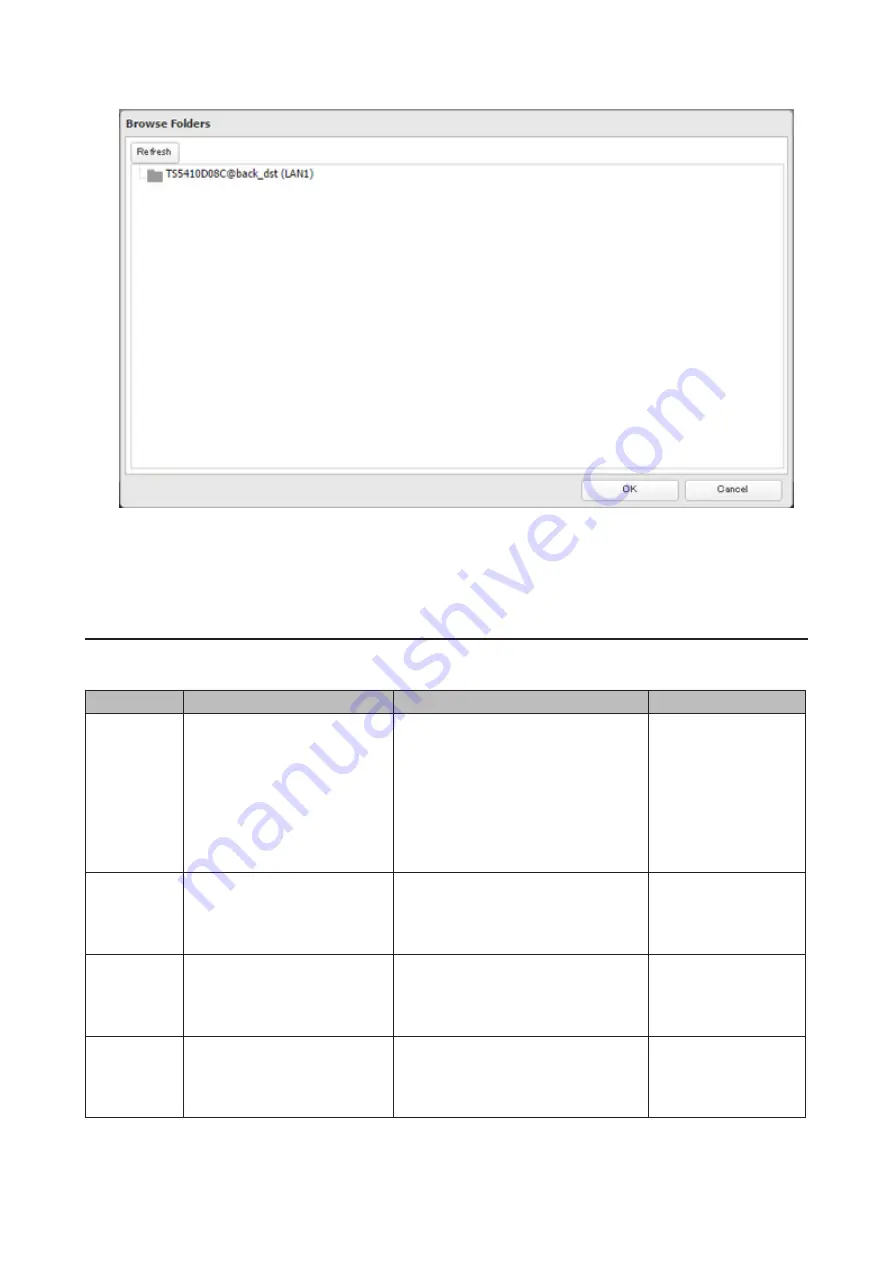
Select the backup destination and click
OK
.
10
Click
OK
. Jobs added to "Backup List" are displayed.
11
Click
Close
.
Backup Logs
The following backup error codes may be recorded in the backup log. Read the description and try the respective
corrective actions for the error.
Code
Description
Corrective Action
Log Example
Code 3
The backup destination USB
drive could not be found.
Verify that the backup destination
USB drive is connected to the
TeraStation properly.
rsync error: errors
selecting input/
output files, dirs (code
3) at main.c(634)
[Receiver=3.1.0]
Can't write to backup
destination(target
disk is broken?).
Code 5
The backup destination shared
folder could not be found.
Verify that the Ethernet cable is surely
connected and that the hub or other
devices on the network are turned on.
rsync error: error
starting client-server
protocol (code 5) at
main.c(1504)
Code 10
The Ethernet cable was
disconnected from the backup
source TeraStation when the
backup job started.
Reconnect the Ethernet cable.
rsync error: error in
socket IO (code 10)
at clientserver.c(128)
[sender=3.1.0pre1]
Code 11
The drive capacity of the
backup destination TeraStation
became full.
Delete unnecessary files and folders.
rsync error: error
in file IO (code 11)
at receiver.c(389)
[receiver=3.1.0]
Содержание TeraStation 5010
Страница 8: ...7 For Customers in Taiwan 175 ...
Страница 67: ...66 1 In Settings click Backup 2 Click to the right of Backup 3 Click List of LinkStations and TeraStations ...
Страница 75: ...74 3 Click Edit 4 Click Add 5 Click Browse under Replication Source ...
Страница 87: ...86 18Click Time Machine ...
Страница 88: ...87 19Click Select Backup Disk 20Select the TeraStation then click Use Disk ...
Страница 97: ...96 3 Click Create New Job 4 Select backup settings such as date and time to run 5 Click Add ...
Страница 103: ...102 4 Click the Options tab 5 Click Edit ...
Страница 114: ...113 7 Move the NFS switch to the position to enable NFS 8 Click to the right of NFS 9 Click the Client Settings tab ...
Страница 128: ...127 Updating Automatically 1 In Settings click Management 2 Click to the right of Update 3 Click Edit ...
Страница 137: ...136 3 Click Edit ...
Страница 138: ...137 4 Select or enter the desired MTU size and click OK ...
Страница 140: ...139 3 Click Edit 4 Clear the DHCP checkbox and enter the desired IP address and its subnet mask ...


