


62
8
In the "Targets" tab, select the volume from "Discovered targets" and click
Connect
.
9
Click
Advanced
.
10
Select the "Enable CHAP log on" checkbox and enter the target CHAP name into the "Name" box and the
target CHAP secret into the "Target secret" box.
If mutual authentication is enabled, select the "Perform mutual authentication" checkbox.
11
Click
OK
twice.
12
If the status of the selected volume is displayed as "Connected" under "Discovered targets", the connection is
established properly.
Accessing the access-restricted volume is finished.
Expanding Volume Sizes
The volume size of the existing volumes can be expanded after they are created.
Notes:
• Expanding the volume size may erase all data in the volume depending on the formatting type. Back up the
data before expanding the volume size is recommended.
• To expand the volume size, the volume should be have "File I/O" selected for the "Backstore" option, or was
created in a drive or array with LVM enabled.
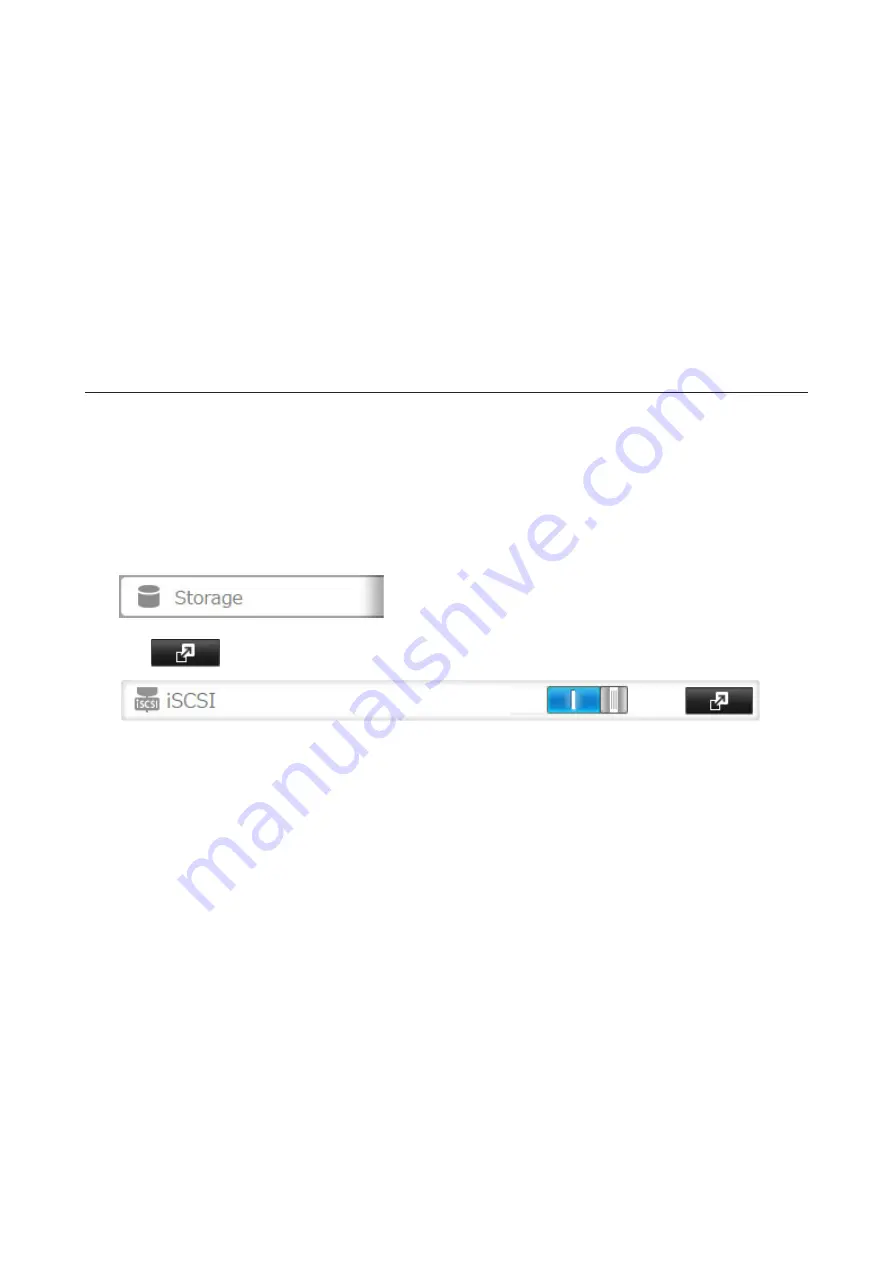
1
In Settings, click
Storage
.
2
Click
to the right of "iSCSI".
3
Select the volume to expand.
Содержание TeraStation 5010
Страница 8: ...7 For Customers in Taiwan 175 ...
Страница 67: ...66 1 In Settings click Backup 2 Click to the right of Backup 3 Click List of LinkStations and TeraStations ...
Страница 75: ...74 3 Click Edit 4 Click Add 5 Click Browse under Replication Source ...
Страница 87: ...86 18Click Time Machine ...
Страница 88: ...87 19Click Select Backup Disk 20Select the TeraStation then click Use Disk ...
Страница 97: ...96 3 Click Create New Job 4 Select backup settings such as date and time to run 5 Click Add ...
Страница 103: ...102 4 Click the Options tab 5 Click Edit ...
Страница 114: ...113 7 Move the NFS switch to the position to enable NFS 8 Click to the right of NFS 9 Click the Client Settings tab ...
Страница 128: ...127 Updating Automatically 1 In Settings click Management 2 Click to the right of Update 3 Click Edit ...
Страница 137: ...136 3 Click Edit ...
Страница 138: ...137 4 Select or enter the desired MTU size and click OK ...
Страница 140: ...139 3 Click Edit 4 Clear the DHCP checkbox and enter the desired IP address and its subnet mask ...