111
5
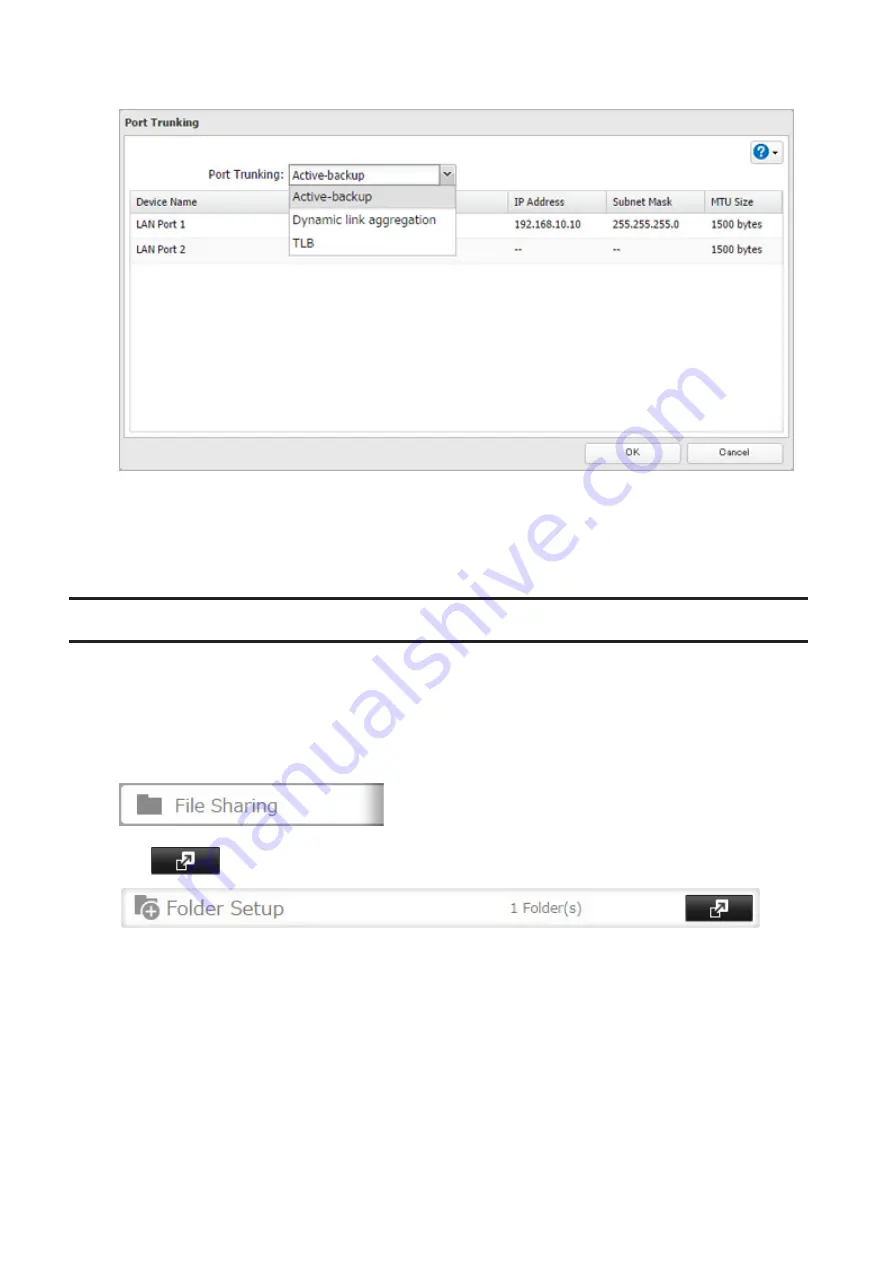
Select the port trunking mode and click
OK
.
6
Connect the hub's LAN port and TeraStation's LAN port using the second LAN cable. If you are using an
intelligent switch, connect to the LAN port that was previously configured for port trunking.
7
Restart the TeraStation before use.
Offline Files
The "offline files" feature that is included with many versions of Windows can be used with files on the TeraStation.
You will be able to work on files stored on the TeraStation even when your PC is disconnected from the network.
When you next connect to the network, the updated files are written and synchronized. Follow the procedure below
to configure offline files.
1
In Settings, click
File Sharing
.
2
Click
to the right of "Folder Setup".
3
Click the shared folder for offline files.
4
Click
Edit
.
5
Choose "Manual caching of documents", "Automatic caching of documents", or "Automatic caching of
programs and documents", then click
OK
.
• "Manual caching of documents" - User selects files that are cached.
• "Automatic caching of documents" - Opened files can be cached locally for offline use. Previous versions of
files that are not synchronized are automatically replaced by the latest versions.
Содержание TeraStation 5010
Страница 8: ...7 For Customers in Taiwan 175 ...
Страница 67: ...66 1 In Settings click Backup 2 Click to the right of Backup 3 Click List of LinkStations and TeraStations ...
Страница 75: ...74 3 Click Edit 4 Click Add 5 Click Browse under Replication Source ...
Страница 87: ...86 18Click Time Machine ...
Страница 88: ...87 19Click Select Backup Disk 20Select the TeraStation then click Use Disk ...
Страница 97: ...96 3 Click Create New Job 4 Select backup settings such as date and time to run 5 Click Add ...
Страница 103: ...102 4 Click the Options tab 5 Click Edit ...
Страница 114: ...113 7 Move the NFS switch to the position to enable NFS 8 Click to the right of NFS 9 Click the Client Settings tab ...
Страница 128: ...127 Updating Automatically 1 In Settings click Management 2 Click to the right of Update 3 Click Edit ...
Страница 137: ...136 3 Click Edit ...
Страница 138: ...137 4 Select or enter the desired MTU size and click OK ...
Страница 140: ...139 3 Click Edit 4 Clear the DHCP checkbox and enter the desired IP address and its subnet mask ...


