49
Encrypting Drives
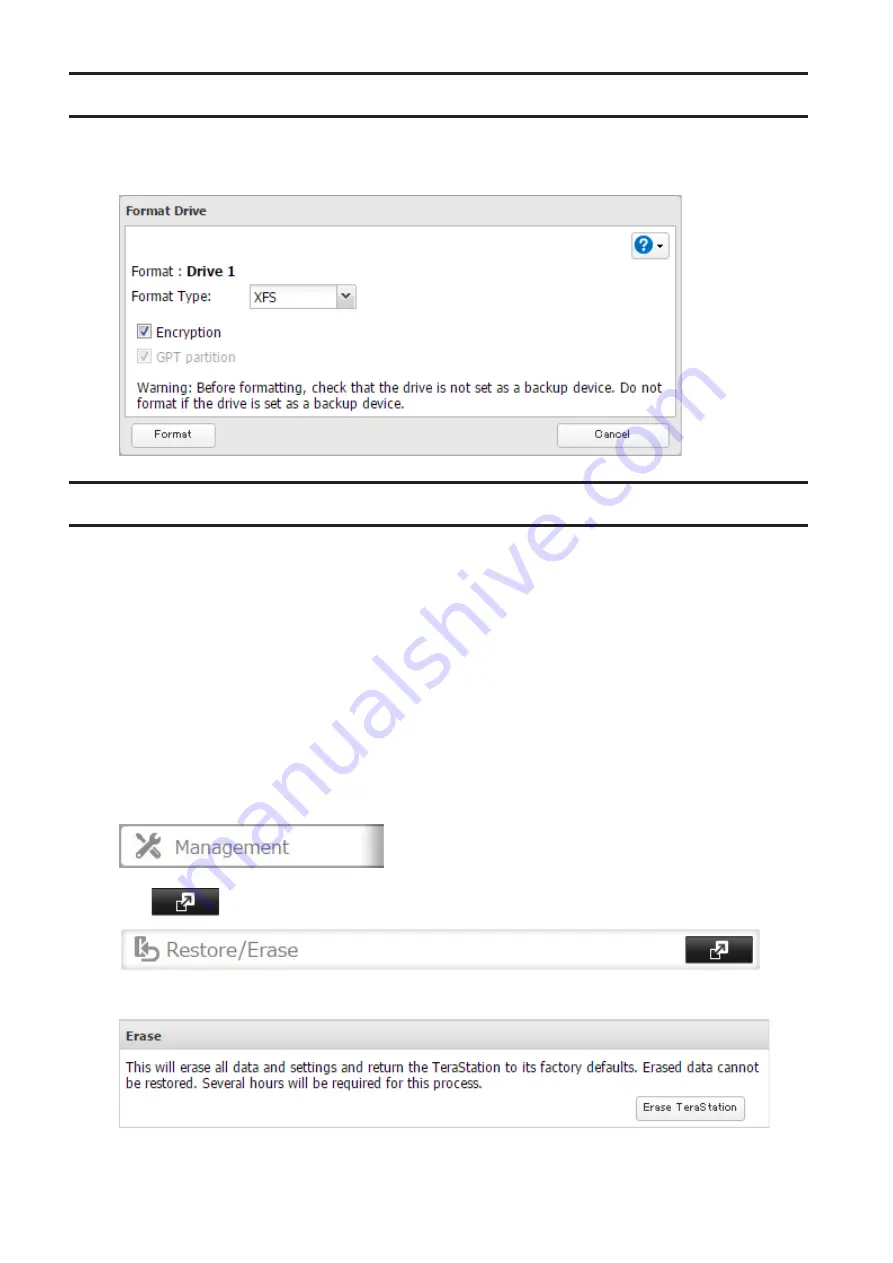
Internal drives (and arrays) can be encrypted with 128-bit AES during formatting. Encrypted drives and arrays are
then readable only from that specific TeraStation. To decrypt a drive or array, clear the "Encryption" checkbox and
format it again.
Erasing Data on the TeraStation Completely
Under some circumstances, data from formatted drives can be recovered. The drive erasure process in this section
does a much more thorough job of erasing data. This procedure is recommended for removing all data from a drive
in a way that makes it nearly impossible to recover with current tools. The TeraStation will then be in the following
state:
• All drives in JBOD
• An empty shared folder on each drive
• All settings returned to their default values
• All logs deleted
If you remove a drive and then erase all data on the TeraStation, the LCD panel will show the E22 error message and
the number of the removed drive. You can still use the TeraStation.
Follow the procedure below to completely and permanently erase all data from your TeraStation.
1
In Settings, click
Management
.
2
Click
to the right of "Restore/Erase".
3
Click
Erase TeraStation
.
4
The "Confirm Operation" screen will open. Enter the confirmation number, then click
OK
.
Содержание TeraStation 5010
Страница 8: ...7 For Customers in Taiwan 175 ...
Страница 67: ...66 1 In Settings click Backup 2 Click to the right of Backup 3 Click List of LinkStations and TeraStations ...
Страница 75: ...74 3 Click Edit 4 Click Add 5 Click Browse under Replication Source ...
Страница 87: ...86 18Click Time Machine ...
Страница 88: ...87 19Click Select Backup Disk 20Select the TeraStation then click Use Disk ...
Страница 97: ...96 3 Click Create New Job 4 Select backup settings such as date and time to run 5 Click Add ...
Страница 103: ...102 4 Click the Options tab 5 Click Edit ...
Страница 114: ...113 7 Move the NFS switch to the position to enable NFS 8 Click to the right of NFS 9 Click the Client Settings tab ...
Страница 128: ...127 Updating Automatically 1 In Settings click Management 2 Click to the right of Update 3 Click Edit ...
Страница 137: ...136 3 Click Edit ...
Страница 138: ...137 4 Select or enter the desired MTU size and click OK ...
Страница 140: ...139 3 Click Edit 4 Clear the DHCP checkbox and enter the desired IP address and its subnet mask ...


