44
• FAT32
• EXT3
• XFS
• NTFS
• HFS Plus (read-only)
• exFAT
Connect only one device to each USB port of the TeraStation. Note that only the first partition of a connected USB
drive is mounted. Additional partitions are not recognized.
Notes:
• Backup data from macOS may include characters that cannot be written to FAT16 or FAT32 drives such as
".DS_Store". For best results, reformat the drive before using it as a backup target.
• If your USB 3.0 drive is not reconfigured after rebooting the TeraStation, unplug and reconnect it.
• When copying a file that is over 100 MB to a FAT32-formatted USB drive using File Explorer, an error message
may be displayed. In such a case, use an FTP or SFTP connection to copy the file.
Dismounting Drives
If the TeraStation is powered on, dismount drives (internal and external) before unplugging them. You may
dismount external drives with the function button, or any drive from Settings. If the TeraStation is off, then all drives
are already dismounted and may be unplugged safely.
Note:
Do not dismount internal drives while a RAID array is rebuilding or RMM is being configured. If you do,
data on the drives may be lost.
Dismounting with the Function Button
When you press the function button, the TeraStation will beep once. Press and hold the button until the TeraStation
beeps again and the button starts blinking blue. It will take about 6 seconds. When the dismount is finished, the
function button will stop blinking and return to glowing. You may now unplug any USB drives safely.
After 60 seconds, the function button will go out and any drives that have not yet been unplugged will be
remounted.
Dismounting from Settings
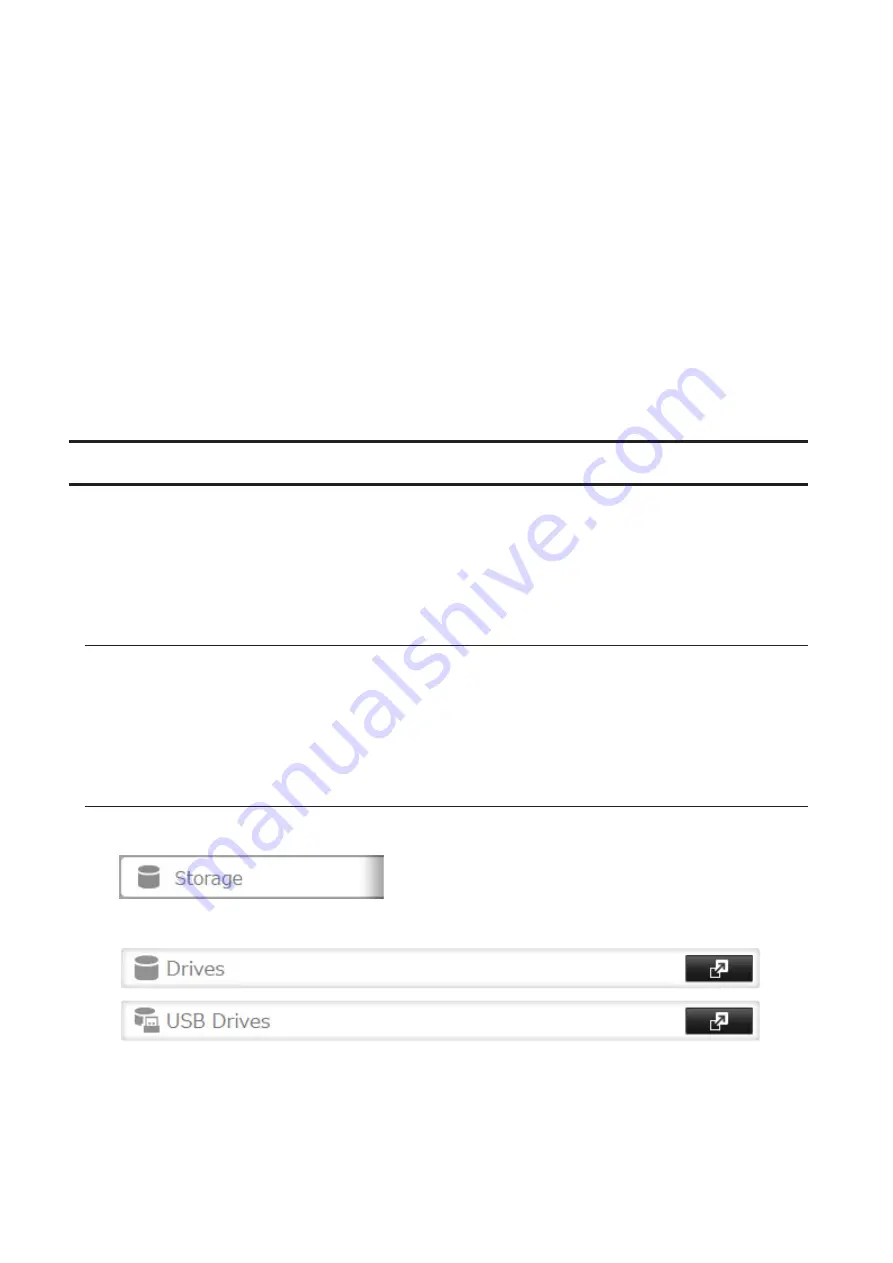
1
In Settings, click
Storage
.
2
Click
Drives
to dismount an internal drive or
USB Drives
to dismount an external drive.
Содержание TeraStation 5010
Страница 8: ...7 For Customers in Taiwan 175 ...
Страница 67: ...66 1 In Settings click Backup 2 Click to the right of Backup 3 Click List of LinkStations and TeraStations ...
Страница 75: ...74 3 Click Edit 4 Click Add 5 Click Browse under Replication Source ...
Страница 87: ...86 18Click Time Machine ...
Страница 88: ...87 19Click Select Backup Disk 20Select the TeraStation then click Use Disk ...
Страница 97: ...96 3 Click Create New Job 4 Select backup settings such as date and time to run 5 Click Add ...
Страница 103: ...102 4 Click the Options tab 5 Click Edit ...
Страница 114: ...113 7 Move the NFS switch to the position to enable NFS 8 Click to the right of NFS 9 Click the Client Settings tab ...
Страница 128: ...127 Updating Automatically 1 In Settings click Management 2 Click to the right of Update 3 Click Edit ...
Страница 137: ...136 3 Click Edit ...
Страница 138: ...137 4 Select or enter the desired MTU size and click OK ...
Страница 140: ...139 3 Click Edit 4 Clear the DHCP checkbox and enter the desired IP address and its subnet mask ...


