207
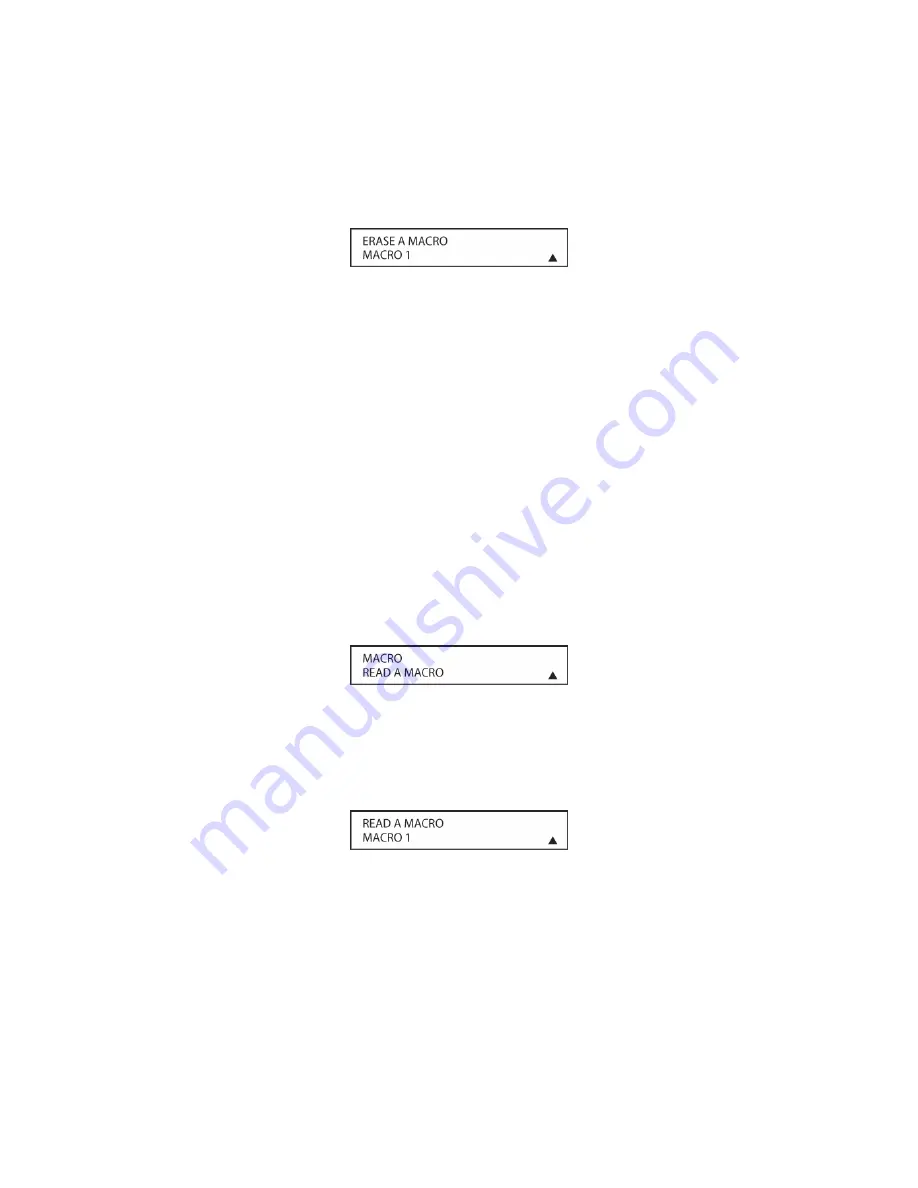
4. The next display screen (
Figure 149
) is where you select which macro will be erased. Press
the
▼
/
▲
Navigation Button [triangle 13]
until the number of the macro you wish to erase
appears. For this example we will erase Macro 1 created in the previous section. When the
name of the macro to be erased appears, press the
Set Button [triangle 15]
.
Figure 149
5. The word
ERASED
will flash four times in the bottom line of the remote’s LCD display, and
then the display will return to its normal condition. When that happens, the macro is erased
and the remote is returned to normal operation.
Read a Macro
To check the commands stored in the remote’s memory for one of the buttons, follow these steps:
1. Press and hold the
REM MENU Button [triangle 33]
for about three seconds while the
message: HOLD BUTTON FOR 3 SECONDS
appears in the remote’s LCD
Information
Display [triangle 3]
. Release the button when the red light under the
Set Button [triangle
15]
appears.
2. The remote’s
MAIN MENU
message will appear in the LCD display and the
Set Button
[triangle 15]
will remain illuminated in red. Press the
▲
Navigation Button [triangle 13]
two
times so that
MACRO
appears on the bottom line of the LCD screen. Press the
Set Button
[triangle 15]
to enter the main macro menu branch.
3. At the next menu screen (
Figure 150
), press the
▼
/
▲
Navigation Button [triangle 13]
until
the bottom line in the remote’s LCD display shows
READ A MACRO
.
Press the
Set Button
[triangle 15]
to begin the process of reading a macro.
Figure 150
4. The next display screen (
Figure 151
) is where you select the macro to be read. Press the
▼
/
▲
Navigation Button [triangle 13]
until the name of the macro you wish to read appears.
For this example, we will read back Macro 1, created in a previous section. When the name
of the macro to be read appears, press the
Set Button [triangle 15]
.
Figure 151
5. As soon as the
Set Button [triangle 15]
is pressed, the first two steps in the macro will be
appear in the remote’s LCD screen. You may then use the
▼
/
▲
Navigation Button [triangle
13]
to step up or down through the list of commands stored as the macro. As you read the
display, you will see
Input Selector Buttons [triangle 4]
appear in brackets, (e.g.,
[
DISC 1
]
).
When the step in the macro is a function, navigation or any other button, it will appear next to
the bracketed read-out of the underlying device (e.g.,
[
DISC 1
]
POWER ON).
Содержание AVR21EN
Страница 1: ...1 INSTALLATION INSTRUCTIONS...
Страница 41: ...41 AVR21ENR1 FUNCTION LIST Figure 8 AVR21ENR1 Button Locations...
Страница 156: ...156 KP21R ZONE REMOTE FUNCTION LIST Figure 84 KP21R Button Locations...
Страница 159: ...159 Figure 86 Typical Three Zone System...
Страница 161: ...161 Figure 87 Typical Hub System...
Страница 164: ...164 Figure 90 Multiple Hub Power Connections...


