176
6. To exit setup and return to system mode, press the
Exit Button [oval 17]
.
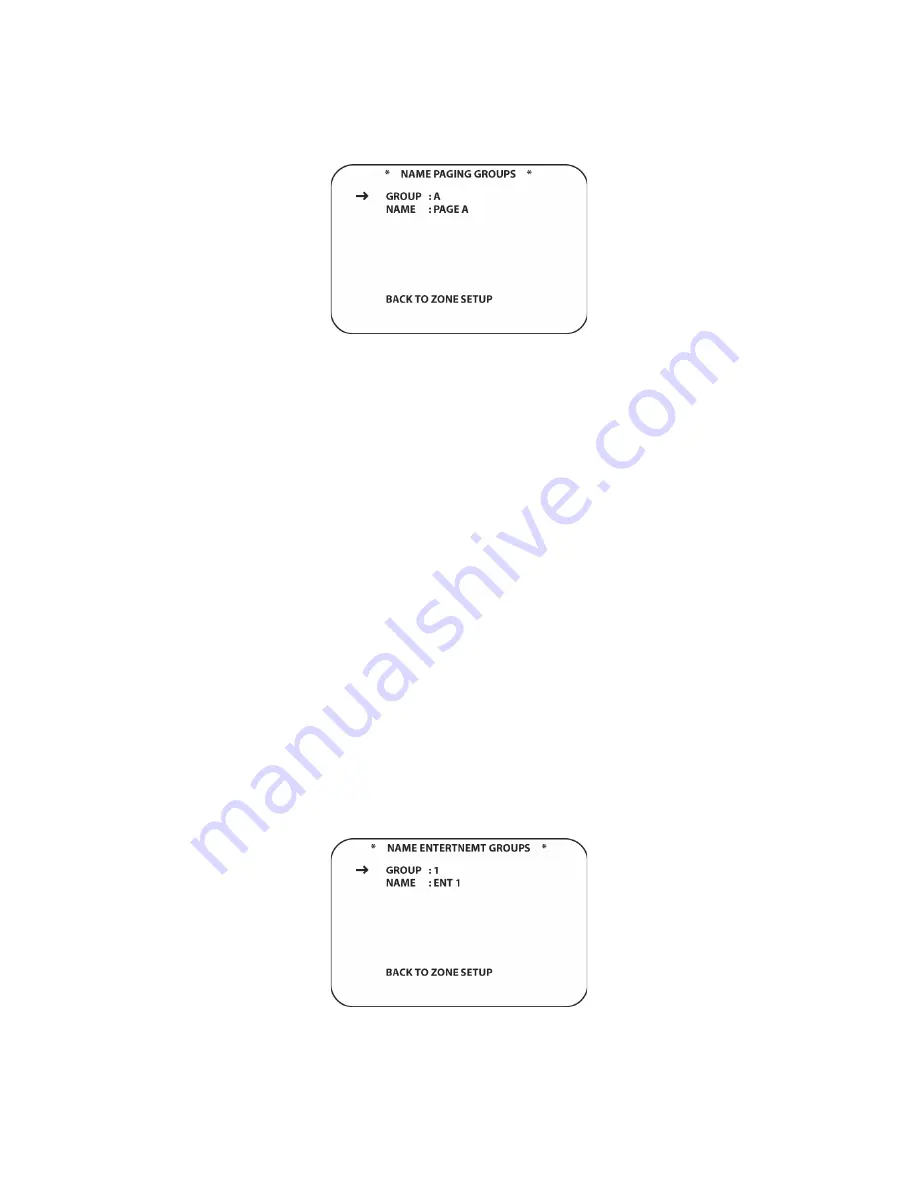
Figure 103 Name Paging Groups Screen
Name Paging Groups
Paging Groups are combinations of different zones that can be selected at different times for
Paging. Some typical examples would be paging groups consisting of all bedrooms, just the
children’s bedrooms or a group including the living room, family room and dining room. As part of
the system default, there is an ALL Group to page all zones and each keypad can be selected
individually to page a particular zone. This leaves only the special groupings required by the
homeowner to be setup. It is recommended that you discuss this option with the homeowner to
determine how best to configure this feature.
This section names the paging groups. Building the groups will be done in a later section. To
name Paging Groups:
1. From
ZONE SETUP PAGE 1
, with the cursor next to
NAME PAGING GROUPS
, press the
Set
Button [oval 18]
. The
NAME PAGING GROUPS
screen will appear. (
Figure 103
)
2. Press
the
▼
/
▲
Navigation Button [oval 16]
to position the cursor next to
NAME
. Press the
Set Button [oval 18]
. A white rectangle will flash to the right of
NAME:
indicating that the
remote can be used to enter the letters for the group name.
3. Using either the
▼
/
▲
Navigation Button [oval 16]
or the
Alphanumeric Buttons [oval 46]
,
enter the first letter for the group name. (i.e. Bedrooms). When the first letter appears on
screen, press the
►
Navigation Button [oval 16]
to move the cursor to the next letter
position.
4. Repeat steps 2-3 above until the Paging Group Name has been spelled out. Press the
Set
Button [oval 18]
. This will store the name and the cursor will appear next to
NAME
.
5. To name additional groups, press the
▼
/
▲
Navigation Button [oval 16]
to position the
cursor next to
GROUP
. Press the
◄
/
►
Navigation Button [oval 16]
to select another group.
6. Repeat steps 2-4 until all desired Paging Groups have been named.
7. To exit setup, press the
Exit Button [oval 17]
. To continue Zone Setup, position the cursor
next to
BACK TO ZONE SETUP
and press the
Set Button [oval 18]
.
ZONE SETUP PAGE 1
will appear.
Содержание AVR21EN
Страница 1: ...1 INSTALLATION INSTRUCTIONS...
Страница 41: ...41 AVR21ENR1 FUNCTION LIST Figure 8 AVR21ENR1 Button Locations...
Страница 156: ...156 KP21R ZONE REMOTE FUNCTION LIST Figure 84 KP21R Button Locations...
Страница 159: ...159 Figure 86 Typical Three Zone System...
Страница 161: ...161 Figure 87 Typical Hub System...
Страница 164: ...164 Figure 90 Multiple Hub Power Connections...


