


AEQ
XPEAK
IP Intercom System
58
Once the name has been modified, it's validated by pressing the "OK" button or by pressing
"Enter" on the keyboard. To discard the changes made, press the "Cancel" button.
Once the name has been modified, it will appear on the bottom line of the application, as well as
on the "Xpeak" application and on the buttons of other devices where communication
commands with the "Xpeak Virtual" application are configured.
It's also possible to change the name from the "Xpeak" application (see section 5.2.4.6 of this
manual).
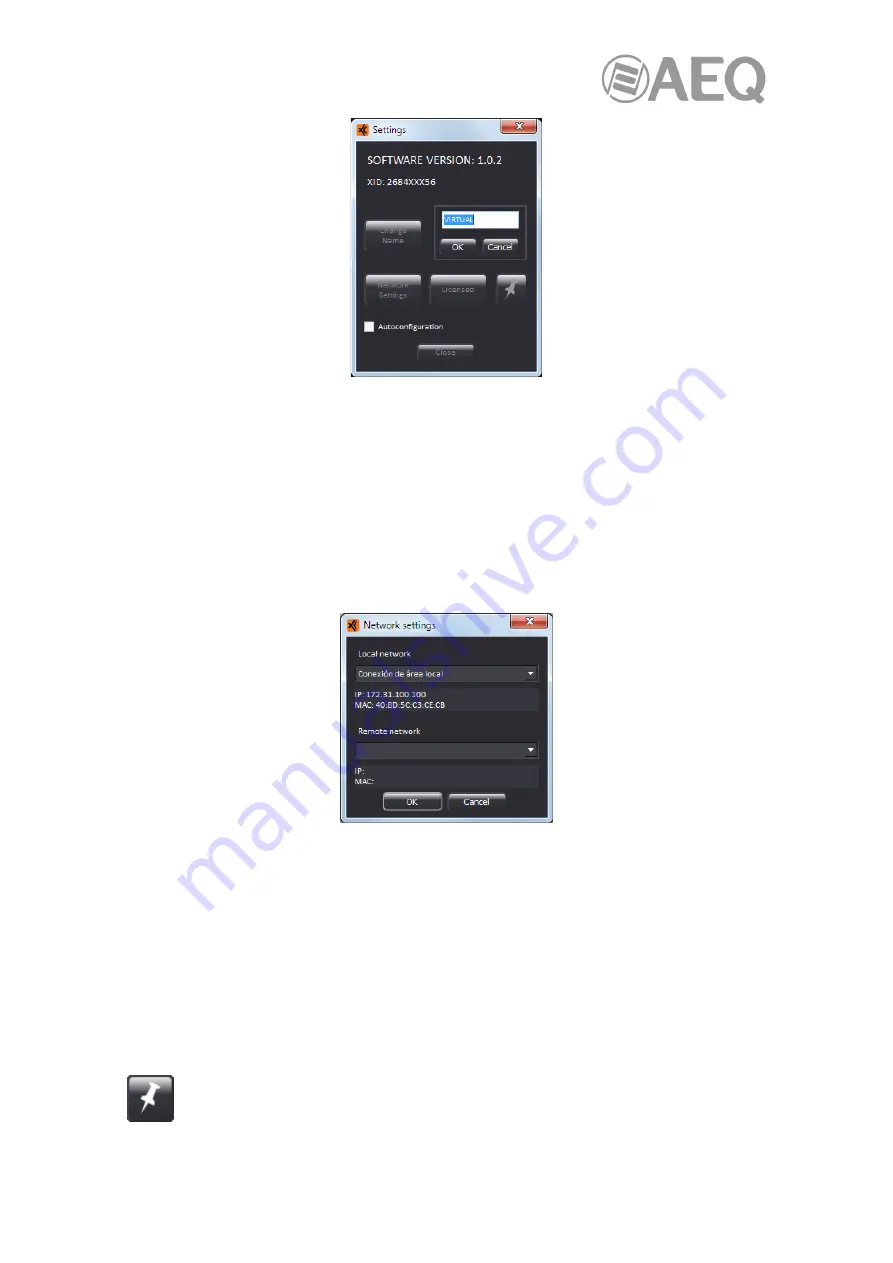
The "
Network Settings
" button opens the window that allows you to configure the network
parameters of the application.
There are two sections in that window:
•
"
Local network
"
:
Allows us to select the local network (LAN) interface that the
application will use.
•
"
Remote network
"
:
Allows us to select the remote network (VPN) interface that the
application will use.
When selecting any of them, the IP and MAC addresses corresponding to that interface will
appear in the lower box.
As explained in section 4.1, the "
Licensed
" button indicates that the application has the
license
it needs to work activated. That license activation process is detailed in the same section.
This button allows you to bring the application to the foreground, so that it is not hidden
when the mouse is clicked anywhere else on the monitor. When activated, the button
changes its appearance: