


AEQ
XPEAK
IP Intercom System
25
3.1.1.3.
"
Key Auto
"
option.
Allows us to enable the auto-discovery mode. When a Xpeak device
"discovers" another device on the network and has no keys programmed
to communicate with it, a key is automatically programmed to establish
that communication if this mode is enabled.
For this purpose, the first not used key is programmed (if all they are
configured, that automatic programming is not carried out).
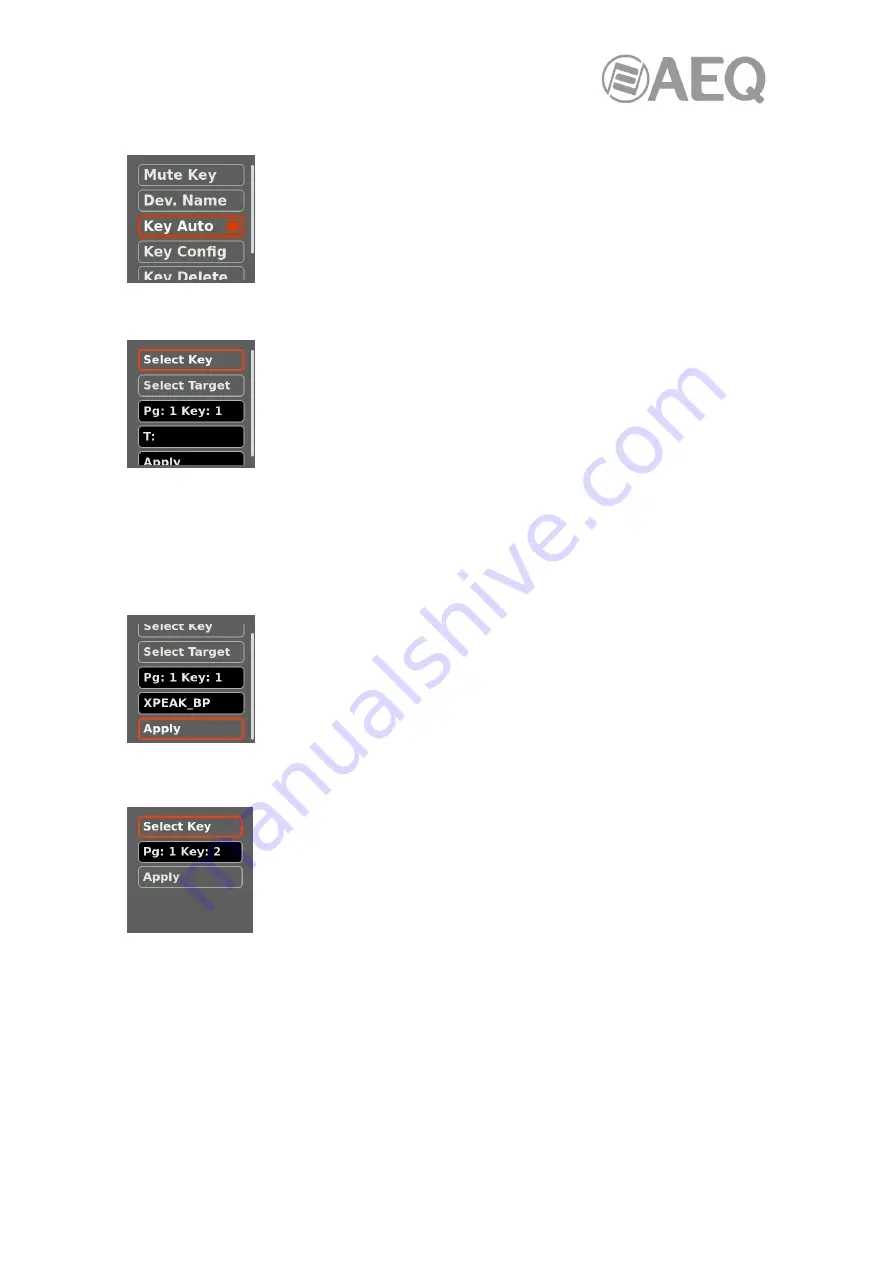
3.1.1.4.
"
Key Config
"
option.
Allows us to change the configuration of each cross-point key. It's possible
to configure any of the 8 available keys of any of the 2 available pages.
When entering this option, the first step is to select the key that you want
to configure by means of the "Select Key" option: by pressing the encoder,
the operation screen appears and you can select the key to be configured
by pressing downwards the associated lever (you can select a key of page
1 or press "
PAGE
(MENU) and select one of page 2). Once the key is
selected, it automatically returns to the previous screen, where the key appears reflected in the
third field, which is merely informative (in the example, key 1 of the first page has been
selected: "
Pg: 1 Key: 1
").
Next step is to define the destination that this key will provide access to by means of the "Select
Target" option. Once selected, it will appears reflected in the fourth field, which is also only
informative.
Finally, you have to confirm that the configuration is applied by means of
the "Apply" option.
3.1.1.5.
"
Key Delete
"
option.
Allows us to delete the configuration of a certain cross-point key.
When entering this option, the first step is to select the key whose
configuration you want to delete by means of the "Select Key" option: by
pressing the encoder, the operation screen appears and you can select the
key by pressing downwards the associated lever (you can select a key of
page 1 or press "
PAGE
(MENU) and select one of page 2). Once the key is
selected, it automatically returns to the previous screen, where the key
appears reflected in the second field, which is merely informative (in the example, key 2 of the
first page has been selected: "
Pg: 1 Key: 2
").
Next step is to confirm that the configuration of the selected key is deleted by means of the
"Apply" option.