6 Operation | 6.2 Obtaining a First Image
ZEISS
6.2.7.6 Correcting Astigmatism
1. Ensure that the Reduced Raster function is active.
2. Select a detail (e.g. a mark or an edge) on the specimen surface.
Ensure that the selected detail is in the raster. You can move the stage or shift the beam for
this purpose.
3. In the Crossbeam SEM Control panel, select the Control tab.
4. Click Stigmator.
5. In the Stigmation navigation box, use the scroll bars or the red marker to obtain the
sharpest possible image.
INFO: The specimen detail should just be pulsating without shifting.
INFO: To obtain optimum results, alternately correct focus and astigmatism.
6. To deactivate the reduced raster, in the Toolbar, click the Reduced Raster/Apertures icon.
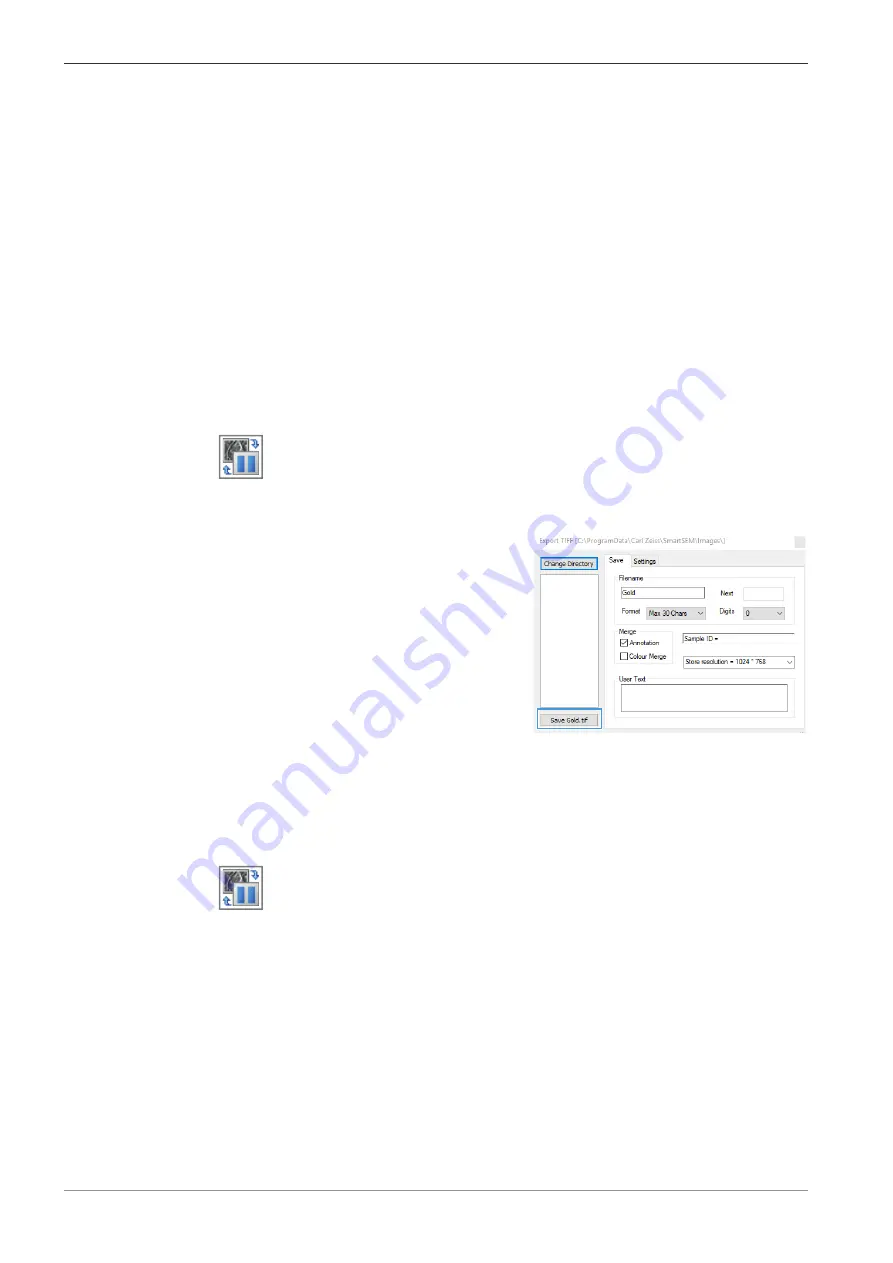
6.2.8 Saving the Image
1. In the Toolbar, click the Freeze:Unfreeze/Scanning icon.
à
A red dot at the right bottom of the Image Area indicates that the image is frozen.
2. From the Menu Bar, select File > Save Image.
à
The Export TIFF dialog is displayed.
3. To change the save path, click Change Directory.
à
A file explorer window is displayed.
4. To confirm the selected path, click Select Folder.
5. Enter the filename in the Filename input field.
6. Click Save <file name>.tif.
7. To continue imaging, click the Freeze:Unfreeze/Scanning icon.
78
Instruction Manual ZEISS Crossbeam 550L, Crossbeam 550 | en-US | Rev. 3 | 349500-8122-000
Summary of Contents for Crossbeam 550
Page 135: ......


