June 11, 2015, 715004752 Rev. A
Page 114
Figure 5–1:
Diagnostic tests choice list
2. To access a specific diagnostic test, press the up or down arrow key to select a
test, and then press Enter.
Alternative:
Press a number on the keypad corresponding to the test number.
Choices that display other choices are indicated by >>.
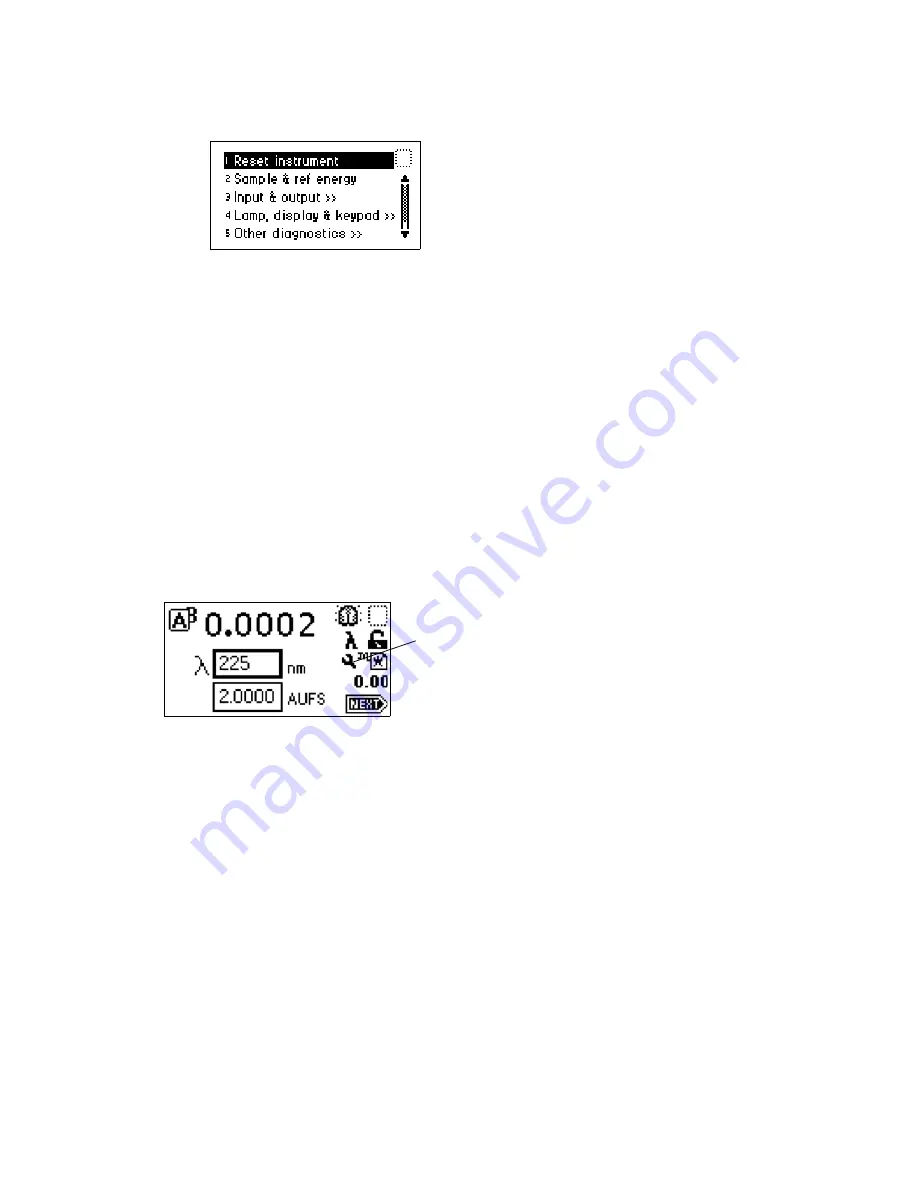
Sticky diagnostic tests remain in effect until you disable them. When a test is active,
the detector absorbance screen displays a wrench icon (see the figure below).
You can disable a specific sticky diagnostic test by resetting it to the default settings.
You can disable all active sticky diagnostic tests by pressing DIAG and then selecting
“1, Reset instrument.”
If no sticky diagnostic tests are active, the wrench icon does not appear on the
absorbance screen. When you power-off the detector, sticky diagnostic tests become
inactive.
Figure 5–2:
Absorbance screen with sticky diagnostic tests active
The user-selectable sticky diagnostic tests are:
–
Fix (Set) Voltage Output
–
Fix (Set) Absorbance Input
–
Generate Test Peaks
–
Optical Filter Override
Note:
Application of sticky diagnostic tests affects results. To clear changes to the
voltage output or absorbance input or to make a manual optical filter change, select
1, “Reset instrument” from the Diagnostics choice list, or cycle power to the detector.
The table below lists diagnostic tests by their number on the choice list (see
for more information).
Wrench icon
Summary of Contents for 2489
Page 2: ...June 11 2015 715004752 Rev A Page ii...
Page 8: ...June 11 2015 715004752 Rev A Page viii...
Page 14: ...June 11 2015 715004752 Rev A Page xiv...
Page 46: ...June 11 2015 715004752 Rev A Page 46...
Page 124: ...June 11 2015 715004752 Rev A Page 124...


