Medium Optical Disk (RW551/RW552) Library
3–14
EK–MOL80–SV. B01
1.
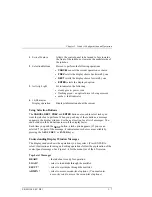
With READY displayed, press NEXT until ADMIN# appears in the display
window.
NOTE
A three-part security code is required to
access any options beneath ADMIN. The
security code is set to 0,0,0 at the factory, but
you should encourage the customer to
change this as soon as possible to avoid
access by unauthorized persons.
If CONFLICT displays, the jukebox controller
and the optical drive mechanism are set to the
same address. You must reset one of them.
2.
Press
ENTER
.
CODE 1
and a flashing
0
displays. Press
ENTER
if no security
code has been set, otherwise press
NEXT
until the first number of the
security code displays, and then press
ENTER
. Repeat this step to enter the
next two parts of the security code.
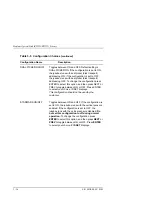
3.
Press
NEXT
until
SCSI IDS
displays, and then press
ENTER
.
4.
JB CNTRL ID #
displays. (JB CNTRL stands for jukebox controller, and "#"
is the SCSI ID that is currently set). Press
NEXT
until
DRIVE ID #
(or the
drive number you want to access) and then press
ENTER
. The
#
flashes.
5.
Press
NEXT
or
PREV
until the address you want displays and then press
ENTER
.
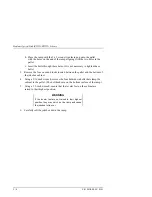
6.
Press
NEXT
until
UPDATE
displays, and then press
ENTER
.
IDS SET
displays if the address you set does not conflict with other addresses on the
SCSI bus, otherwise
JB CNTRL ID #
and then
CONFLICT
displays. If
CONFLICT
displayed, the previous SCSI ID settings have been restored and
you must reset the SCSI IDs to non-conflicting addresses; if
CONFLICT
does
not display, the address you chose is now set.
7. Press
CANCEL
two times to return to the
READY
state.
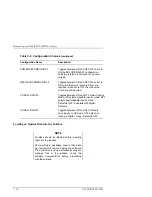
NOTE
If an ID is changed, the host computer may
have to be restarted for the new ID to be
recognized.

