360
Other Con
v
enient Functions
4
From the Data Box, select a category
→
a
folder
→
a file and press
.
The Edit mail display appears.
For a still image recorded when the Auto orientation
is set to [ON]
The screen for confirming whether to rotate the
still image to align the display direction of the
FOMA terminal appears. To post a rotated image,
select [Matching&BlogUp]. When the image size
exceeds [VGA(640
×
480)], the size of the image
is automatically reduced to [VGA(H640
×
W480)]
or [VGA(W640
×
H480)] depending on which
orientation the original image is, landscape or
portrait.
To post an image as is, select [Keeping&BlogUp].
For a still image exceeding [VGA(640
×
480)]
The screen for confirming whether to reduce the
image size to [VGA(640
×
480)] appears. To post
a reduced image, select [Reduces&BlogUp].
To post an image as is, select [Keeping&BlogUp].
When you select a still image exceeding 2M
bytes, the still image is not attached because
of the size restriction of the mail attachment
file.
For a movie exceeding 2M bytes
A movie is automatically clipped to be less than
2M bytes from the beginning.
To select a still image or movie in the microSD
memory card
From the microSD category list, select a category
→
a file.
5
Enter texts and press
(Send).
Mail is sent and it is posted on a blog.
●
When 2in1 is set to the B mode, you cannot
compose any i-mode mail.
●
You cannot send i-mode mail using Address B.
Browsing a Blog
Example: Browsing a blog using i-mode
When a blog service has neither the i-mode URL nor
the Full Browser URL specified, you cannot select
the blog service.
1
From the Menu, select [Imaging]
→
[easy
BlogUp] and press
.
The blog service list appears.
2
Select a blog ser vice and press
(i-mode).
The screen for confirming whether to connect to
i-mode appears.
3
Select [Yes] and press
.
The selected blog is displayed.
To browse a blog using Full Browser
Move the cursor to a blog service, press
(Full
Brs), and select [Yes].
Starting the Alarm at a
Specified Time
<Alarm>
The alarm is activated for about one minute at
a specified time. You can set up to 12 alarms
to be activated.
1
From the Menu, select [LifeKit]
→
[Alarm]
and press
.
Alarm
Select alarm
Auto power on
OFF
To set the operation of the alarm during power off
Select [Auto power on]
→
[ON]/[OFF].
If you select [ON], when the alarm time
comes during power off, the FOMA terminal
is automatically powered on and the alarm
works.
2
Select [Select alarm] and press
.
Select alarm
10:00 Eyd
11:30 Eyd
12:00 Eyd
13:30 Eyd
14:00 OFF
16:00 Day
18:30 Day
00:00 OFF
00:00 OFF
00:00 OFF
00:00 OFF
00:00 OFF
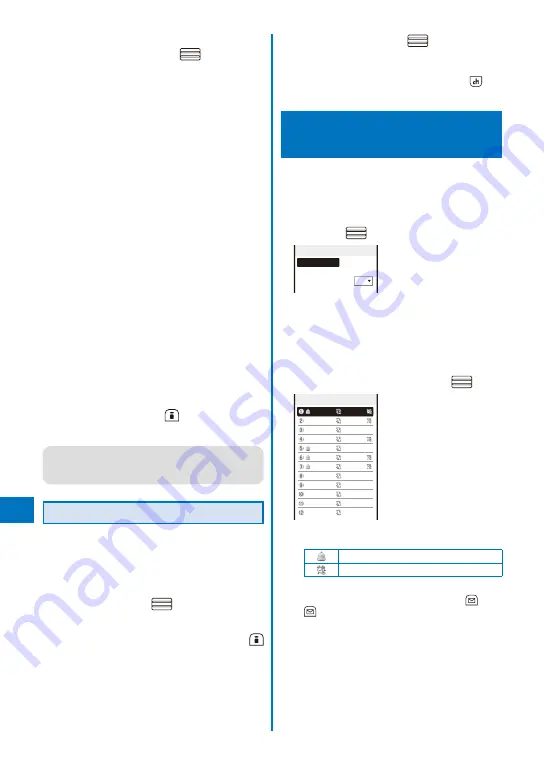
The following icons show the setting status of the
Alarm.
The Alarm is set
The Snooze is set
To switch between setting/canceling the Alarm
Move the cursor to the Alarm and press
(Set)/
(Rel.).
Summary of Contents for FOMA SO905iCS
Page 50: ......
Page 94: ......
Page 108: ......
Page 206: ......
Page 254: ......
Page 382: ......
Page 478: ......
Page 479: ...477 Index Quick Manual Index 478 Quick Manual 490 ...
Page 489: ...MEMO ...
Page 490: ...MEMO ...
Page 491: ...MEMO ...
Page 530: ...Kuten Code List 08 1 Ver 1 A CUK 100 11 1 ...
Page 532: ...2 ...
Page 533: ...3 ...
Page 534: ...4 ...


