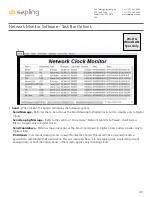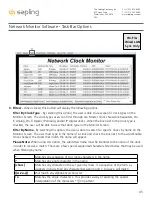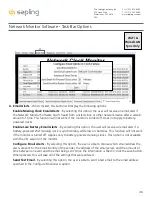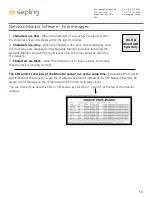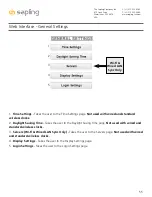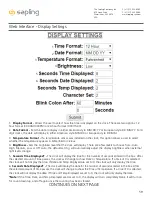
2. Groups
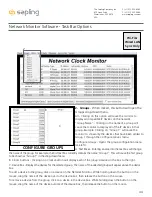
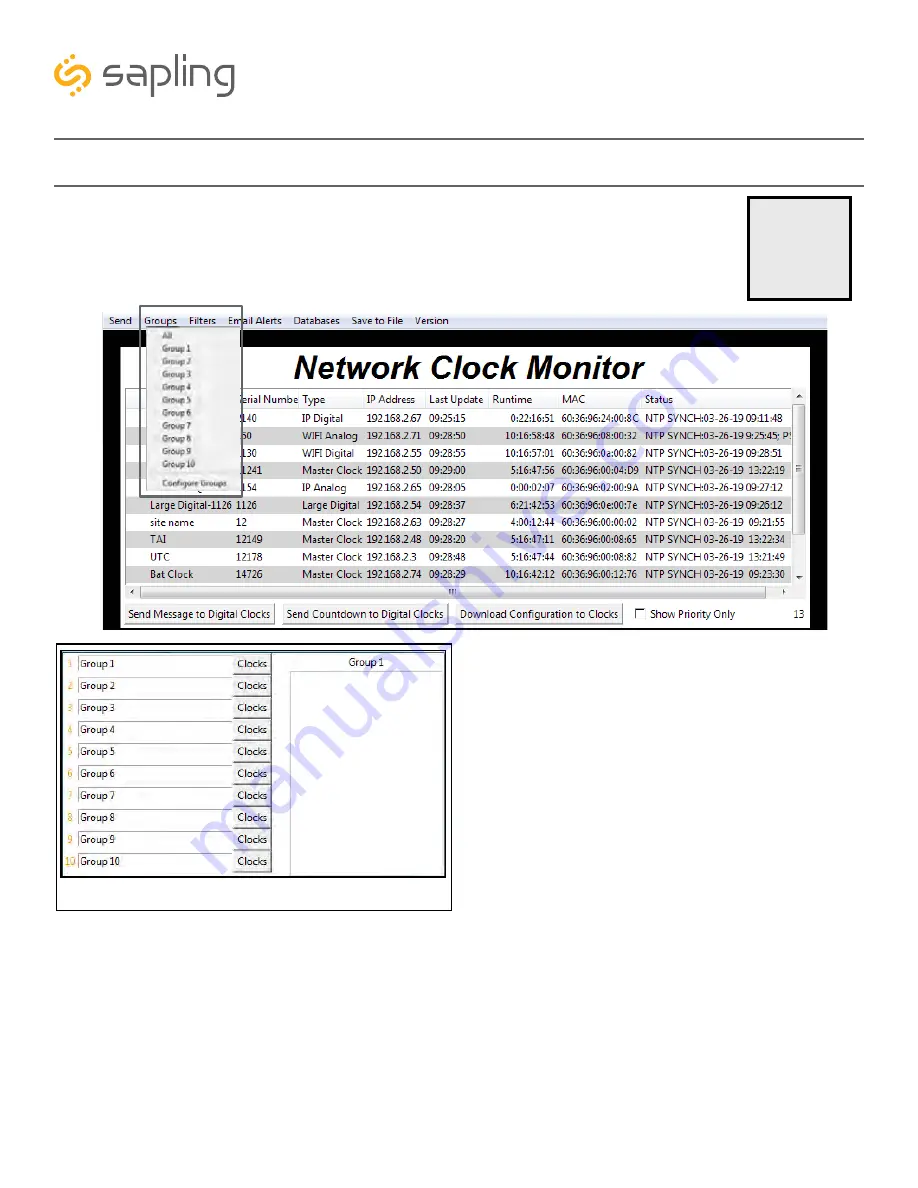
- When clicked, this button will open the
Groups drop-down menu.
All - Clicking on this option will cause the monitor to
display all compatible IP devices on the network.
“Group Name” - Clicking on the name of a group will
cause the monitor to display all of the IP devices in that
group. Example: Clicking on “Group 1” will cause the
monitor to show only the devices that have been added to
Group 1 through the Configure Groups menu.
Configure Groups - Opens the group configuration menu
(see left).
A. Text Boxes - Entering a name into the text box will change
the name of the group. For example, the first text box currently contains the name “Group 1”. This will cause the first group
to be shown as “Group 1” in the drop-down menu.
B. Clocks buttons - Clicking on a Clocks button will display each of the group’s devices in the box to the right.
C. Device Box - Displays the devices for the selected group. The name of the selected group will appear above the device
box.
To add a device to the group, click on a device on the Network Monitor. While holding down the button on the
mouse, drag the name of the device over to the device box, then release the button on the mouse.
To remove a device from the group, click on a device in the device box. While holding down the button on the
mouse, drag the name of the device outside of the device box, then release the button on the mouse.
2
A
B
C
CONFIGURE GROUPS
Wi-Fi &
Wired LAN
Sync Only
44
The Sapling Company, Inc.
670 Louis Drive
Warminster, PA 18974
USA
P. (+1) 215.322.6063
F. (+1) 215.322.8498
www.sapling-inc.com
Network Monitor Software - Task Bar Options


