11
The Sapling Company, Inc.
670 Louis Drive
Warminster, PA 18974
USA
P. (+1) 215.322.6063
F. (+1) 215.322.8498
www.sapling-inc.com
Positioning the Clock Relative to the Data Switch
The clock is designed to work with network cables of type CAT5 and later. These cables
can carry a signal an overall distance of about 300 feet (91.4m). If the cables are going to
be run near magnets, motors, or cables carrying unshielded strong electrical current, then
a shielded network cable must be used.
For clocks that are Power-over-Ethernet (PoE) compatible, the same range restrictions
apply. Additionally, please verify that your clock supports PoE, as larger clocks require an additional,
external power source to function.
To power your clock with a PoE connection, the clock must satisfy the following conditions:
• Has an RJ45 Port • Has either a Red or Amber display
• Has either 6.0” or 9.0” digits.
• Part number ends with “0”
If any of these conditions are not met, PoE cannot be used with the clock, and the clock must be locally
powered to run.
Logging into the clock for the first time:
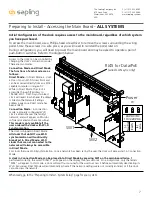
1. Connect a data cable from your network to the RJ45 port on the main board of the clock. For clocks
that do not use Power over Ethernet, connect the clock to an external power source as well.
2. On your network-connected computer, run the Network Monitor program. After a minute or two,
the clock will appear on the monitor with the name
Large Digital-####
appears (where #### is the
serial number of the clock). Double click on the name to launch a web browser with access to the clock.
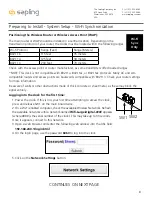
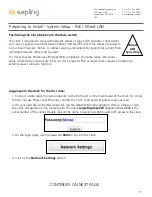
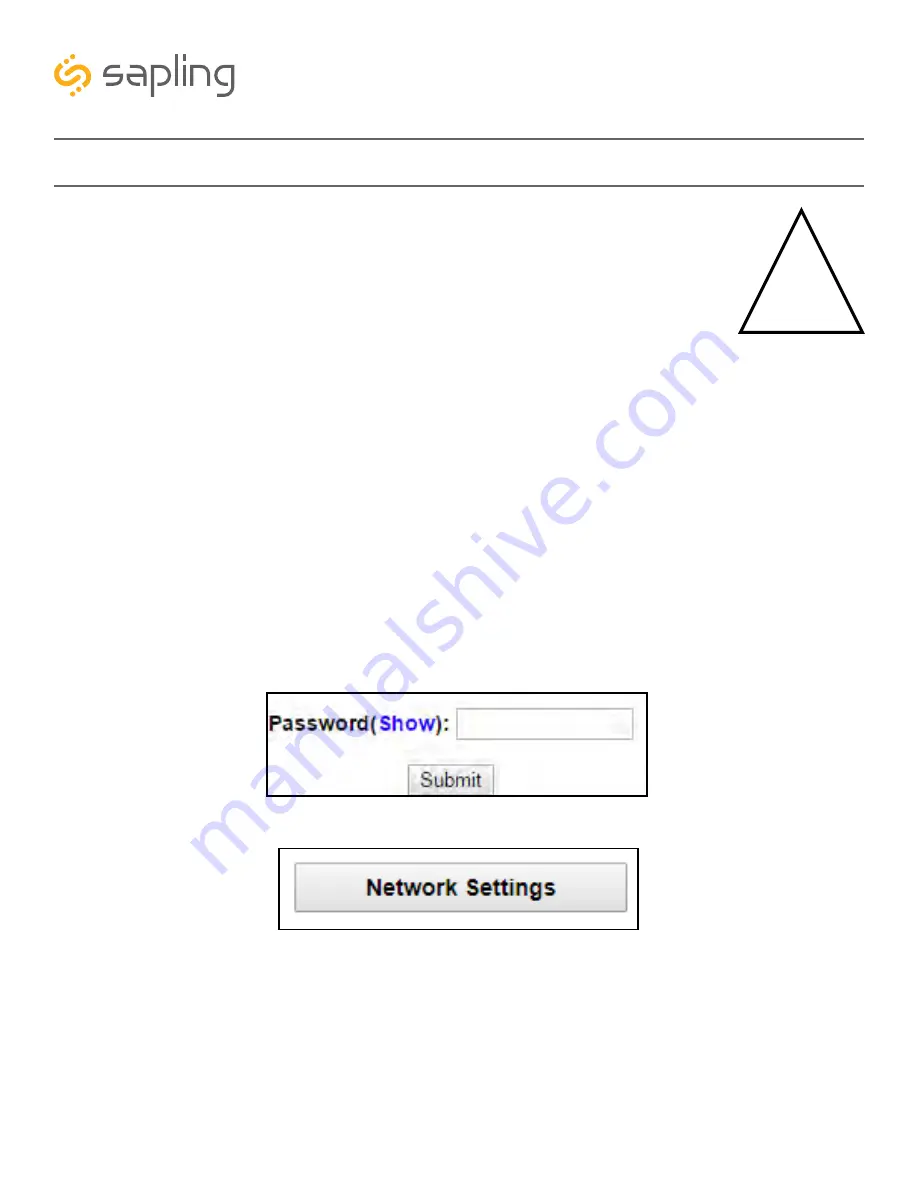
3. On the login page, use the password
6063
to log into the clock.
4. Click on the
Network Settings
button.
Preparing to Install - System Setup - PoE / Wired LAN
Wired
LAN
Sync Only
CONTINUES ON NEXT PAGE


