13
The Sapling Company, Inc.
670 Louis Drive
Warminster, PA 18974
USA
P. (+1) 215.322.6063
F. (+1) 215.322.8498
www.sapling-inc.com
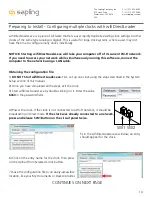
Logging into the clock for the first time:
1. Power the clock.
2. On a Wi-Fi enabled computer, check the available Wireless Networks. Refresh the available networks
until a network named
Wifi-Large-Digital-####
appears (where #### is the serial number of the clock).
This may take up to 30 seconds. Once it appears, connect to this network.
3. Open a web browser and enter the following web address into the URL field:
192.168.240.1/login.html
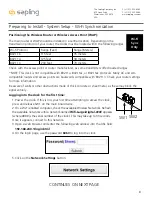
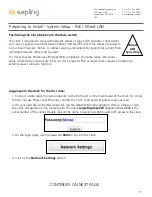
4. On the login page, use the password
6063
to log into the clock.
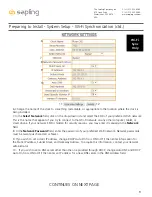
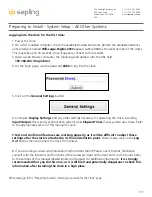
5. Click on the
General Settings
button.
6. Configure
Display Settings
and any other settings necessary for operating the clock, including
Input/Output
(for wired synchronization systems) and
Elapsed Timer
if your system uses these. Refer
to the appropriate section of this manual for each.
7. Test and confirm all features are working properly, as it will be difficult to adjust these
settings after the clock is attached to its final installation point.
When ready, click on the
Log
Out
button, then disconnect the clock from power.
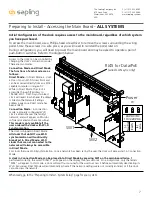
8. If you are using a wired synchronization method other than IP Power over Ethernet, familiarize
yourself with the locations and functions of the necessary input and output ports on the board. Refer
to the sections of this manual labeled Inputs and Outputs for additional information.
It is strongly
recommended that you do this now, as it is difficult and potentially dangerous to check this
information after installing the clock in a high place.
Preparing to Install - System Setup - All Other Systems
When ready, go to the “Preparing to Install - Selecting a Location for the Clock” page.


