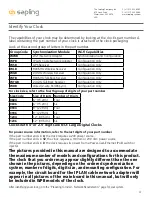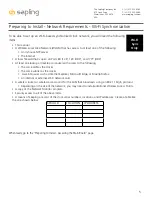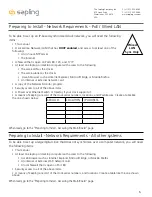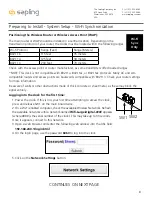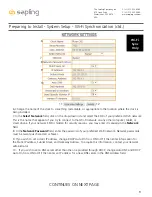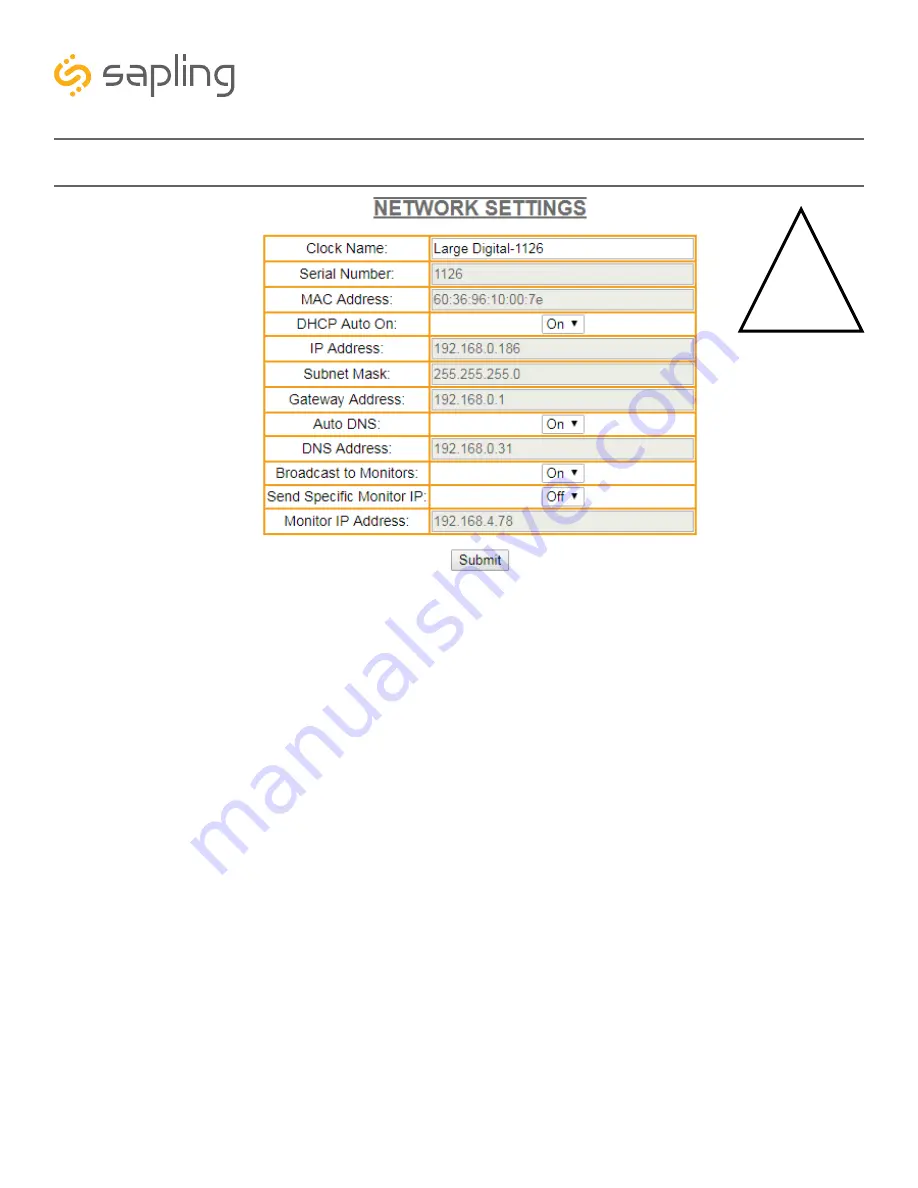
5. Change the name of the clock to something memorable, or appropriate to the location where the clock is
being installed.
6. If you wish to set a static IP address, change DHCP Auto On from ON to OFF, then enter information for
the Static IP address, Subnet Mask, and Gateway Address. To acquire this information, contact your network
administrator.
7. If you wish to set a DNS server other than the one provided through DHCP, change Auto DNS and DHCP
Auto On from ON to OFF, then enter an IP address for a new DNS server in the DNS Address field.
8. Press the
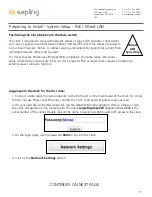
Submit
button.
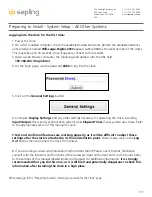
9. If you wish, you may configure other settings at this time, such as Display, Daylight Saving Time, or Input/
Output settings. Refer to the appropriate section of this manual for each. You may also configure them later.
When finished, click on the
Log Out
button.
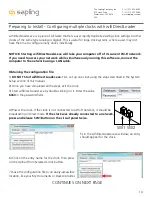
10. Log in to the clock again and confirm that the clock is accessible on the network. You should be able to
access the clock with either the Network Monitor software (If clock DHCP is on and the computer is on the
same subnet as the clock) or the newly assigned static IP address (if clock DHCP is off).
11. If the clock is not accessible, disconnect and reconnect power to the clock. This will cause the clock to
display its current IP address. If the clock is showing a correct IP address, but is still not accessible, refer to the
section of this manual labeled “Troubleshooting.”
6
7
8
5
12
The Sapling Company, Inc.
670 Louis Drive
Warminster, PA 18974
USA
P. (+1) 215.322.6063
F. (+1) 215.322.8498
www.sapling-inc.com
Preparing to Install - System Setup - PoE / Wired LAN
Wired
LAN
Sync Only
When ready, go to the “Preparing to Install - Selecting a Location for the Clock” page.


