No.
Icon
Description
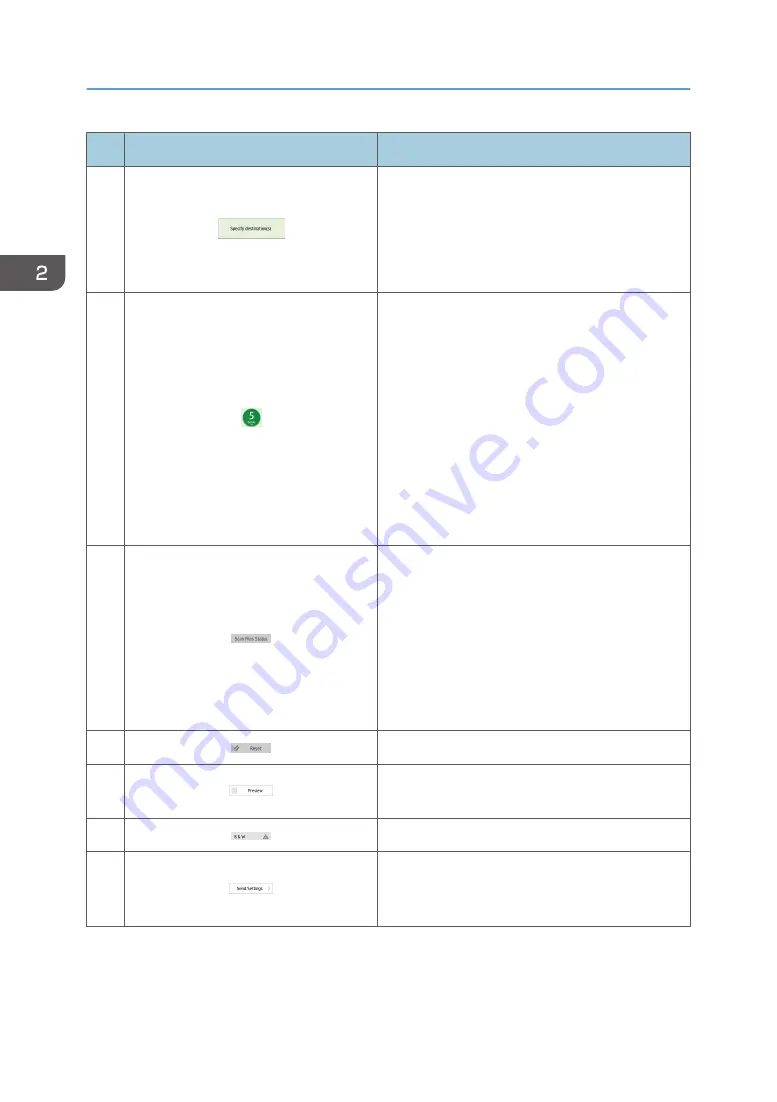
2
The specified destination is shown here.
By tapping the destination, you can register it to the
Address Book or remove it from the destinations.
By flicking up and down, you can confirm the
selected destinations.
3
The total number of the selected destinations
appears.
Press to display a screen to confirm destinations.
In the screen to confirm destinations, you can do
the following:
• Switch the "To", "Cc", and "Bcc" fields of the
e-mail destinations
• Register destinations to the Address Book
• Edit destinations
• Remove destinations from the destination list
4
Press to display the transmission results screen.
In the transmission results screen, you can do the
following:
• Check sent jobs
• Check error descriptions
• Cancel transmission of a document in standby
• Print a list of transmission results
5
Press to clear your current settings.
6
Press to display the preview screen after scanning
originals.
7
You can check the settings in Send Settings.
8
Press to open the send settings screen. For details,
see page 69 "[Send Settings] screen (when using
the Smart Operation Panel)".
2. Getting Started
68
Summary of Contents for Pro C5200s
Page 2: ......
Page 12: ...10 ...
Page 94: ...2 Getting Started 92 ...
Page 157: ...3 Press OK Specifying Scan Settings 155 ...
Page 158: ...5 Scan 156 ...
Page 162: ...6 Document Server 160 ...
Page 286: ...9 Troubleshooting 284 ...
Page 296: ...MEMO 294 ...
Page 297: ...MEMO 295 ...
Page 298: ...MEMO 296 EN GB EN US D260 7012 ...
Page 299: ... 2016 ...
Page 300: ...D260 7012 US EN GB EN ...


