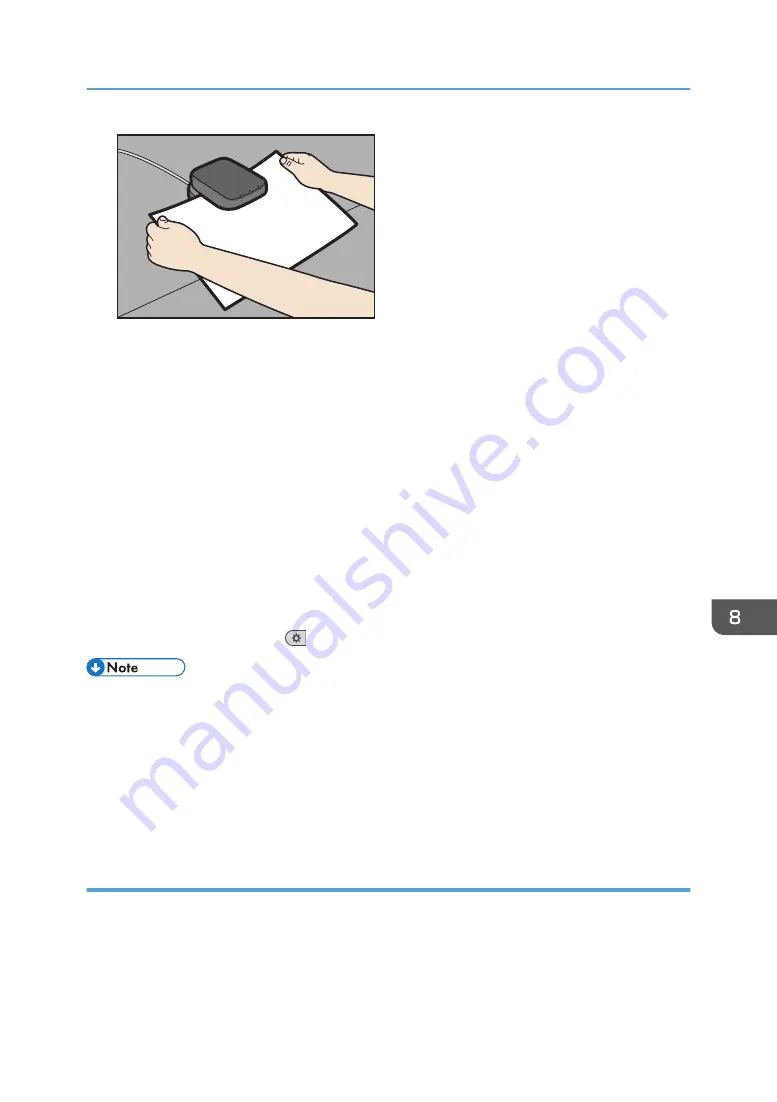
DFZ009
6.
Change the settings for custom paper (such as paper's name, size, and type), as
necessary.
If you change the [Paper Weight], [Paper Type], [Coated Paper Type], [Paper Color], [Prepunched
or Not], or [Textured or Not] and press [OK], a message appears to notify you that the [Advanced
Settings] will be initialized. To apply the changes for those settings, select [Change]. To cancel the
changes, select [Do not Change].
7.
Press [OK].
8.
Press [Exit].
9.
Close the [Tray Paper Settings] screen.
• When using the standard operation panel
1. Press the [Paper Setting] key.
• When using the Smart Operation Panel
1. Press [User Tools] (
) on the top right of the screen.
• When you register and scan custom paper using the Media Identification Unit, following items are
automatically specified:
• Paper weight
• Coated paper other than matte paper
• For details about custom paper settings, see "Custom Paper Settings", Paper Settings.
• For details about [Advanced Settings], contact your machine administrator.
Modifying the registered custom paper settings using the Media Identification Unit
1.
Display the [Tray Paper Settings] screen.
• When using the standard operation panel
1. Press the [Paper Setting] key.
Registering a Custom Paper with the Media Identification Unit
213
Summary of Contents for Pro C5200s
Page 2: ......
Page 12: ...10 ...
Page 94: ...2 Getting Started 92 ...
Page 157: ...3 Press OK Specifying Scan Settings 155 ...
Page 158: ...5 Scan 156 ...
Page 162: ...6 Document Server 160 ...
Page 286: ...9 Troubleshooting 284 ...
Page 296: ...MEMO 294 ...
Page 297: ...MEMO 295 ...
Page 298: ...MEMO 296 EN GB EN US D260 7012 ...
Page 299: ... 2016 ...
Page 300: ...D260 7012 US EN GB EN ...


