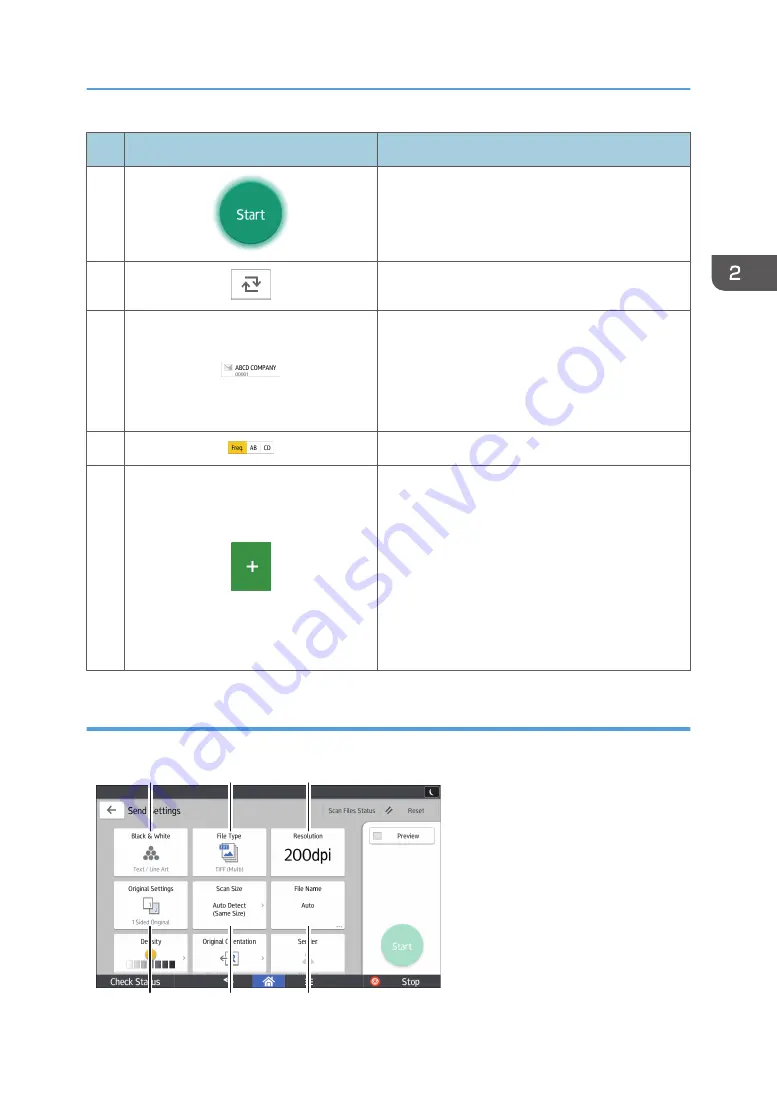
No.
Icon
Description
9
Press to scan originals and start sending.
10
Press to switch the section of the Address Book.
11
Shows the destinations in the Address Book.
If a password or protection code is specified to a
folder destination, enter the password or protection
code on the screen displayed after tapping the
folder destination.
12
The sections of the Address Book.
13
Press to add a destination.
Destinations can be added as follows:
• Input destinations manually
• Select from the transmission history
• Specify a registration number from the
Address Book
• Search for a destination in the Address Book
or on the LDAP server
[Send Settings] screen (when using the Smart Operation Panel)
You can switch the four screens described in this section by flicking the screen up or down.
DRC959
1
2
3
4
5
6
How to Use Each Application
69
Summary of Contents for Pro C5200s
Page 2: ......
Page 12: ...10 ...
Page 94: ...2 Getting Started 92 ...
Page 157: ...3 Press OK Specifying Scan Settings 155 ...
Page 158: ...5 Scan 156 ...
Page 162: ...6 Document Server 160 ...
Page 286: ...9 Troubleshooting 284 ...
Page 296: ...MEMO 294 ...
Page 297: ...MEMO 295 ...
Page 298: ...MEMO 296 EN GB EN US D260 7012 ...
Page 299: ... 2016 ...
Page 300: ...D260 7012 US EN GB EN ...


