


Chapter 5
112
OmniSeed™ Viper Pro™ Installation & Operation Manual
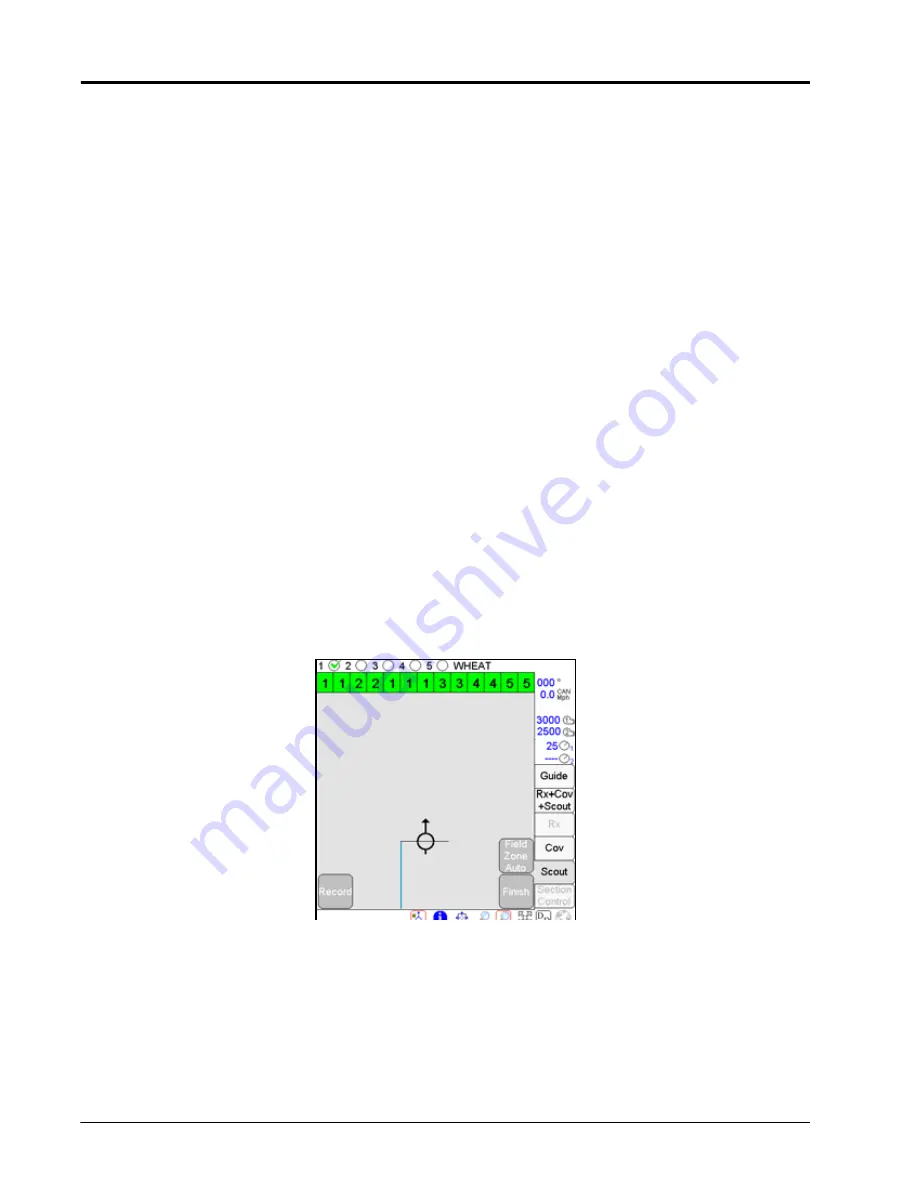
Auto Point Entry.
The Viper Pro automatically records points along the driven path to create the boundary in
real-time. The field computer will also automatically close the field boundary when the vehicle comes within
one boom or implement width of the starting point. The operator may also close the boundary manually if
desired.
Note:
Before closing a boundary manually, check the current vehicle position in relation to the point
where recording of the boundary was started.
The Viper Pro will create a straight line from the boundary starting point to the current vehicle
location. The field area within the marked boundary will be included in the zone while area outside
of this boundary will not be included.
Manual Point Entry: Rubber Banded Zone.
This method allows the operator to set boundary points as the
machine drives along the boundary. When the operator closes the boundary, the Viper Pro will automatically
connect and smooth the boundary line when completing the boundary path.
5.
Enter the offset in feet [meters] from the center of the swath, or guidance, width.
Note:
Entering a value 1-1/2 to 2-1/2 times the swath width will record the field boundary so that the
headlands passes of the field area may be completed last.
6.
Select the direction of the offset:
a.
Selecting the
Left
offset places the reference point for the boundary to the left of the swath center point
by the entered distance.
b.
Selecting the
Right
offset places the reference point to the right of the swath center point by the
entered distance.
Note:
To record the field feature boundary at the center of the swath width, enter a value of zero and
select either the left or right option.
7.
Touch
OK
. The Viper Pro will begin plotting points or recording manually input points for the boundary
based upon the selected Point Entry mode.
8.
Drive the perimeter of the field while keeping the selected reference point at or near the field boundary.
9.
To close the field boundary, select one of the following options:
•
Continue driving the field boundary until the Viper Pro automatically closes the boundary. Viper
Pro will automatically close the boundary if the vehicle returns to a position within one boom or
implement width of the boundary start point.
•
Touch the
Finish
button in the map area and select the ‘Field Zone Auto’ button to manually
close the field boundary. Viper automatically connects the boundary line from the current
position to the boundary starting point.
Summary of Contents for OmniSeed Viper Pro
Page 1: ...Viper Pro Software Version 3 10 OmniSeed Calibration Operation Manual ...
Page 10: ...Table of Contents viii OmniSeed Viper Pro Calibration Operation Manual ...
Page 98: ...Chapter 4 86 OmniSeed Viper Pro Installation Operation Manual ...
Page 150: ...Chapter 6 138 OmniSeed Viper Pro Installation Operation Manual ...
Page 222: ...Chapter 10 210 OmniSeed Viper Pro Installation Operation Manual ...
Page 240: ...Chapter 11 228 OmniSeed Viper Pro Installation Operation Manual ...
Page 251: ...Manual No 016 3001 015 Rev C 239 FIGURE 2 OmniSeed System Diagram 3 Bin D N 054 3001 026 ...
Page 256: ...Appendix A 244 OmniSeed Viper Pro Installation Operation Manual ...
Page 284: ...Appendix D 272 OmniSeed Viper Pro Installation Operation Manual ...
Page 292: ...Appendix G 280 OmniSeed Viper Pro Installation Operation Manual ...
Page 300: ...Appendix H 288 OmniSeed Viper Pro Installation Operation Manual ...
Page 304: ...Index 292 OmniSeed Viper Pro Calibration Operation Manual ...
Page 307: ......


