


HyperTrack™
Software Instruction
38
Quasonix, Inc.
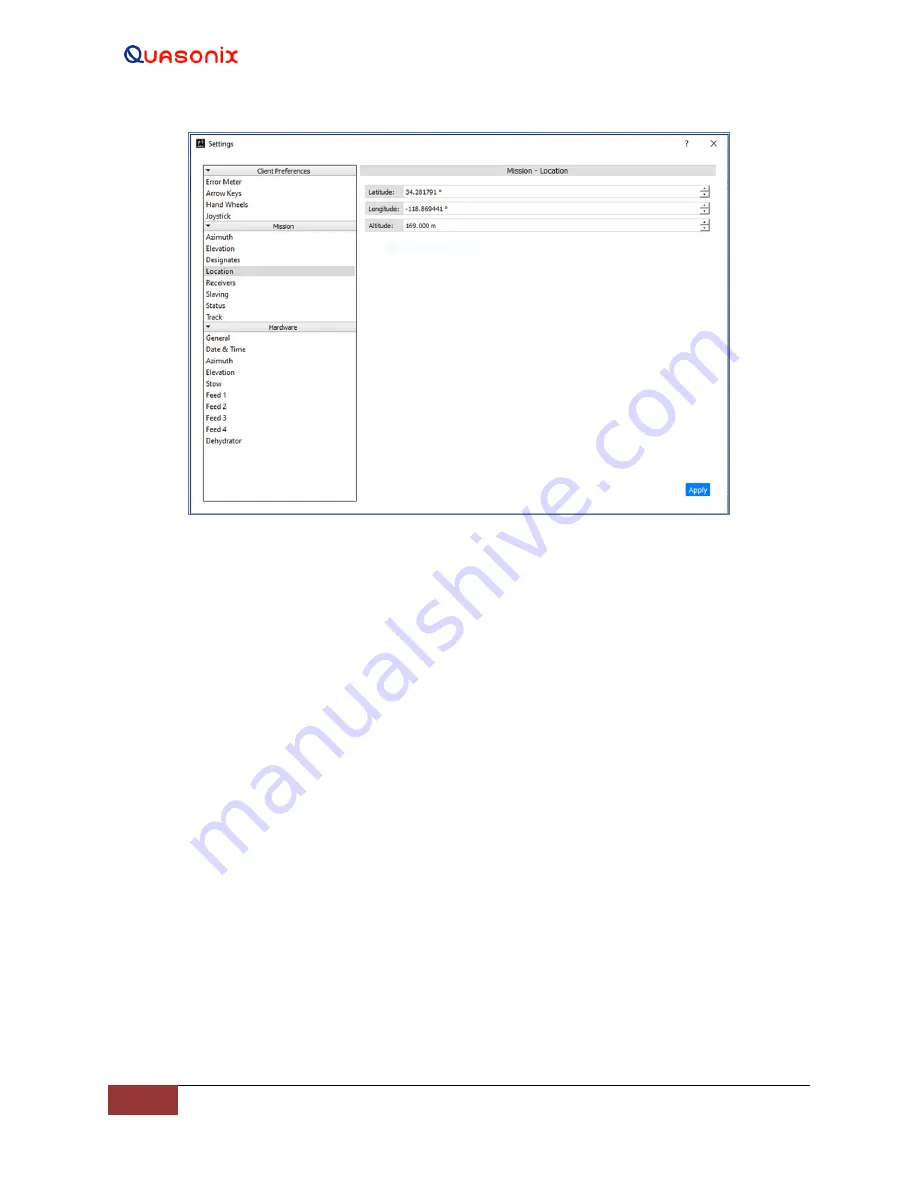
Figure 39: Mission, Location
4.2.1.5.2.6 Receivers
The Mission
–
Receivers window is used to direct communication between the systems fixed receivers, the HTAC,
and the connected Windows Client PC. In this way, changes in the
parameter settings at the RDMS™ receiver itself
are displayed on the Client GUI. Likewise, receiver parameter changes made within the GUI, are communicated to
the linked RDMS™ receiver. This window is available with the Standard Login.
The Mission - Receivers window provides the user a means of adding, editing, or deleting Quasonix receiver(s). The
system operates with other manufacturer
’
s receivers, but the full system functionality will not be available.
The Mission - Receivers window shown in Figure 40 has three receivers saved in the window.
4.2.1.5.2.6.1 Add Receiver
When the Add Receiver button is selected, it allows the user to enter a unique name and IP Address for a Quasonix
receiver into a separate Add Receiver window. This enables remote control of the receiver through the GUI. After
the parameters are entered, then select the Add button.
4.2.1.5.2.6.2 Edit Receiver
The Edit Receiver button operates similarly to Add Receiver. The Edit Receiver window allows the user to change
the parameters entered for an existing receiver already saved in the list.
4.2.1.5.2.6.3 Delete Receiver
The Delete Receiver button is used to delete an existing receiver saved in the list.


