V1.02
Thom Hogan’s Complete Guide to the Nikon D300
Page 713
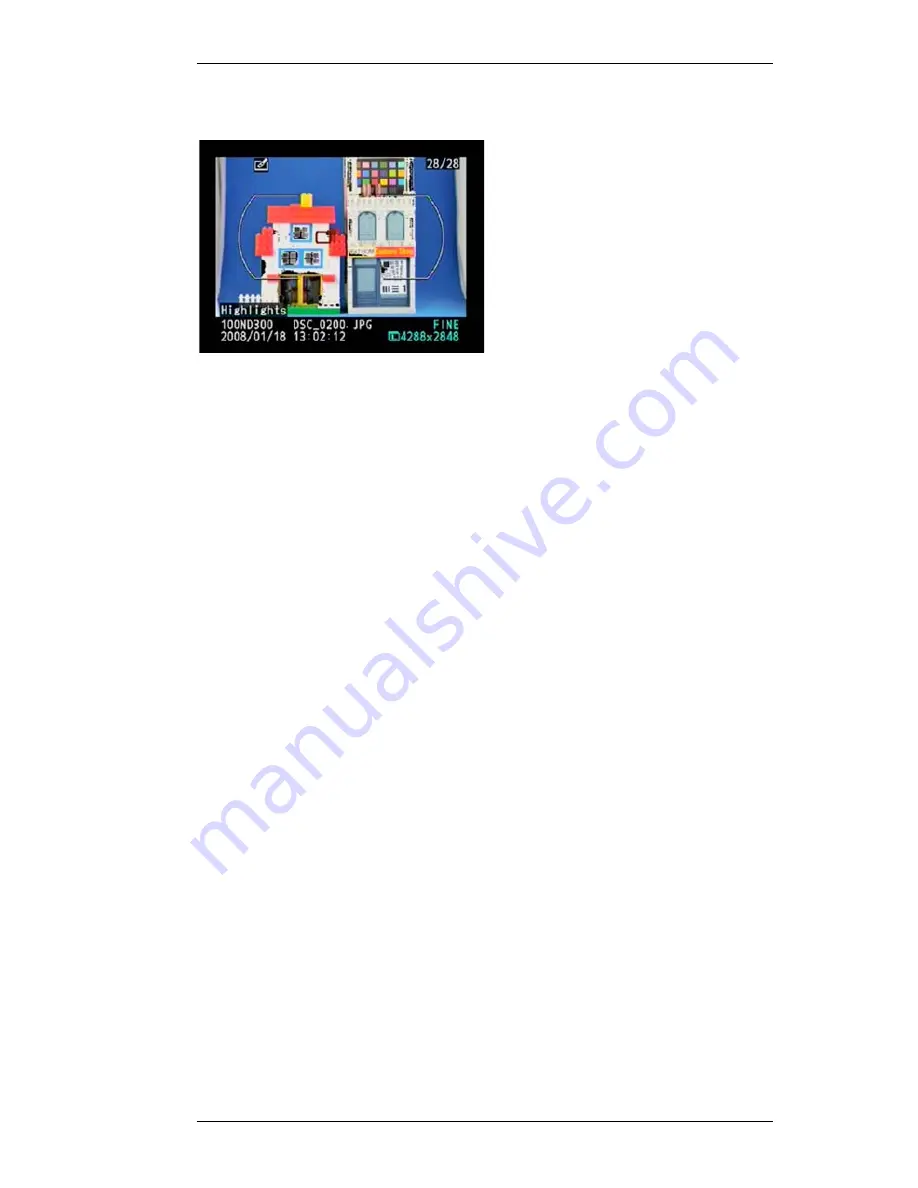
The modified version of your image will appear with a special
icon (paintbrush):
The original image did not have blown out highlights, but after
applying the D-Lighting effect, there are now small amounts of
blow-out in the image. This is one reason why
Active D-
Lighting
applies a slight exposure drop.
Red-eye correction
A better method than using the red-eye reduction function on
the flash (see “Setting Flash Options” on page <608>) is to
remove red-eye after the fact. Red-eye correction is also a
function in Capture NX, so you don’t need to perform this
function in camera.
To use
Red-eye correction
, you must first take a picture
using flash
. That picture also needs to be color (i.e. you can’t
apply this to black and white images shot with the D300, nor
can you apply it to images that weren’t taken with flash), and
can be NEF or JPEG.
1.
Press the
MENU
key to show the menu system.
2.
Use the Direction pad to navigate to the RETOUCH
menu (purple paintbrush icon) and press the
>
key on
the Direction pad to enter the menu.
3.
Use the Direction pad to navigate to
Red-eye
correction
and press the
>
key on the Direction pad


