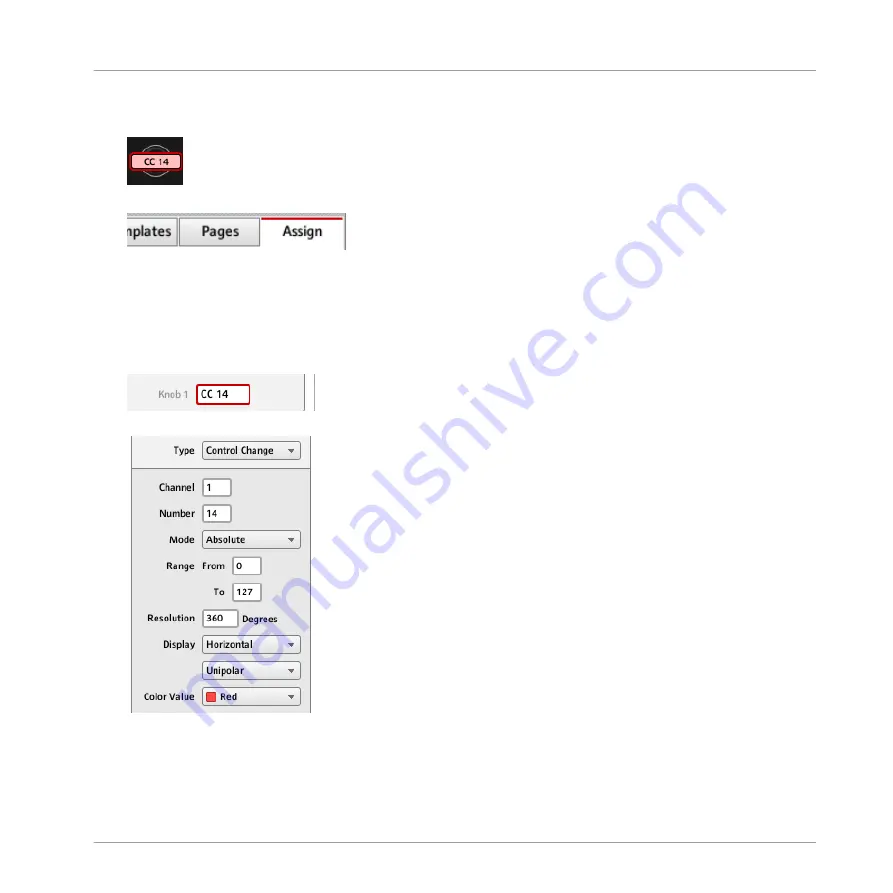
Either way, the control elements selected for editing get surrounded by the red Selection
Frame in the Controller Editor window:
3.
In the Inspector (the right part of the Controller Editor interface), click the
Assign
tab:
The
Assign
pane opens up and displays all assignments’ properties for the selected con-
trol element(s).
4.
Modify the assignment’s properties according to your needs: at the top, you can edit the
name of the assignment, and below, all MIDI properties like the type of MIDI message to
be sent, the MIDI channel to use, and so on. The assignment’s details will differ depend-
ing on the type of MIDI message you choose.
→
That’s it! Now the corresponding control element on your NI controller triggers the MIDI
message that you just defined.
Quick Start
Modifying an Assignment
CONTROLLER EDITOR - Manual - 32
Summary of Contents for komplete kontrol s series
Page 1: ......


