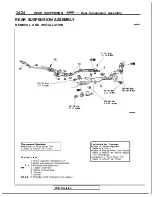
REAR SUSPENSION
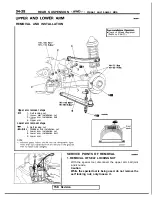
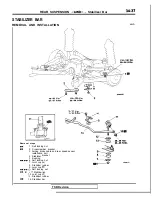
Upper and Lower Arm
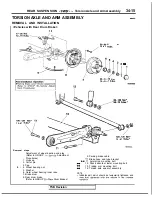
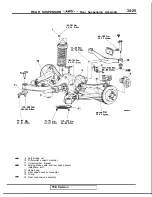
REMOVAL AND INSTALLATION
Upper arm
8
removal steps
Self locking nut
arm installation nut
3.
arm installation bolt
4. Upper arm
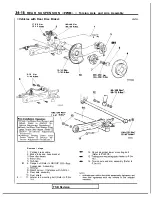
Lower arm removal steps
5. Self locking nut
6. Stabilizer link installation nut
7. Lower arm installation nut
8. Lower arm installation bolt
9. Lower arm
NOTE
Dust
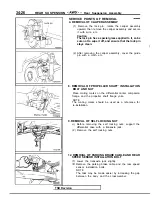
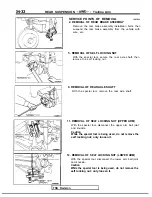
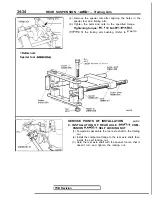
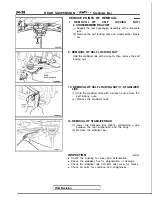
SERVICE POINTS OF REMOVAL
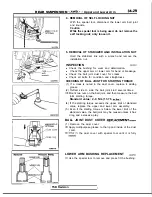
1. REMOVAL OF SELF LOCKING NUT
With the special tool, disconnect the upper arm ball joint
and knuckle.
Caution
While the special tool is being used, do not remove the
self locking nut; only loosen it.
TSB Revision
Summary of Contents for 1989 Galant
Page 2: ......
Page 4: ...00 z NOTES ...
Page 274: ...13 132 NOTE ...
Page 586: ...NOTES ...
Page 650: ...NOTE ...
Page 664: ...NOTES ...
Page 688: ...NOTES ...
Page 690: ......
Page 692: ......
Page 694: ......
Page 696: ......
Page 698: ......
Page 700: ...c ...
Page 702: ......
Page 704: ......
Page 706: ......
Page 708: ......
Page 710: ......
Page 712: ......
Page 714: ......
Page 716: ......
Page 718: ......
Page 720: ......
Page 722: ......
Page 724: ......
Page 729: ...23 23 NOTES ...
Page 860: ...NOTES ...
Page 921: ...NOTES ...
Page 948: ...33B 9 NOTES ...
Page 1121: ...NOTES ...
Page 1200: ...SERVICE BRAKES Brake Pedal 35 79 Lubrication points Part A 14AO256 1 14UOO5l TSB Revision ...
Page 1273: ...NOTES t ...


