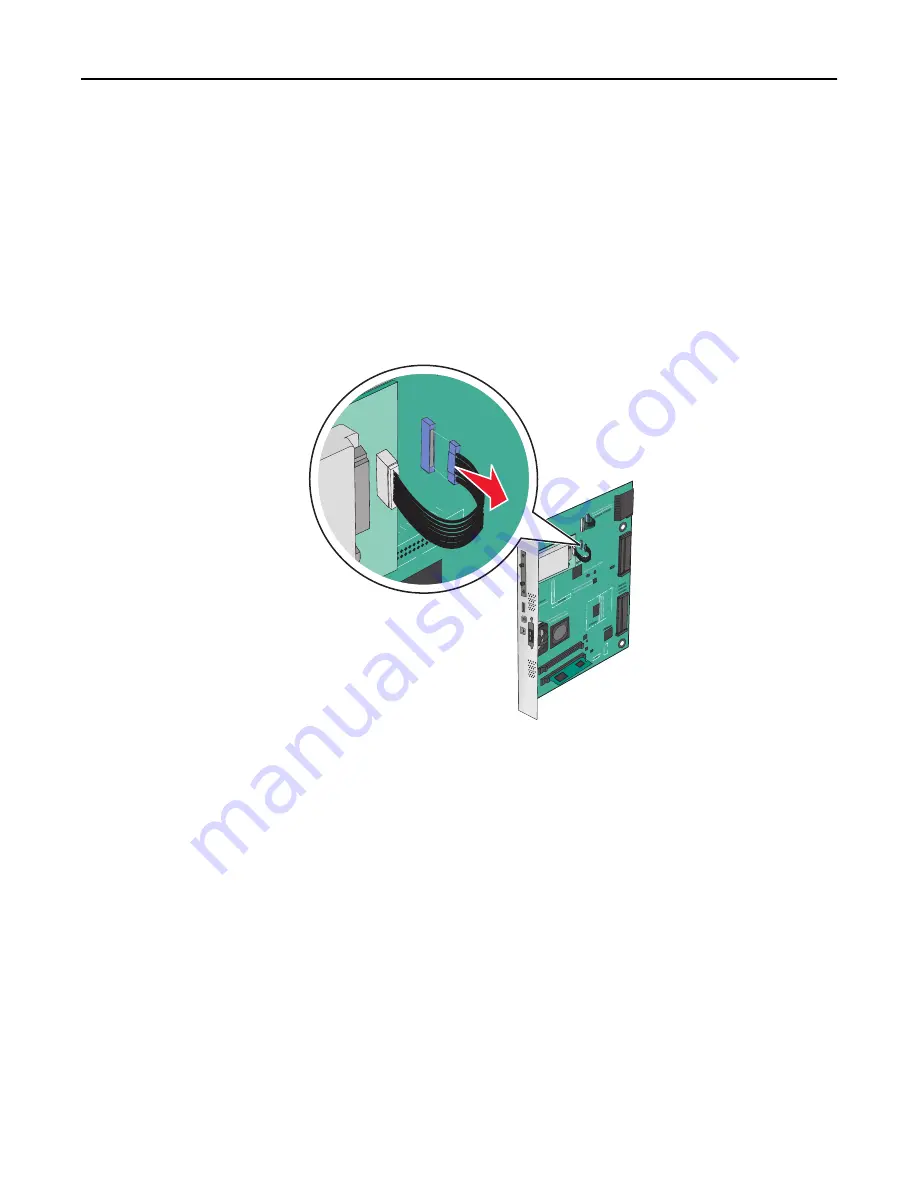
Removing a printer hard disk
Note:
This task requires a flathead screwdriver.
Warning—Potential Damage:
System board electronic components are easily damaged by static electricity. Touch
something metal on the printer before touching any system board electronic components or connectors.
1
Access the system board.
For more information, see “Accessing the system board” on page 36.
2
Unplug the printer hard disk interface cable from the system board, leaving the cable attached to the printer hard
disk. To unplug the cable, squeeze the paddle at the plug of the interface cable to disengage the latch before pulling
the cable out.
Additional printer setup
48
Summary of Contents for X950de 4
Page 28: ...Touch To Reset Reset values on the screen Understanding the home screen 28 ...
Page 242: ...4 Locate the printhead wipers Maintaining the printer 242 ...
Page 259: ...7 Lower the cover 8 Slide out the printhead wipers 3x 3x 3x Maintaining the printer 259 ...
Page 260: ...9 Slide the printhead wipers back into place 10 Close the cover Maintaining the printer 260 ...
Page 266: ...3 Hold the tabs on both sides of the staple cartridge Maintaining the printer 266 ...
Page 267: ...4 Rotate the booklet staple cartridge at an angle Maintaining the printer 267 ...


