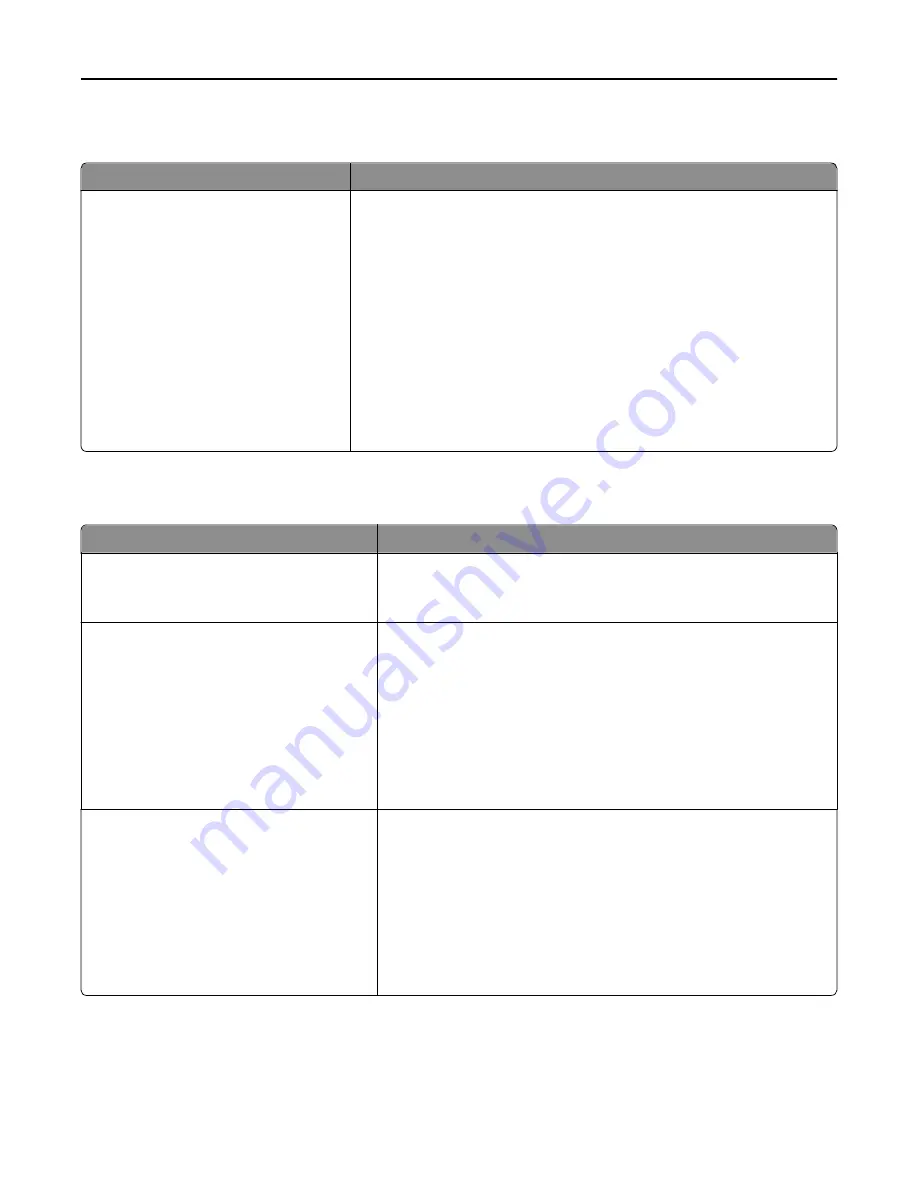
Custom Scan Sizes menu
Menu item
Description
Custom Scan Size [x]
Scan Size Name
Width
1–11.69 inches (25–297 mm)
Height
1–17 inches (25–432 mm)
Orientation
Portrait
Landscape
2 scans per side
Off
On
Specifies a custom scan size name, scan sizes, and options. The custom scan
size name replaces
Custom Scan Size [x]
in the printer menus.
Notes:
•
11.69 inches is the US factory default setting for Width. 297 millimeters
is the international factory default setting for Width.
•
17 inches is the US factory default setting for Height. 432 millimeters is
the international factory default setting for Height.
•
Portrait is the factory default setting for Orientation.
•
Off is the factory default setting for 2 scans per side.
Universal Setup menu
Menu item
Description
Units of Measure
Inches
Millimeters
Identifies the unit of measure
Note:
Inches is the US factory default setting. Millimeters is the
international factory default setting.
Portrait Width
3–48 inches
76–1219 mm
Sets the portrait width
Notes:
•
11.69 inches is the US factory default setting. Inches can be
increased in 0.01
‑
inch increments.
•
296.9 mm is the international factory default setting. Millimeters
can be increased in 1
‑
mm increments.
•
If the width exceeds the maximum, then the printer uses the
maximum width allowed.
Portrait Height
3–48 inches
76–1219 mm
Sets the portrait height
Notes:
•
48 inches is the US factory default setting. Inches can be increased in
0.01
‑
inch increments.
•
1219 mm is the international factory default setting. Millimeters can
be increased in 1
‑
mm increments.
•
If the height exceeds the maximum, then the printer uses the
maximum height allowed.
Understanding printer menus
159
Summary of Contents for X950de 4
Page 28: ...Touch To Reset Reset values on the screen Understanding the home screen 28 ...
Page 242: ...4 Locate the printhead wipers Maintaining the printer 242 ...
Page 259: ...7 Lower the cover 8 Slide out the printhead wipers 3x 3x 3x Maintaining the printer 259 ...
Page 260: ...9 Slide the printhead wipers back into place 10 Close the cover Maintaining the printer 260 ...
Page 266: ...3 Hold the tabs on both sides of the staple cartridge Maintaining the printer 266 ...
Page 267: ...4 Rotate the booklet staple cartridge at an angle Maintaining the printer 267 ...


