Advanced Options
Touching the Advanced Options button opens a screen where you can change the following settings:
•
Advanced Imaging
—Use to adjust the Background Removal, Color Balance, Color Dropout, Contrast, JPEG Quality,
Negative Image, Mirror Image, Scan edge to edge, Shadow Detail, Sharpness, and Temperature image output
settings before sending the image.
•
Edge Erase
—Use to eliminate smudges or information around the edges of a document. You can choose to eliminate
an equal area around all four sides of the paper, or pick a particular edge. Edge Erase will erase whatever is within
the area selected, leaving nothing on that portion of the scan.
•
Transmission Log
—Use to print the transmission log or transmission error log.
•
Custom Job
—Use to combine multiple scanning jobs into a single job.
Scanning to a computer or flash drive
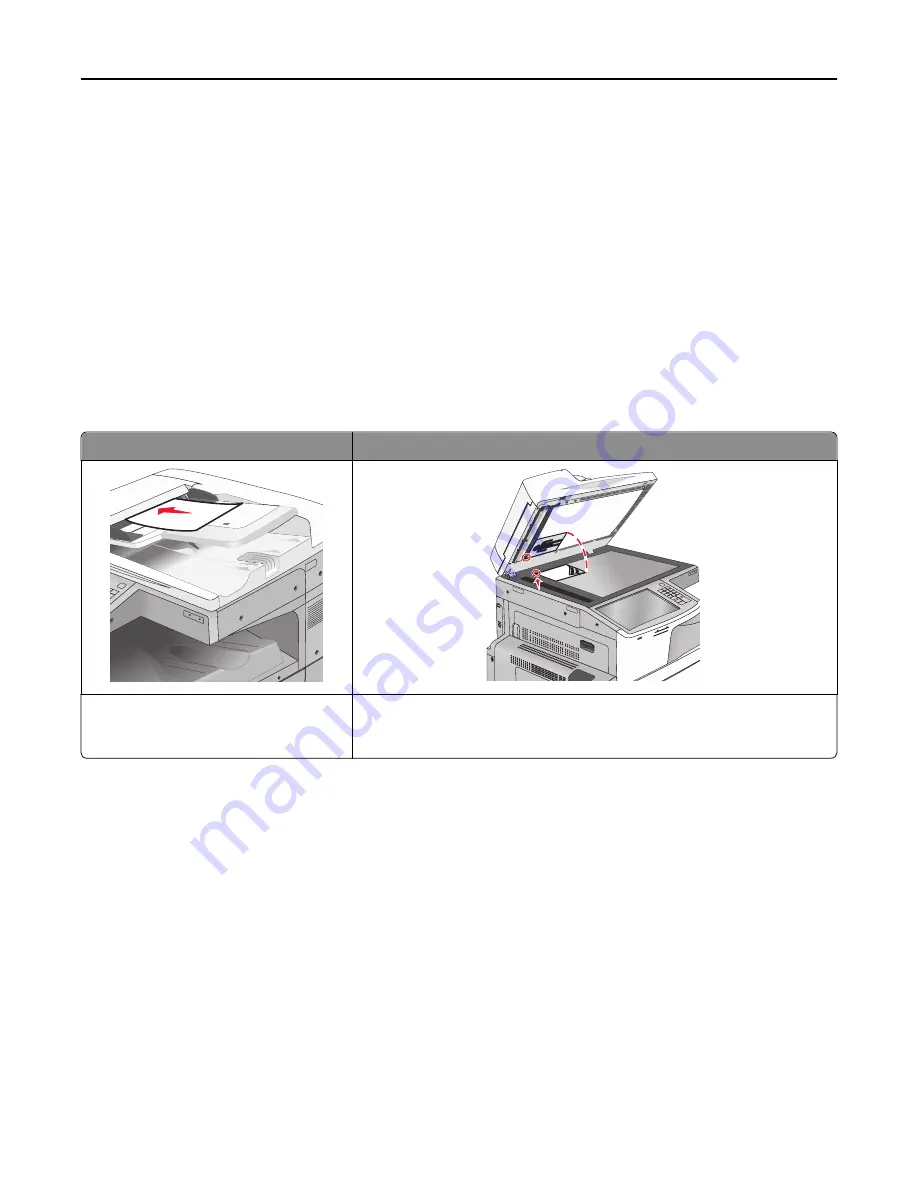
ADF
Scanner glass
Use the ADF for multiple
‑
page documents. Use the scanner glass for single pages, small items (such as postcards or
photos), transparencies, photo paper, or thin media (such as magazine
clippings).
The scanner lets you scan documents directly to a computer or a flash drive. The computer does not have to be directly
connected to the printer for you to receive Scan to PC images. You can scan the document back to the computer over
the network by creating a scan profile on the computer and then downloading the profile to the printer.
Scanning to a computer
1
Type the printer IP address into the address field of your Web browser.
If you do not know the IP address of the printer, you can:
•
View the IP address on the printer control panel in the TCP/IP section under the Networks/Ports menu.
•
Print a network setup page or the menu settings pages and locate the IP address in the TCP/IP section.
2
Click
Scan Profile
>
Create
.
3
Select your scan settings, and then click
Next
.
4
Select a location on your computer where you want to save the scanned output file.
Scanning
142
Summary of Contents for X950de 4
Page 28: ...Touch To Reset Reset values on the screen Understanding the home screen 28 ...
Page 242: ...4 Locate the printhead wipers Maintaining the printer 242 ...
Page 259: ...7 Lower the cover 8 Slide out the printhead wipers 3x 3x 3x Maintaining the printer 259 ...
Page 260: ...9 Slide the printhead wipers back into place 10 Close the cover Maintaining the printer 260 ...
Page 266: ...3 Hold the tabs on both sides of the staple cartridge Maintaining the printer 266 ...
Page 267: ...4 Rotate the booklet staple cartridge at an angle Maintaining the printer 267 ...


