13-23
Using Various Functions > About Functions
Sending/Storing
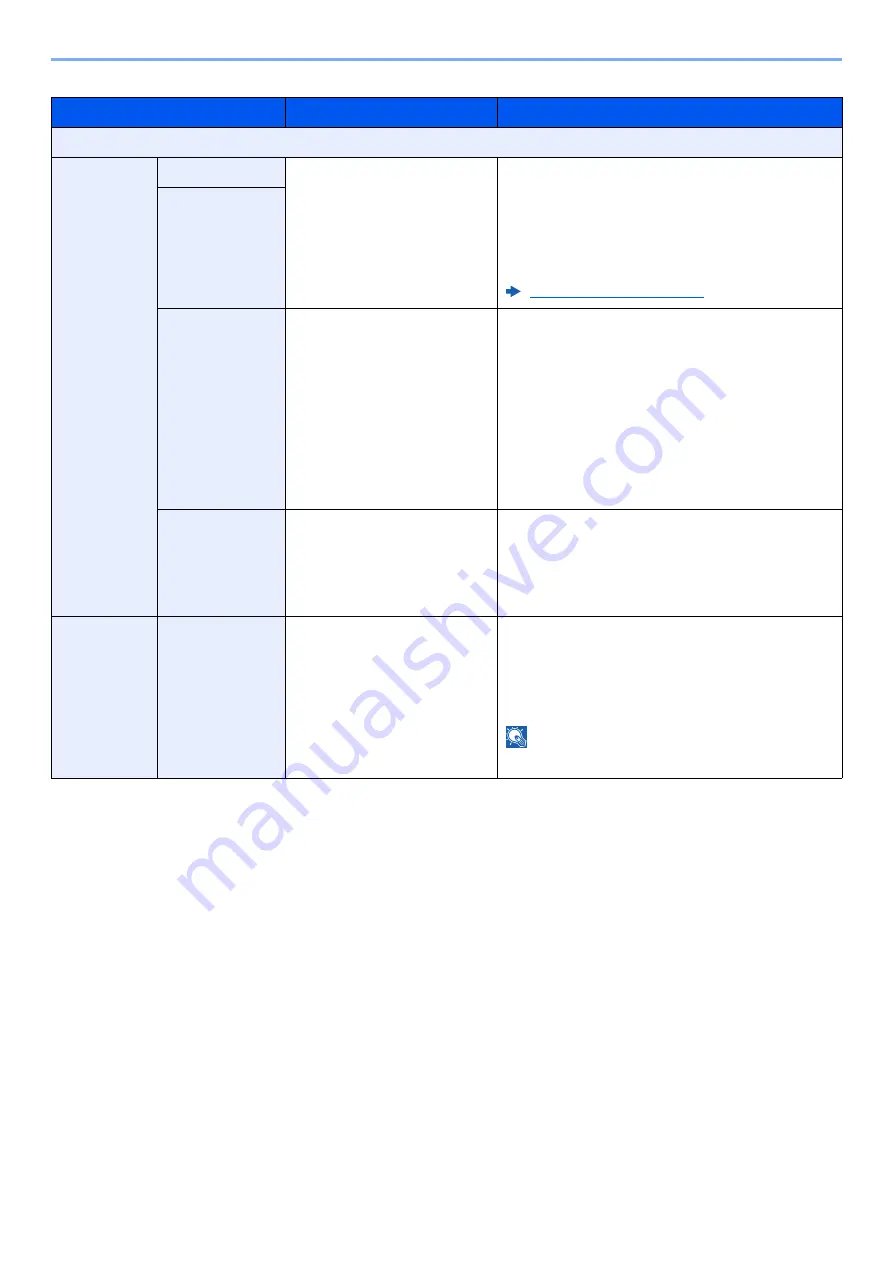
When you have sent/stored the original after specifying the original size and sending/storing size, depending on these
sizes, a margin is created at the bottom, left, or right side of paper. By using the Centering function, the image is placed
with a margin equally created for all edges.
(
Value
: [
Off
] / [
On
])
Item
Value
Description
Off
Margin
Left/Right
Metric: -18 mm to +18 mm
(in 1 mm increments)
Inch: -0.75" to +0.75"
(in 0.01" increments)
Set the margin width.
Enter the margins for "Left/Right" and "Top/
Bottom" by selecting [
+
] or [
-
], or by using the
numeric keys.
The input units can be changed in System Menu.
For details, refer to the following:
Top/Bottom
Back Page
Auto, Manual
For duplex copying, select [
Back Page
] and
select [
Auto
] or [
Manual
].
When [
Auto
] is selected, an appropriate margin is
applied automatically on the rear page depending
on a margin specified for the front page and a
binding orientation.
When [
Manual
] is set, you can set a different
margin than the front on the back. Set the margin
in the screen that is displayed. The setting
selections are the same as for the front.
Original
Orientation
Top Edge on Top, Top Edge
on Left, Auto
Select the orientation of the original document top
edge to scan correct direction.
Select [
Original Orientation
] to choose
orientation of the originals, either [
Top Edge on
Top
] or [
Top Edge on Left
]. Then select [
OK
].
Centering
Original
Orientation
Top Edge on Top, Top Edge
on Left, Auto
Select the orientation of the original document top
edge to scan correct direction.
Select [
Original Orientation
] to choose
orientation of the originals, either [
Top Edge on
Top
] or [
Top Edge on Left
]. Then select [
OK
].
NOTE
Not displayed when printing from USB drive.


