2KR/2KS
1-5-35
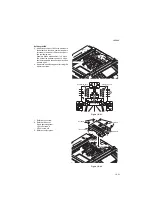
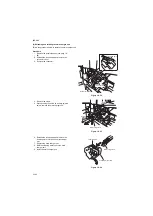
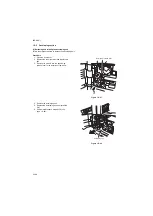
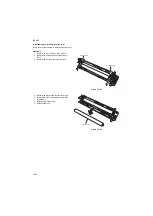
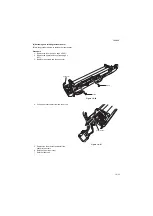
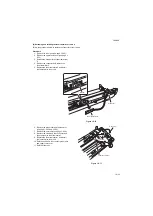
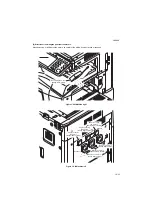
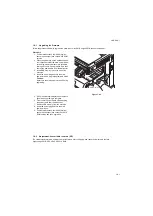
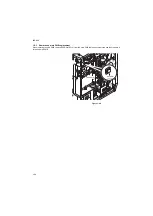
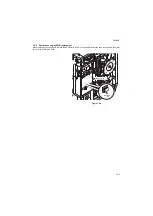
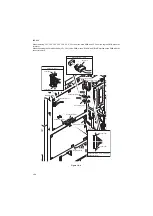
(6) Detaching and refitting the fuser thermistor 1 and 2
Follow the procedure below to replace the fuser thermistor 1 and 2.
Procedure
1. Remove the fuser unit (see page 1-5-30).
2. Remove the upper fuser cover (see page 1-
3. Release the stopper of the fuser thermistor
2.
4. Remove the connector and remove the
fuser thermistor 2.
5. Replace the fuser thermistor 2 and install
the thermistor to fuser unit.
Figure 1-5-70
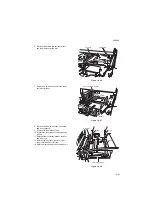
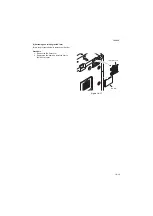
6. Remove the press roller and fuser heater
(see page 1-5-32 and 1-5-33).
7. Remove the heat roller (see page 1-5-34).
8. Remove the screw and the connector, and
then remove the fuser thermistor 1.
9. Replace the fuser thermistor 1 and install
the thermistor to fuser unit.
10. Refit the heat roller, fuser heater, press roller
and upper fuser cover.
11. Refit the fuser unit.
Figure 1-5-71
Connector
Fuser thermistor 2
Stopper
Connector
Screw
Fuser thermistor 1
Summary of Contents for TASKalfa 420i
Page 1: ...SERVICE MANUAL Published in May 2010 842KS113 2KSSM063 Rev 3 TASKalfa 420i TASKalfa 520i ...
Page 4: ...This page is intentionally left blank ...
Page 10: ...This page is intentionally left blank ...
Page 14: ...2KR 2KS This page is intentionally left blank ...
Page 224: ...2KR 2KS 1 4 66 This page is intentionally left blank ...
Page 328: ...2KR 2KS 2 3 30 This page is intentionally left blank ...
Page 371: ...INSTALLATION GUIDE FOR PAPER FEEDER ...
Page 381: ...INSTALLATION GUIDE FOR 3000 SHEETS PAPER FEEDER ...
Page 436: ...INSTALLATION GUIDE FOR CENTER FOLDING UNIT ...
Page 450: ...INSTALLATION GUIDE FOR MAILBOX ...
Page 458: ...INSTALLATION GUIDE FOR HOLE PUNCH UNIT ...
Page 470: ...INSTALLATION GUIDE FOR BUILT IN FINISHER ...
Page 483: ...INSTALLATION GUIDE FOR JOB SEPARATOR ...
Page 491: ...INSTALLATION GUIDE FOR FAX System ...
Page 507: ......
Page 508: ......

