2KR/2KS
1-5-14
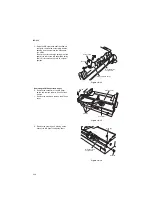
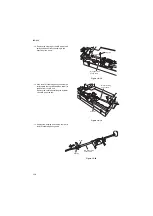
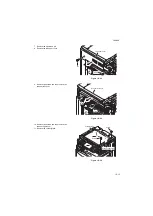
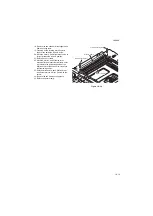
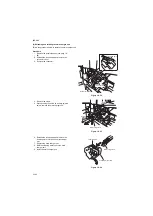
12. Remove the connector from the inverter
PWB.
13. Draw the connector into the machine inside
from opening.
Figure 1-5-31
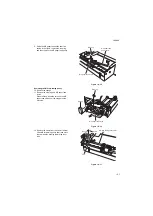
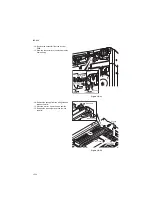
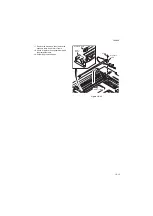
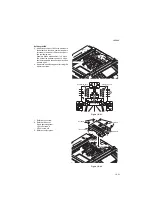
14. Remove the sponge from the wire guide and
release the wire.
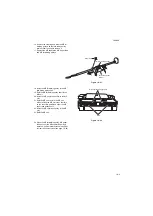
15. Move the mirror 1 frame to notch position.
16. Release the wire holder and then remove
the wire.
Figure 1-5-32
Connector
Opening
Inverter PWB
Wire holder
Wire
Mirror 1 frame
Mirror 1 frame
Wire
Sponge
Wire guide
Summary of Contents for TASKalfa 420i
Page 1: ...SERVICE MANUAL Published in May 2010 842KS113 2KSSM063 Rev 3 TASKalfa 420i TASKalfa 520i ...
Page 4: ...This page is intentionally left blank ...
Page 10: ...This page is intentionally left blank ...
Page 14: ...2KR 2KS This page is intentionally left blank ...
Page 224: ...2KR 2KS 1 4 66 This page is intentionally left blank ...
Page 328: ...2KR 2KS 2 3 30 This page is intentionally left blank ...
Page 371: ...INSTALLATION GUIDE FOR PAPER FEEDER ...
Page 381: ...INSTALLATION GUIDE FOR 3000 SHEETS PAPER FEEDER ...
Page 436: ...INSTALLATION GUIDE FOR CENTER FOLDING UNIT ...
Page 450: ...INSTALLATION GUIDE FOR MAILBOX ...
Page 458: ...INSTALLATION GUIDE FOR HOLE PUNCH UNIT ...
Page 470: ...INSTALLATION GUIDE FOR BUILT IN FINISHER ...
Page 483: ...INSTALLATION GUIDE FOR JOB SEPARATOR ...
Page 491: ...INSTALLATION GUIDE FOR FAX System ...
Page 507: ......
Page 508: ......

