2KR/2KS
1-5-7
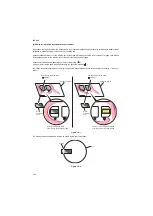
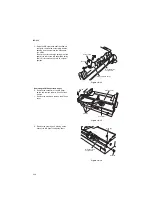
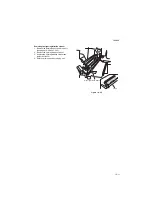
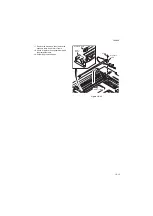
9. Raise the MP paper feed pulley shaft as
shown in the figure, remove the stop ring,
and then remove the MP paper feed pulley.
Figure 1-5-15
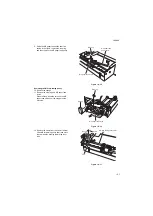
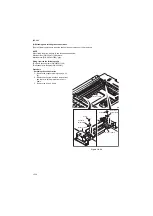
Removing the MP forwarding pulley
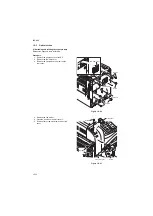
10. Remove the sponge.
11. Remove the stop ring and MP paper feed
clutch.
When refitting, insert the cutout in the MP
paper feed clutch over the stopper on the
machine.
Figure 1-5-16
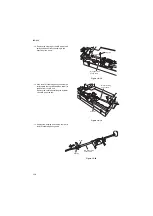
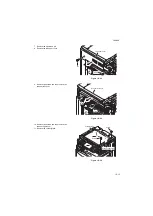
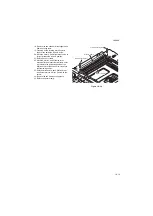
12. Remove the screw from the cam at the rear
of the MP forwarding pulley shaft and move
the cam and the bushing toward the inner
side.
Figure 1-5-17
Stop ring
MP paper feed pulley
MP paper feed
pulley shaft
MP paper feed clutch
Stop ring
Sponge
Bushing
MP forwarding pulley shaft
Cam
Screw
Summary of Contents for TASKalfa 420i
Page 1: ...SERVICE MANUAL Published in May 2010 842KS113 2KSSM063 Rev 3 TASKalfa 420i TASKalfa 520i ...
Page 4: ...This page is intentionally left blank ...
Page 10: ...This page is intentionally left blank ...
Page 14: ...2KR 2KS This page is intentionally left blank ...
Page 224: ...2KR 2KS 1 4 66 This page is intentionally left blank ...
Page 328: ...2KR 2KS 2 3 30 This page is intentionally left blank ...
Page 371: ...INSTALLATION GUIDE FOR PAPER FEEDER ...
Page 381: ...INSTALLATION GUIDE FOR 3000 SHEETS PAPER FEEDER ...
Page 436: ...INSTALLATION GUIDE FOR CENTER FOLDING UNIT ...
Page 450: ...INSTALLATION GUIDE FOR MAILBOX ...
Page 458: ...INSTALLATION GUIDE FOR HOLE PUNCH UNIT ...
Page 470: ...INSTALLATION GUIDE FOR BUILT IN FINISHER ...
Page 483: ...INSTALLATION GUIDE FOR JOB SEPARATOR ...
Page 491: ...INSTALLATION GUIDE FOR FAX System ...
Page 507: ......
Page 508: ......

