2KR/2KS
1-3-68
U246
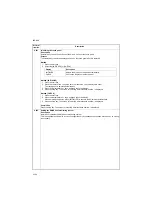
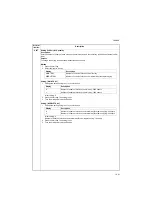
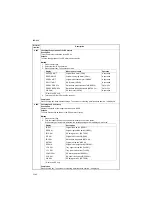
Setting: Adjustment of registration stop timing
1. Select [PUNCH REG ADJ].
2. Change the setting value using the cursor up/down keys.
If skewed paper conveying occurs (sample 1), increase the preset value. If the copy paper is Z-folded
(sample 2), decrease the preset value.
Figure 1-3-18
3. Press the start key. The value is set.
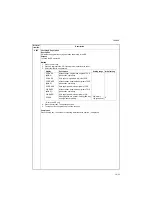
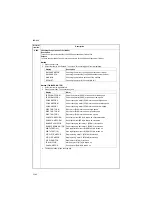
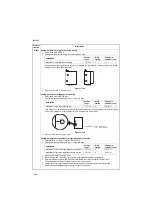
Setting: Adjustment of the paper stop timing
1. Select [PUNCH POSITION ADJ].
2. Change the setting value using the +/- or numeric keys.
If the distance of the position of a punch hole is smaller than the specified value A, increase the preset
value. If the distance is larger than the value A, decrease the preset value.
Figure 1-3-19
3. Press the start key. The value is set.
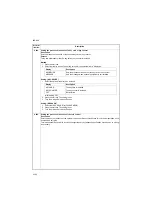
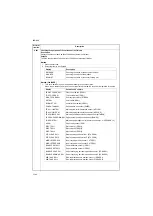
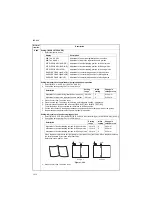
Setting: Adjustment of front/rear side registration home position
1. Select [WIDTH F HP ADJ] or [WIDTH R HP ADJ].
2. Change the setting value using the +/- or numeric keys.
3. Press the start key. The value is set.
4. Press the stop key. The screen for selecting a maintenance item No. is displayed.
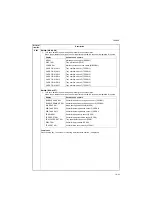
5. Enter maintenance mode U240 and select [FINISHER MOTOR], then [WIDTH TEST (A3)].
The width guides of the Inner tray will move to A3-size position.
6. Pull the Inner tray, insert paper between the guides and check that paper is abut the guides.
7. Repeat the above adjustment until paper is properly in position.
Maintenance
item No.
Description
Description
Setting
range
Initial
setting
Change in
value per step
Adjustment of registration stop timing
-20 to 20
0
1 ms
Sample 1
Sample 2
Description
Setting
range
Initial
setting
Change in
value per step
Adjustment of the paper stop timing
-10 to 10
0
0.49 mm
A
Preset value A: 5.5 +
- 2 mm (inch)
9.5 +
- 2 mm (metric)
Description
Setting
range
Initial
setting
Change in
value per step
Adjustment of front side registration home position
-10 to 10
0
0.31 mm
Adjustment of rear side registration home position
-10 to 10
0
0.31 mm
Summary of Contents for TASKalfa 420i
Page 1: ...SERVICE MANUAL Published in May 2010 842KS113 2KSSM063 Rev 3 TASKalfa 420i TASKalfa 520i ...
Page 4: ...This page is intentionally left blank ...
Page 10: ...This page is intentionally left blank ...
Page 14: ...2KR 2KS This page is intentionally left blank ...
Page 224: ...2KR 2KS 1 4 66 This page is intentionally left blank ...
Page 328: ...2KR 2KS 2 3 30 This page is intentionally left blank ...
Page 371: ...INSTALLATION GUIDE FOR PAPER FEEDER ...
Page 381: ...INSTALLATION GUIDE FOR 3000 SHEETS PAPER FEEDER ...
Page 436: ...INSTALLATION GUIDE FOR CENTER FOLDING UNIT ...
Page 450: ...INSTALLATION GUIDE FOR MAILBOX ...
Page 458: ...INSTALLATION GUIDE FOR HOLE PUNCH UNIT ...
Page 470: ...INSTALLATION GUIDE FOR BUILT IN FINISHER ...
Page 483: ...INSTALLATION GUIDE FOR JOB SEPARATOR ...
Page 491: ...INSTALLATION GUIDE FOR FAX System ...
Page 507: ......
Page 508: ......

