Chapter 6
Novell Host Configuration
138
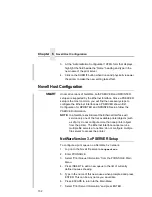
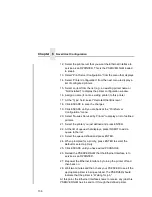
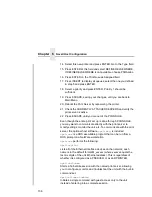
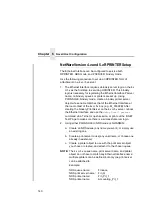
14. Select this new printer and press ENTER. Go to the Type field.
15. Press ENTER at this field and select DEFINED ELSEWHERE.
If DEFINED ELSEWHERE is not available, choose PARALLEL.
16. Press ENTER on the Print Queues Assigned field.
17. Press INSERT to display all queues; select the one you defined
in step 5 and press ENTER.
18. Select a priority and press ENTER. Priority 1 should be
sufficient.
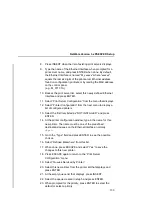
19. Press ESCAPE, saving your changes, until you are back to
Main Menu.
20. Reboot the Print Server by repowering the printer.
21. Check the CURRENTLY ATTACHED SERVERS and verify the
print server is active.
22. Press ESCAPE until you are out of the PCONSOLE.
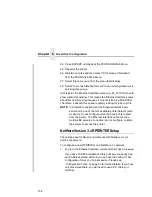
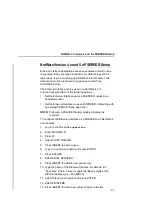
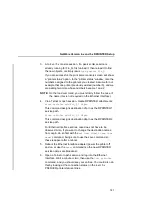
Even though the entire print set up is done through PCONSOLE,
you may want to communicate directly with the print server to
modify settings, monitor the unit, etc. To communicate with the print
server, the optional host software,
npsh.exe
, is included.
npsh.exe
is a DOS executable program that can be run from a
DOS prompt on a NetWare workstation.
npsh.exe
performs the following:
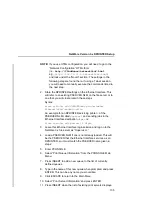
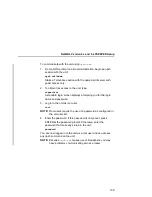
npsh nvplist
Lists all of the Ethernet Interface devices on the network; each
name is in the default format M_xxxxxx (where xxxxxx equals the
last six digits of the unit Ethernet address). This is regardless of
whether it is configured as a PSERVER or as an RPRINTER.
npsh unitname
Starts a Telnet-like session with the named print server, allowing
you to configure, monitor, and troubleshoot the unit with the built-in
command set.
npsh unitname command
Initiates a single command with guest access only to the unit
instead of entering into a complete session.
Summary of Contents for 4400 Series
Page 2: ......
Page 3: ...G544 5769 03 User s Manual 4400 Series Thermal Printer Basic And Smart Ethernet Interface ...
Page 14: ...Table of Contents ...
Page 30: ...Chapter 1 Interfaces 30 ...
Page 48: ...Chapter 3 Network Configuration 48 Novell Network Figure 8 Novell Network Configuration ...
Page 72: ...Chapter 3 IBM Printing Systems 72 ...
Page 90: ...Chapter 4 Windows Host Configuration 90 8 Select Custom and click Settings ...
Page 92: ...Chapter 4 Windows Host Configuration 92 10 Click Next 11 Click Finish ...
Page 94: ...Chapter 4 Windows Host Configuration 94 14 Select Yes then click Next 15 Click Next ...
Page 108: ...Chapter 4 Windows Troubleshooting Tips 108 ...
Page 128: ...Chapter 5 Unix Troubleshooting Tips 128 ...
Page 184: ...Chapter 8 OS 2 Workstation Configuration 184 ...
Page 200: ...Chapter 9 AS 400 ASCII Troubleshooting 200 ...
Page 242: ...Chapter 11 Handling MVS Connectivity Problems 242 ...
Page 256: ...Chapter 13 Monitoring Tools 256 ...
Page 284: ...Chapter 15 Complete Command List 284 ...
Page 292: ...Chapter 16 Ethernet Interface Naming Schemes 292 ...
Page 304: ...Communication Statements 304 ...
Page 310: ...Chapter 310 ...
Page 322: ...Index 322 ...
Page 325: ......


