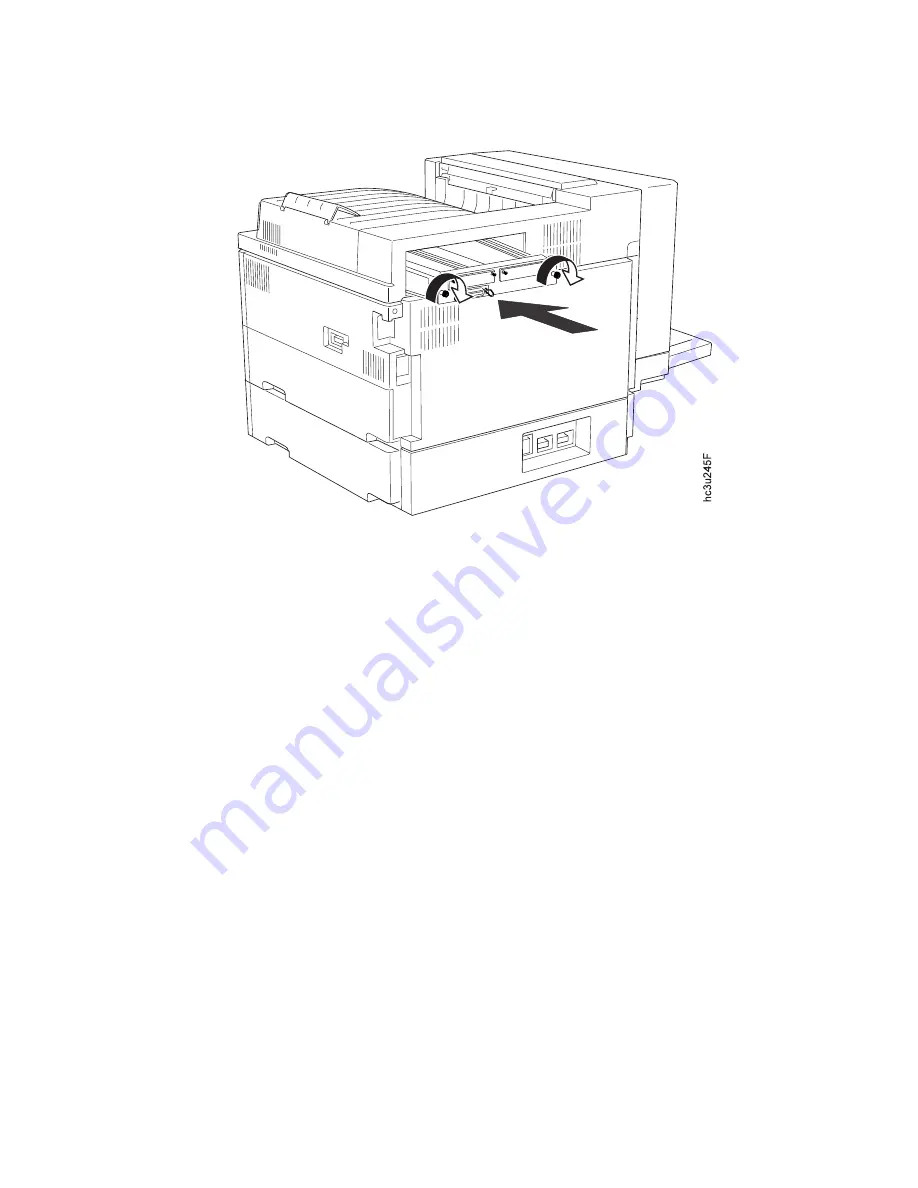
4.
Tighten the thumbscrews at the left and right ends of the controller card
mounting bracket.
5.
Connect the power cord to the back of the printer.
6.
Plug in and switch on the printer.
7.
After the printer warms up, the READY message displays on the operator
panel.
Note:
If the message display area shows solid rectangles, reseat the
controller card.
8.
To confirm that you have correctly installed a memory SIMM, hard drive,
data stream SIMM, or any combination, print a configuration page. The
INSTALLED OPTIONS section will list the features if they have been
correctly installed. See “Printing the Printer Configuration Page” on
page 25.
Note:
If the SIMM or hard drive options do not appear on the
configuration page, remove the controller card, make sure that the
SIMM or hard drive is correctly seated, and reinstall the controller
card.
9.
Make sure you update your printer driver to indicate the new DRAM
SIMM, IPDS SIMM, Flash Memory SIMM, or hard drive is installed.
Chapter 8. Installing Printer Options
171
Summary of Contents for 4332-004 - InfoPrint 40 B/W Laser Printer
Page 1: ...Infoprint 32 Infoprint 40 User s Guide S544 5484 02 IBM...
Page 2: ......
Page 3: ...Infoprint 32 Infoprint 40 User s Guide S544 5484 02 IBM...
Page 8: ...vi Infoprint 32 and Infoprint 40 User s Guide...
Page 12: ...x Infoprint 32 and Infoprint 40 User s Guide...
Page 44: ...32 Infoprint 32 and Infoprint 40 User s Guide...
Page 84: ...72 Infoprint 32 and Infoprint 40 User s Guide...
Page 154: ...142 Infoprint 32 and Infoprint 40 User s Guide...
Page 176: ...with a dry clean cloth 164 Infoprint 32 and Infoprint 40 User s Guide...
Page 226: ...214 Infoprint 32 and Infoprint 40 User s Guide...
Page 236: ...224 Infoprint 32 and Infoprint 40 User s Guide...
Page 286: ...274 Infoprint 32 and Infoprint 40 User s Guide...
Page 295: ......
Page 296: ...IBM Part Number 38L0921 File Number S370 4300 9370 16 Printed in U S A S544 5484 02 38L0921...


