


4.
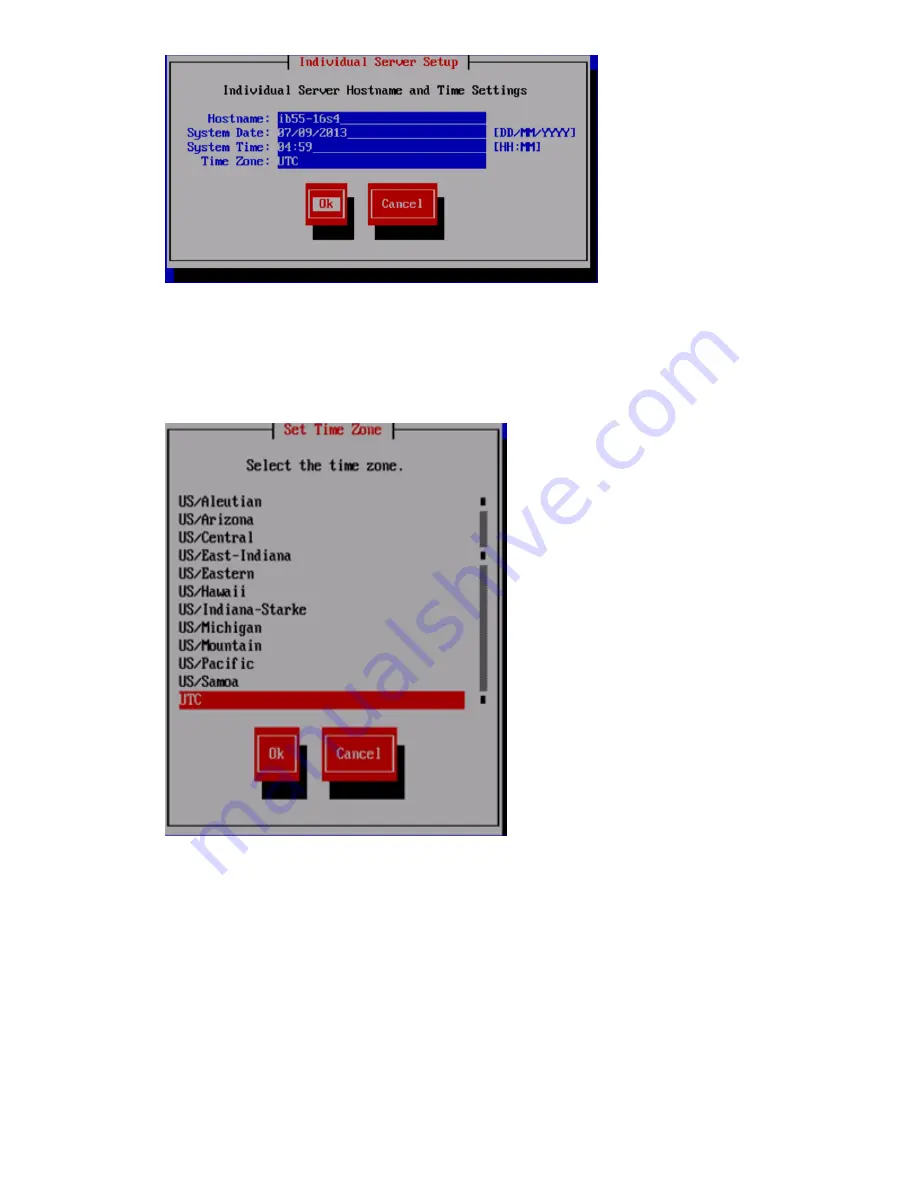
The system automatically detects the system time settings; however, if necessary, use the System
Date and System Time fields to update the time settings on the
Individual Server Setup
screen.
While setting the time zone, press
Enter
while the cursor is positioned in the Time Zone field
to display the list of time zones in a separate screen. Enter the first letter of your time zone,
or use the
UP
and
DOWN
arrow keys to find your time zone.
5.
Select
Ok
to accept the screen time zone selection.
6.
On the
Network Configuration for HP StoreAll Data Access
screen, select one of the following
options to configure the network for HP StoreAll data access, and then select
Ok
:
•
Flat Networking (combined cluster/user network)
: Use this option to create a combined
cluster and user network. A single bonded interface (
Bond0
) is created using all available
NIC ports in node slots 5 and 6 for all network traffic. See flat and dual networking
information in
“Before you begin configuring HP StoreAll 8xxx and 93xx Storage systems”
(page 55)
.
•
Dual Networking (separate cluster and user network)
: Use this option to create separate
networks for cluster and user traffic. Two bonded interfaces (
Bond0
and
Bond1
) are
60
Installing the HP StoreAll OS Software and configuring the HP StoreAll Storage system