


3.
If you are finished with setting up file servers and the firmware is up-to-date, click
Next
.
The system verifies entries. The
Create a Default File System
screen appears.
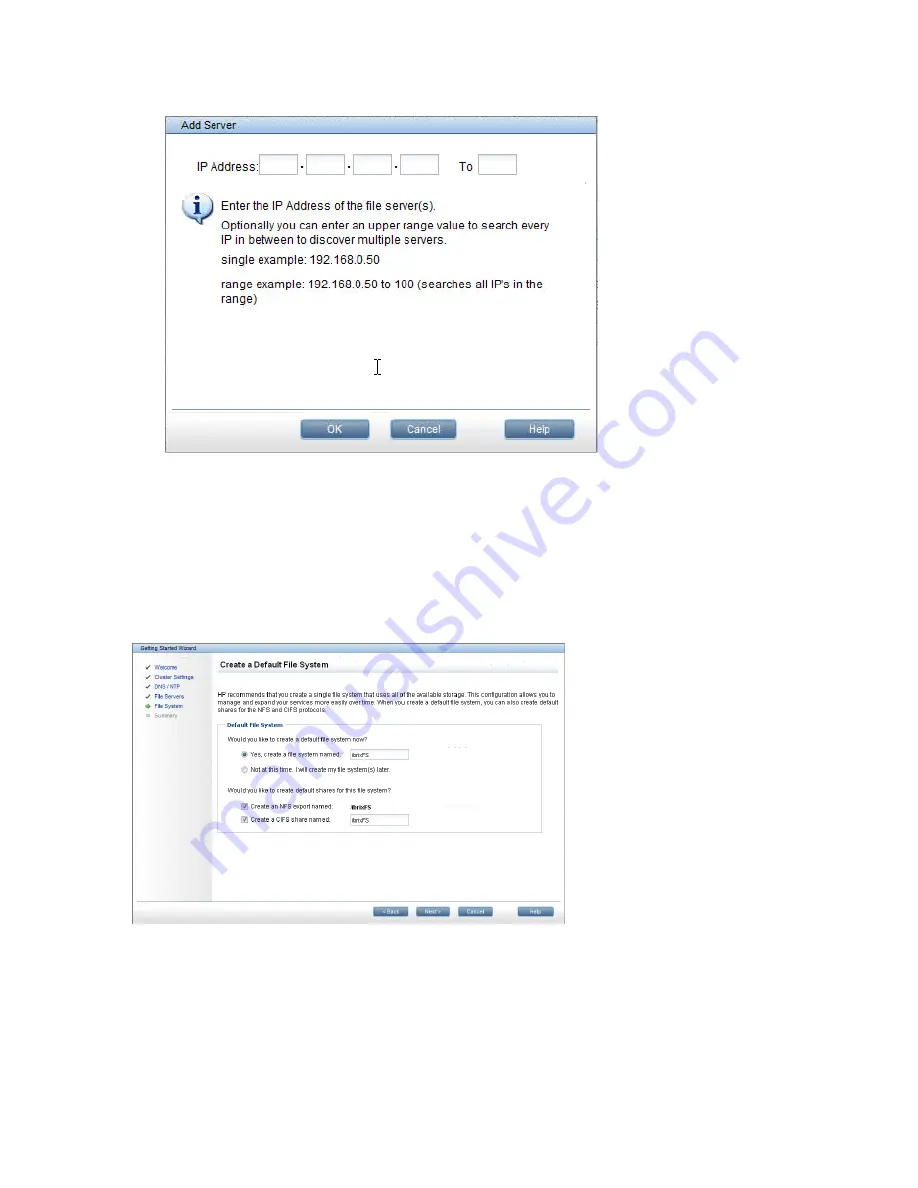
Step 4 - Creating a Default File System
Use the
Create a Default File System
screen to create this file system (enter a name for the file
system). You can choose to create the file system at a later time.
HP recommends that you create one file system using storage available in the cluster. You can
choose to create the file system at a later time. You can also create NFS and SMB shares on the
file system.
If you create an SMB share, you need to configure the nodes for SMB and configure authentication.
You might also want to set certain SMB parameters, such as user permissions. Other configuration
options are also available for NFS shares. See the HP StoreAll OS User Guide for more information.
When are finished, click
Next
to continue. After you click
Next
, the system completes background
processing tasks. This process consumes all storage in your system, and my take several hours.
After background processing is complete, the
Summary
screen appears.
The system changes the Fusion Manager GUI IP address to the one entered on the
Cluster Settings
screen (see
“Step 1 - Setting up Cluster Settings” (page 107)
).
112
Configuring clusters remotely with the Getting Started Wizard