


Step 6 - Enabling/Disabling Configure Options
Use the
Configure Options
screen to enable or disable configuration options.
1.
On the
Configure Options
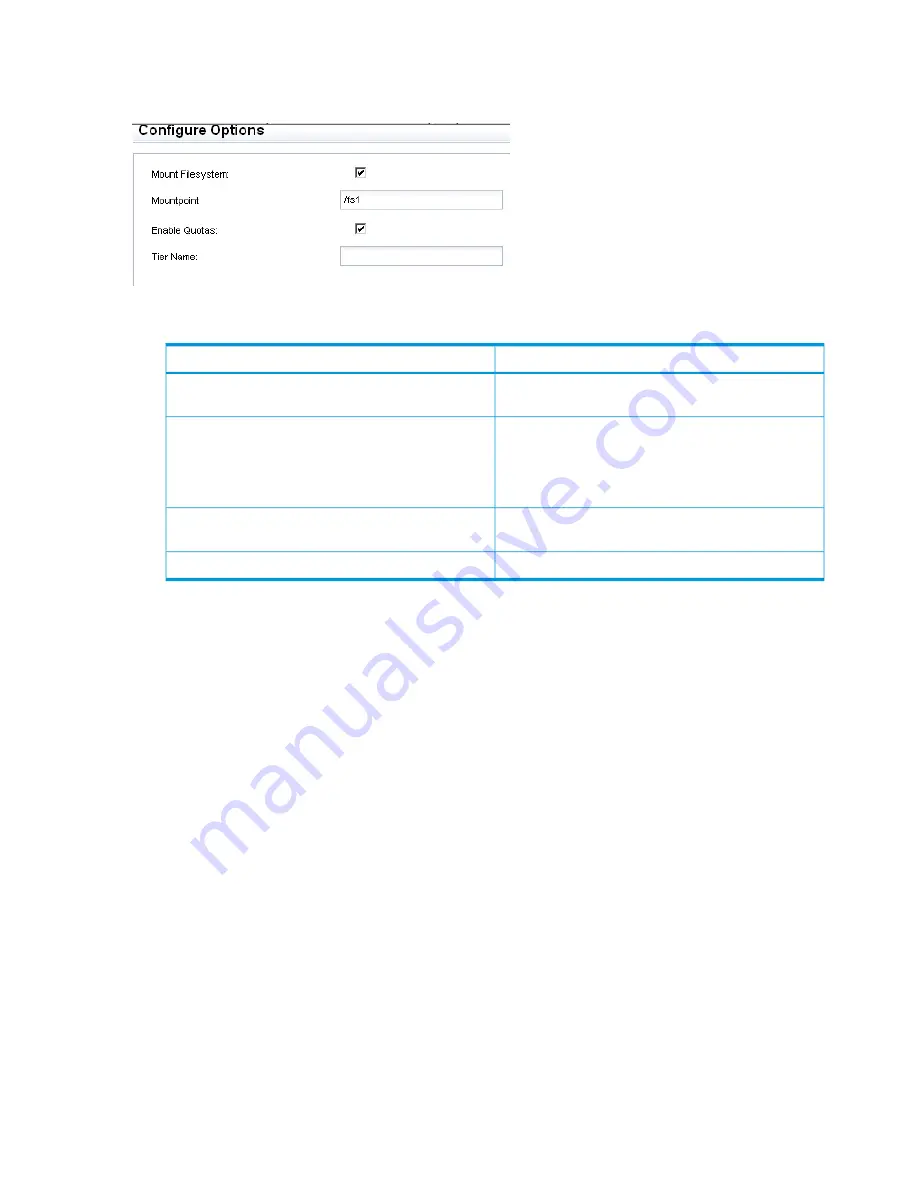
screen, configure the following options.
Description
Field
Select this option to direct the wizard to create a
mountpoint and mount the file system.
Mount Filesystem
If you chose to create a mountpoint, the wizard
automatically supplies a mountpoint name that matches
the file system name. You can assign a different name
to the mountpoint, if desired. Insert a slash before the
name.
Mountpoint
Select this option to enable quotas on the selected
storage.
Enable Quotas
Enter the tier name.
Tier Name
2.
Click
Next
. The
WORM/Retention
screen appears.
Step 7 - Configuring WORM/Retention
Use the
WORM/Retention
screen to enable data retention and, optionally, data validation and
data retention reports. After a file system is enabled for data retention, you can specify a retention
profile that includes minimum, maximum, and default retention periods that specify how long a
file must be retained. WORM files use the default retention period and cannot be deleted with
normal operating system utilities until that period has expired.
136
Discovering and configuring HP StoreAll servers and their storage