


Thor VM3 with Microsoft Windows Embedded Compact 7 User Guide
131
6. Carefully lift the front panel away from the device.
7. Position the replacement front panel so wiring connector on the back of the front
panel lines up with the connector on the Thor VM3.
8. Gently press the front panel into place.
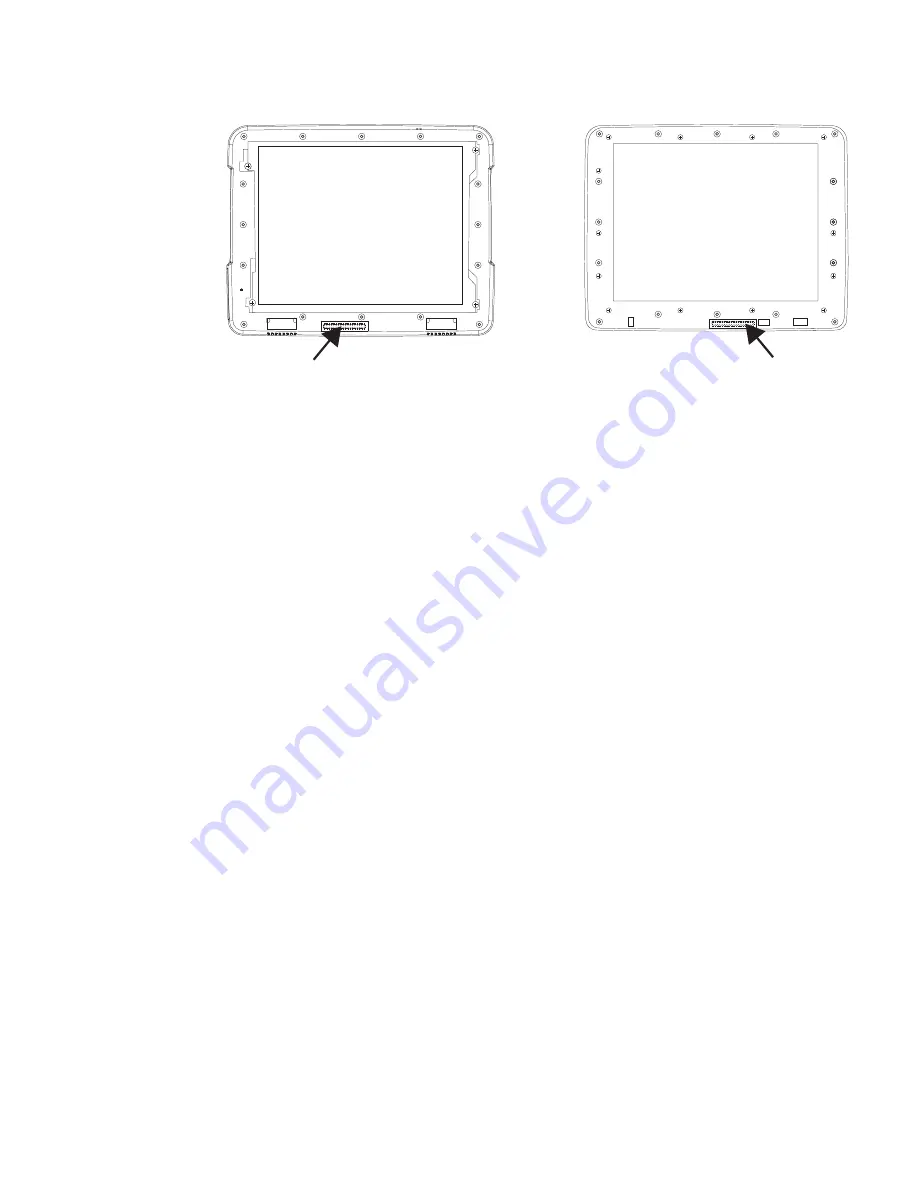
9. Tighten the sixteen (16) captive M3 screws. In the order shown in the top figure
above, use a #2 Phillips bit and torque the screws to 7 ± 0.5 inch pounds.
10. Reinstall the Thor VM3 in the dock.
11. When the Thor VM3 is placed in the powered dock, the UPS battery automatically
reconnects.
12. Restart the Thor VM3.
13. If adding or removing a defroster, update the Thor VM3 configuration by selecting
Start > Settings > Control Panel > Peripherals
and tap the
Test
button.
14. Close any open control panel windows.
15. Perform a touch screen
16. The Thor VM3 is ready for use.
Wiring Connector
on Thor VM3
Wiring Connector
on Front Panel
Summary of Contents for Thor VM3
Page 1: ...User Guide Thor VM3 Vehicle Mount Computer with Microsoft Windows Embedded Compact 7 0 ...
Page 12: ...xii Thor VM3 with Microsoft Windows Embedded Compact 7 User Guide ...
Page 16: ...4 Thor VM3 with Microsoft Windows Embedded Compact 7 User Guide ...
Page 36: ...24 Thor VM3 with Microsoft Windows Embedded Compact 7 User Guide ...
Page 144: ...132 Thor VM3 with Microsoft Windows Embedded Compact 7 User Guide ...
Page 234: ...222 Thor VM3 with Microsoft Windows Embedded Compact 7 User Guide ...
Page 240: ...228 Thor VM3 with Microsoft Windows Embedded Compact 7 User Guide ...
Page 325: ...Thor VM3 with Microsoft Windows Embedded Compact 7 User Guide 313 Hat Encoding ...
Page 326: ...314 Thor VM3 with Microsoft Windows Embedded Compact 7 User Guide ...