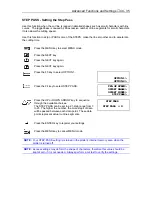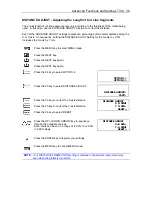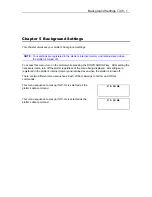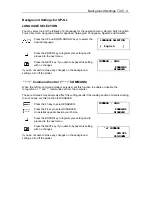
Advanced Functions and Settings
♦
C4 - 24
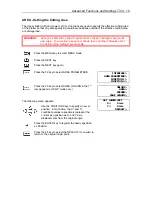
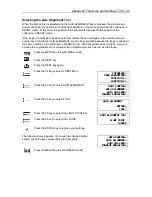
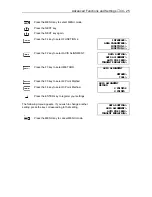
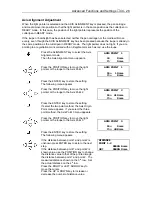
Selecting the Axis Alignment Method
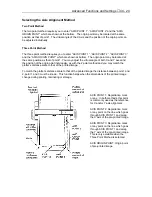
Two Point Method
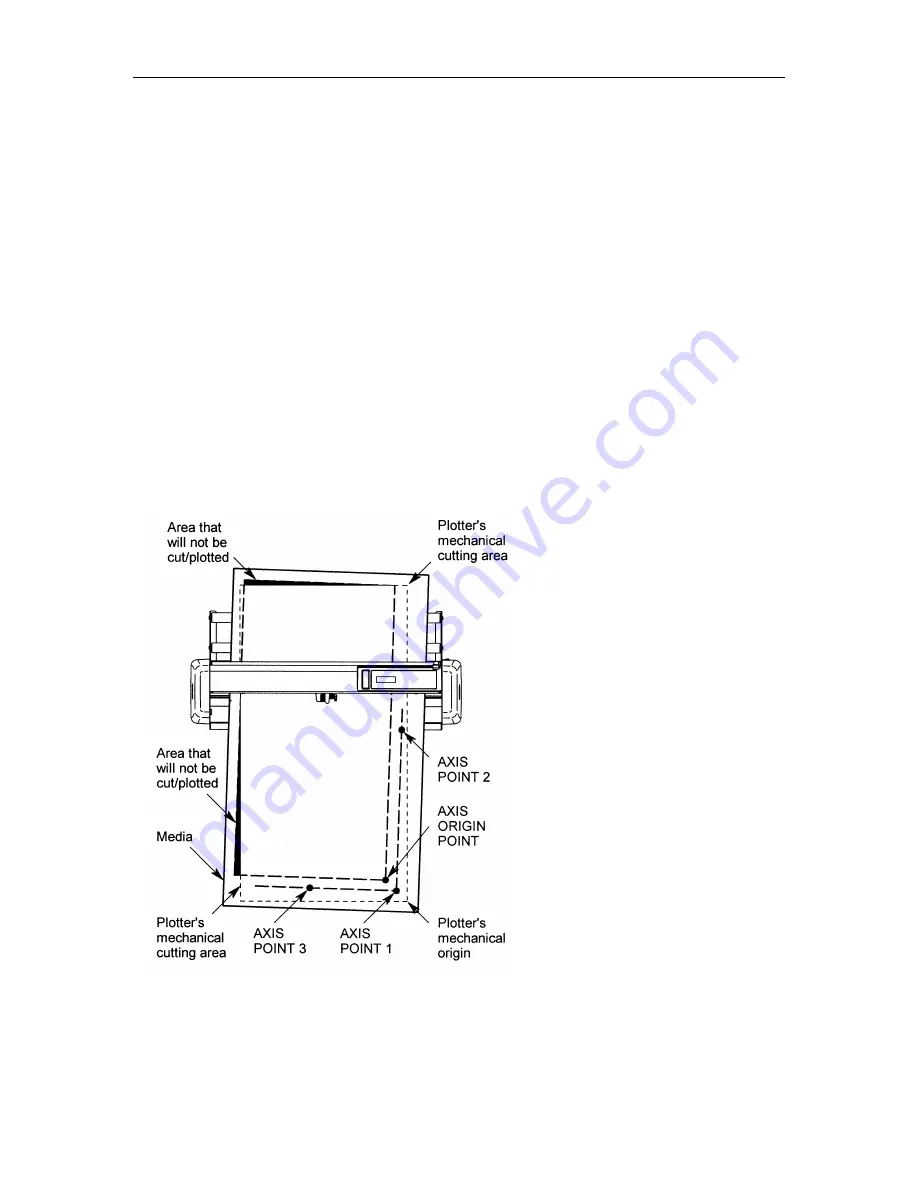
The two point method requires you to enter “AXIS POINT 1”, “AXIS POINT 2” and the “AXIS
ORIGIN POINT” which are shown at the bottom. The origin point may be located at the same
position as that of point 1. The virtual angle of the X Axis and the position of the origin point can
be adjusted individually.
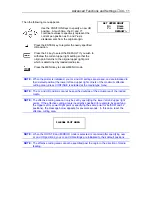
Three Point Method
The three point method requires you to enter “AXIS POINT 1”, “AXIS POINT 2”, “AXIS POINT 3”
and the “AXIS ORIGIN POINT” which are shown at bottom. The origin point may be located at
the same position as that of point 1. You may adjust the virtual angle of both X and Y axes and
the position of the origin point individually, as with the 2 point method and you may match the
plotter’s distance scale to that of the printed image.
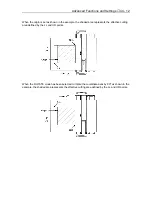
To match the plotter’s distance scale to that of the printed image the distance between point 1 and
2, point 1 and 3 must be known. This function helps when the dimensions of the printed image
change during printing, laminating or storage.
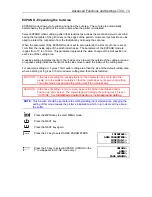
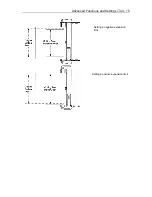
AXIS POINT 1: Registration mark
or any. In both methods, this point
is commonly used as the reference
for X and/or Y axis alignment.
AXIS POINT 2: Registration mark
or any point on the line which goes
through AXIS POINT 1 and along
the X axis of the pre-printed image.
AXIS POINT 3: Registration mark
or any point on the line which goes
through AXIS POINT 1 and along
the Y axis of the pre-printed image.
This is only available when the
Three Point Method is selected.
AXIS ORIGIN POINT: Origin point
of pre-printed image.
Summary of Contents for Cutting Pro FC4100-100
Page 1: ...cutting pro FC4100 series series USER S MANUAL 1 a...
Page 138: ...Setting the Interface Functions C7 7 Input Output Circuitry Input Output Timing Chart...
Page 147: ...Specifications C8 6 FC4100 100 without Stand FC4100 100 with Stand Standard and Basket Option...
Page 148: ...Specifications C8 7 FC4100 130 without Stand FC4100 130 with Stand Standard and Basket Option...

