


Advanced Functions and Settings
♦
C4 - 10
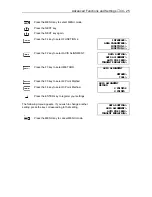
INTERFACE>
AREA PARAMETERS>
FUNCTION 1>
FUNCTION 2>
ORIGIN>
AREA>
EXPAND>
PAGE LENGTH>
SET LOWER LEFT
X= 0 mm
Y= 0 mm
DEFAULT>
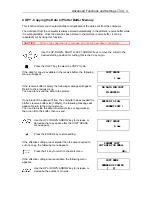
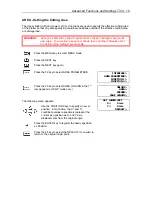
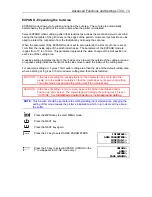
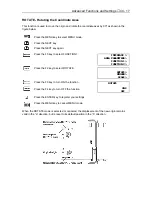
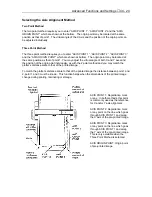
AREA - Setting the Cutting Area
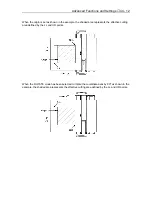
The Upper Right (UR) and Lower Left (LL) functions are used to specify the effective cutting area
of the plotter so that any data specifying coordinate positions outside of the effective cutting area
are disregarded.
WARNING:
As soon as both the LL and UR points are set, the pen carriage moves to the
new origin. To avoid injury, keep your hands, face and other obstacles out of
the vicinity of the cutting mat and media.
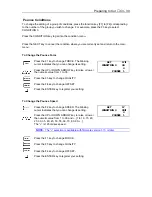
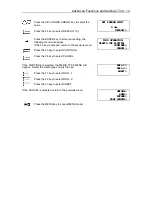
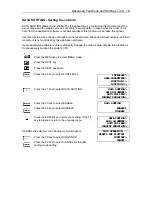
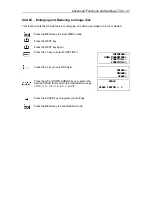
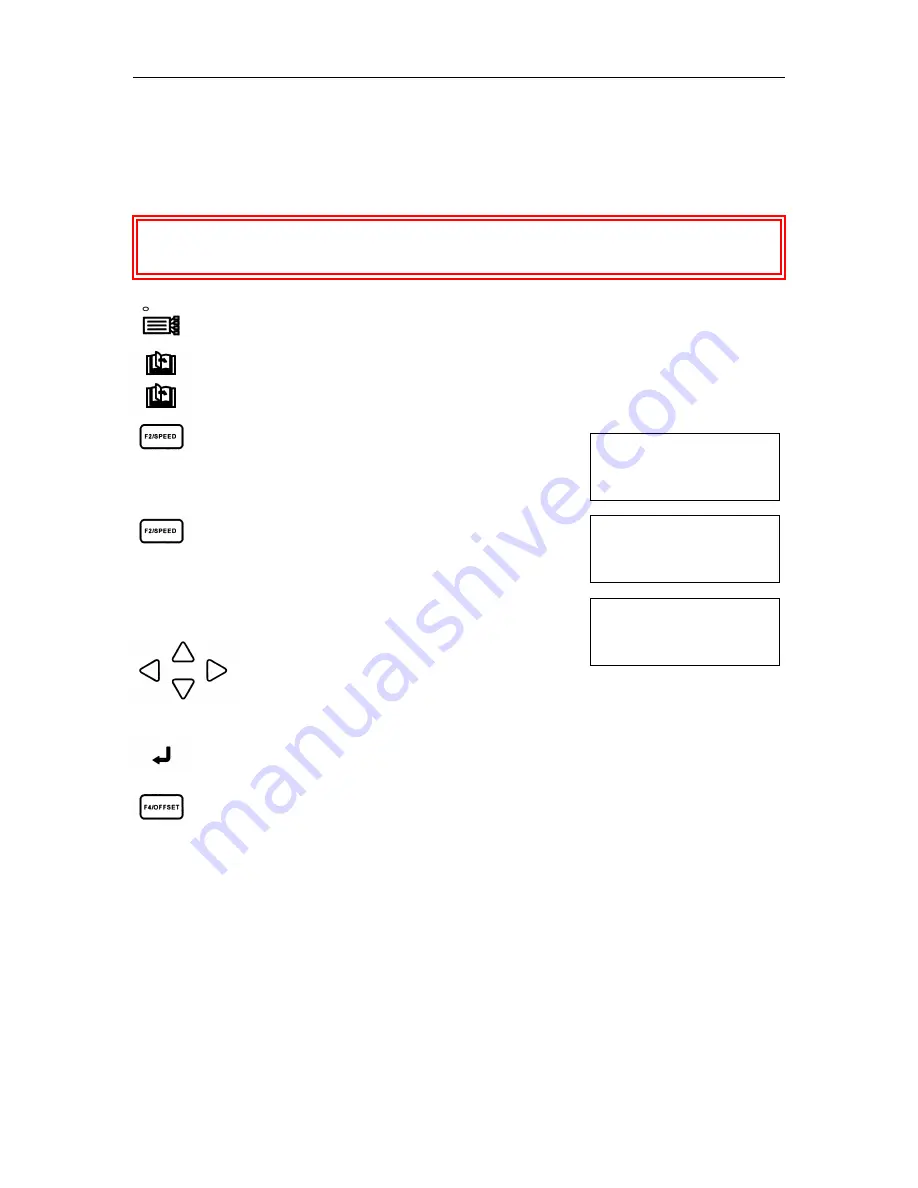
Press the MENU key to select MENU mode.
Press the NEXT key.
Press the NEXT key again.
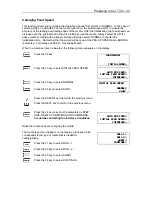
Press the F2 key to select AREA PARAMETERS.
Press the F2 key to select AREA. (ORIGIN in the 1
st
row appears in HP-GP mode only.)
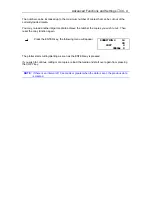
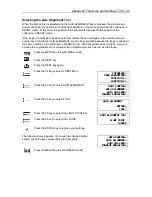
The following menu appears.
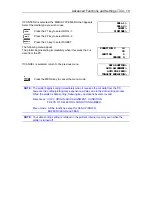
Use the POSITION Keys to specify a new LL
position. At such time, the X= and Y=
coordinate values respectively represent the
current pen position as X- and Y-axis
displacements from the original origin.
Press the ENTER key to register the newly specified
LL Position.
Press the F4 key to select the DEFAULT if you wish to
return to the original origin point.
Summary of Contents for Cutting Pro FC4100-100
Page 1: ...cutting pro FC4100 series series USER S MANUAL 1 a...
Page 138: ...Setting the Interface Functions C7 7 Input Output Circuitry Input Output Timing Chart...
Page 147: ...Specifications C8 6 FC4100 100 without Stand FC4100 100 with Stand Standard and Basket Option...
Page 148: ...Specifications C8 7 FC4100 130 without Stand FC4100 130 with Stand Standard and Basket Option...


