Preparing to Cut
♦
C3 - 21
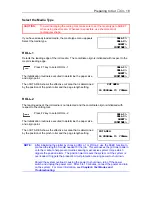
CONDITION 2 14
>
30
MENU MODE 4
CB09Ux 0
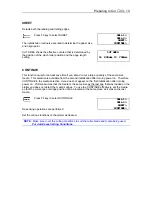
CONDITION 2 14
30
MENU MODE 4
CB09Ux 0
zz
Setting Conditions
This function lets you register four different groups of conditions in the plotter’s memory. These
conditions greatly affect the finished quality of the cutting operation. The desired group can be
quickly loaded by simply pressing the corresponding select key 1 through 4 at the control panel.
Each group consists of four parameters as described below:
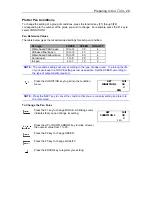
Cutting Force (Pen Pressure):
Sets the force to be applied by the cutter blade during
cutting, the hole punching force during pouncing, and the plotter pen pressure during
plotting.
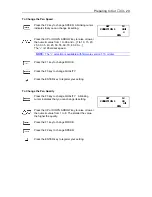
Speed:
Sets the traveling speed of the lowered pen.
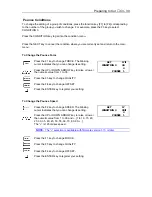
Quality:
Sets the acceleration rate of the pen during cutting or plotting.
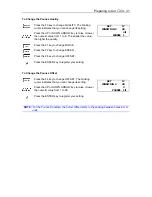
Cutter Offset:
Sets the cutter blade control factor that greatly affects the shape of
corners. This parameter consists of two parameters such as the tool type and the offset
value. Select the tool you wish to use first, then set the value.
NOTE:
The selected conditions greatly affect the finished quality of cutting operations.
NOTE:
Raising the SPEED and QUALITY values result in lower precision but reduced overall
cutting time. This is useful when making test runs.
NOTE:
Lowering the SPEED and QUALITY values result in high precision but increased
overall cutting time.
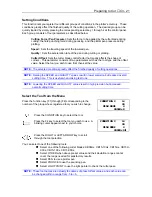
Select the Tool from the Menu
Press the function key [F1] through [F4] corresponding to the
number of the group whose registered tool you wish to change.
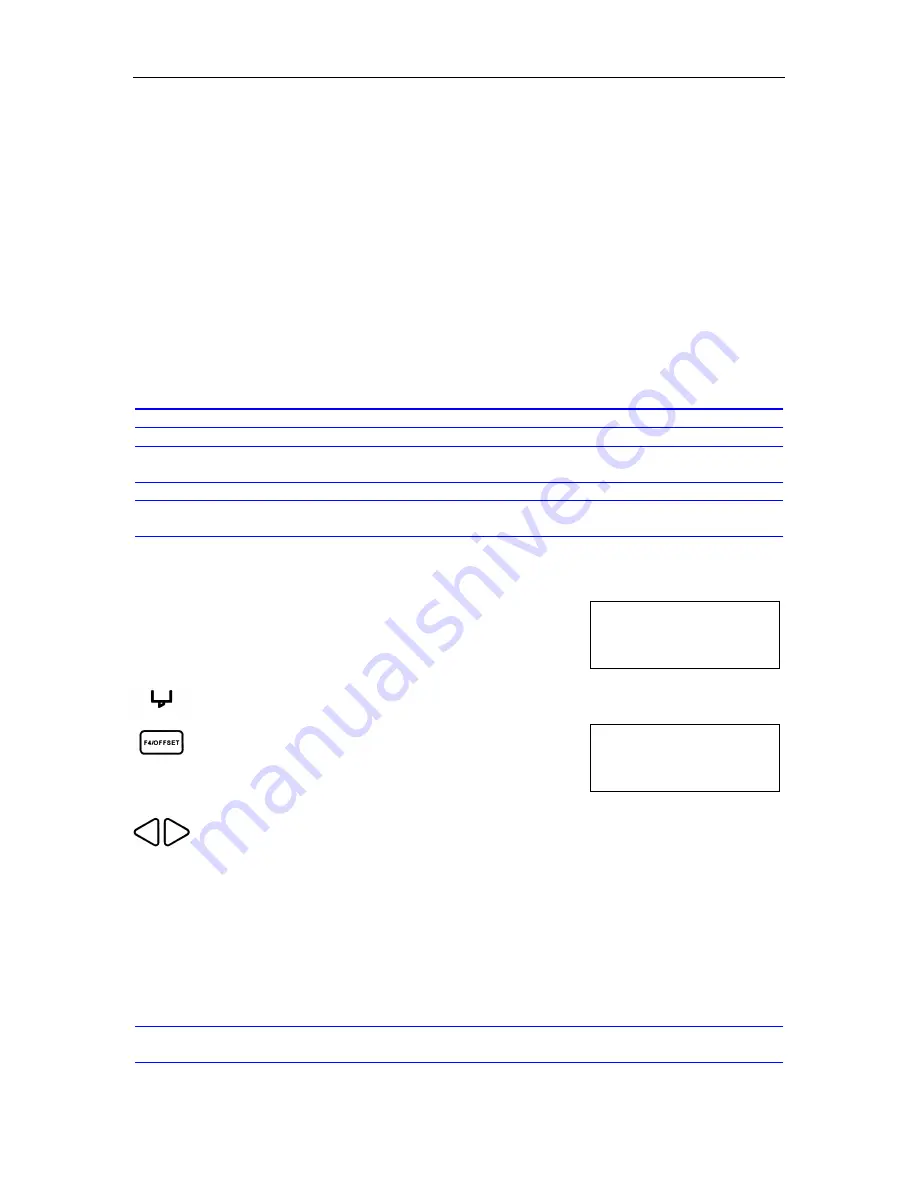
Press the CONDITION key to select the tool.
Press the F4 key to select the tool you wish to use. A
blinking cursor appears next to your choice.
Press the RIGHT or LEFT ARROW key to scroll
through the tool selection
You can select one of the following tools:
n
Select one of the following cutter blades: CB09Ux, CB15-10Ux, CB15Ux, CB15U-
K30x, CB15-10Cx, CB15-05Sx.
n
Select OTHER when above preset values and their deviation ranges cannot
cover the range needed for satisfactory results.
n
Select PEN to use a plotter pen.
n
Select POUNCE to use the pouncing pen.
n
Select LIGHT POINT to use the light pointer to check the cutter pass.
NOTE:
These tool names are actually the names of preset offset values, and each value can
be changed within a range from -5 to +5.
Summary of Contents for Cutting Pro FC4100-100
Page 1: ...cutting pro FC4100 series series USER S MANUAL 1 a...
Page 138: ...Setting the Interface Functions C7 7 Input Output Circuitry Input Output Timing Chart...
Page 147: ...Specifications C8 6 FC4100 100 without Stand FC4100 100 with Stand Standard and Basket Option...
Page 148: ...Specifications C8 7 FC4100 130 without Stand FC4100 130 with Stand Standard and Basket Option...

