Out of the Box
♦
C1 - 7
Power to the Plotter
To turn on the plotter, perform the following steps:
1. Make sure that the plotter is turned off (the “O” side of the POWER switch is
depressed).
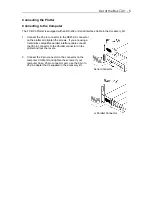
2. Connect the plotter to a computer and then configure your software application
to the desired interface conditions (if the RS-232C serial interface is used), command mode
and programmable resolution.
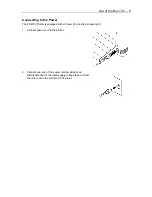
3. Connect one end of the power cord provided to an electrical socket of the rated supply voltage
then connect the other end to the plotter’s AC line inlet. The plotter’s power supply accepts
multi-voltage (100VAC to 240VAC) without changing switches.
4. Turn on the computer.
5. Turn on the plotter (the “l” side of the POWER switch is depressed).
Summary of Contents for Cutting Pro FC4100-100
Page 1: ...cutting pro FC4100 series series USER S MANUAL 1 a...
Page 138: ...Setting the Interface Functions C7 7 Input Output Circuitry Input Output Timing Chart...
Page 147: ...Specifications C8 6 FC4100 100 without Stand FC4100 100 with Stand Standard and Basket Option...
Page 148: ...Specifications C8 7 FC4100 130 without Stand FC4100 130 with Stand Standard and Basket Option...


