Test Modes and Troubleshooting
♦
C6 - 5
MOUNT THE PEN!
DONE>
CANCEL CONDITIONS>
OPTION 1>
OPTION 2>
DISTANCE ADJUST>
TEST>
CONDITION LIST>
SELF TEST>
DATA DUMP>
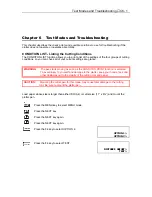
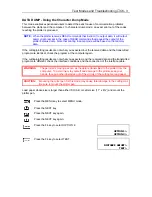
SELF TEST - Running the Self Test
Your plotter is provided with a self test function that enables it to check its own functions.
Because a correctly drawn self test pattern signifies that all of the functions of the plotter
(excluding the interface settings) have been tested and found normal, this function is useful for
determining whether the source of a problem is the plotter itself or in the connection between the
plotter and the computer.
WARNING:
The pen starts moving as soon as SELF TEST mode is executed. To avoid
injury to yourself and damage to the plotter, keep your hands, face and other
obstacles out of the vicinity of the cutting mat and paper.
Load paper whose size is larger than either ISO (A4) or Letter size (11” x 8½”) and mount the
plotter pen.
CAUTION:
Mounting the cutter pen for this mode may cause fatal damage to the cutting
mat. Be sure to mount the plotter pen.
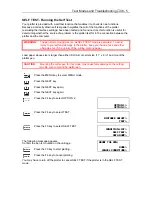
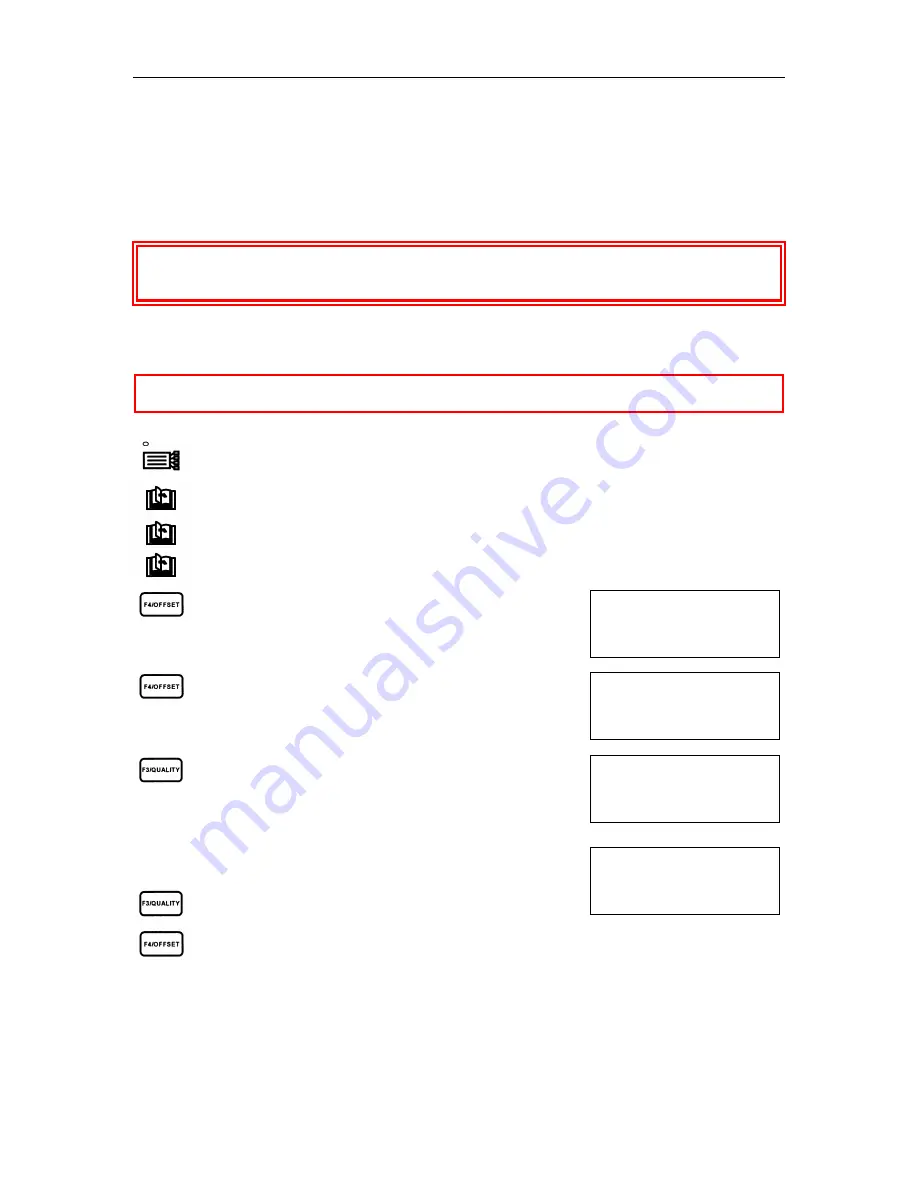
Press the MENU key to select MENU mode.
Press the NEXT key.
Press the NEXT key again.
Press the NEXT key again.
Press the F4 key to select OPTION 2.
Press the F4 key to select TEST.
Press the F3 key to select SELF TEST.
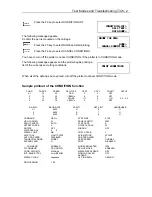
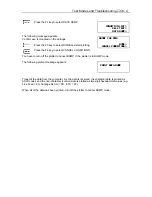
The following message appears.
Confirm the pen is mounted on the carriage .
Press the F3 key to start plotting.
Press the F4 key to cancel plotting.
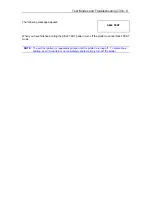
You may have to turn off the plotter to cancel SELF TEST if the plotter is in the SELF TEST
mode.
Summary of Contents for Cutting Pro FC4100-100
Page 1: ...cutting pro FC4100 series series USER S MANUAL 1 a...
Page 138: ...Setting the Interface Functions C7 7 Input Output Circuitry Input Output Timing Chart...
Page 147: ...Specifications C8 6 FC4100 100 without Stand FC4100 100 with Stand Standard and Basket Option...
Page 148: ...Specifications C8 7 FC4100 130 without Stand FC4100 130 with Stand Standard and Basket Option...

