34
Using the Printer Driver with Windows
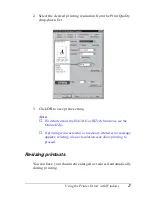
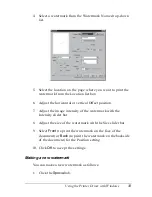
2. Select the
Watermark
check box.
3. Click
Watermark Settings
. The Watermark dialog box
appears.
4. Click
New/Delete
. The User Defined Watermarks dialog box
appears.
5. Select
Text
or
BMP
and type a name for the new watermark
in the Name box.
6. If you select
Text
, type the watermark text in the Text box. If
you select
BMP
, click
Browse
, and select the BMP file you
want to use, then click
OK
.
Note:
Before making a custom watermark, you should prepare a bitmap
(.bmp) file.
7. Click
Save
to close the User Defined Watermarks dialog box.
Your watermark will appear in the list box.
8. Click
OK
to register the new watermark settings.
Using an overlay
The Overlay settings dialog box allows you to print form data
overlaid with data made by another application.
Note:
The overlay function is available only when the High Quality (Printer)
is selected for the Graphic Mode in the Extended Settings dialog box from
the Optional Settings menu.
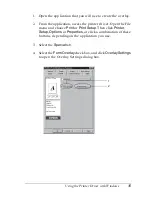
Creating an overlay
You can create form data and save it as a file.
Summary of Contents for EPL-6100
Page 2: ...ii ...
Page 4: ...iv ...
Page 34: ...24 Paper Handling ...
Page 86: ...76 Setting Up Your Printer on a Network ...
Page 116: ...14 Installing and Removing Options 6 Set the side cover back into place ...
Page 174: ...72 Using the Remote Control Panel Utility ...
Page 186: ...84 Replacing Consumable Products 9 Reinstall the developer cartridge ...
Page 188: ...86 Replacing Consumable Products ...
Page 218: ...116 Troubleshooting 1 Remove the paper tray from the 500 Sheet Lower Paper Cassette Unit A4 ...

