Installing and Removing Options
21
6
6
6
6
6
6
6
6
6
6
6
6
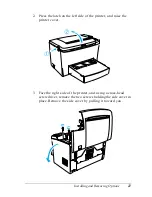
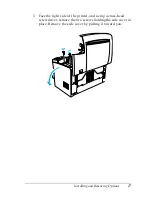
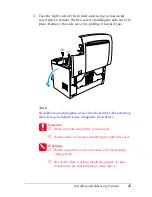
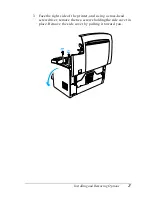
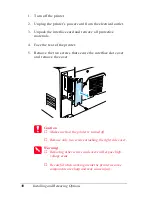
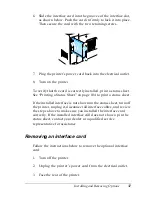
3. Face the right side of the printer, and using a cross-head
screwdriver, remove the two screws holding the side cover in
place. Remove the side cover by pulling it toward you.
Note:
Be careful to avoid dropping screws into the printer when removing
them. It may be helpful to use a magnetic screwdriver.
c
Caution:
❏
Make sure that the printer is turned off.
❏
Remove only two screws attaching the right side cover.
w
Warning:
❏
Removing other screws and covers will expose high
voltage areas.
❏
Be careful when working inside the printer as some
components are sharp and may cause injury.
Summary of Contents for EPL-6100
Page 2: ...ii ...
Page 4: ...iv ...
Page 34: ...24 Paper Handling ...
Page 86: ...76 Setting Up Your Printer on a Network ...
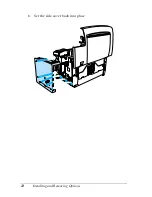
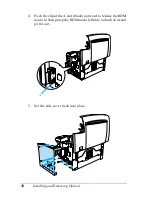
Page 116: ...14 Installing and Removing Options 6 Set the side cover back into place ...
Page 174: ...72 Using the Remote Control Panel Utility ...
Page 186: ...84 Replacing Consumable Products 9 Reinstall the developer cartridge ...
Page 188: ...86 Replacing Consumable Products ...
Page 218: ...116 Troubleshooting 1 Remove the paper tray from the 500 Sheet Lower Paper Cassette Unit A4 ...


