Installing and Removing Options
31
6
6
6
6
6
6
6
6
6
6
6
6
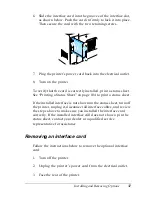
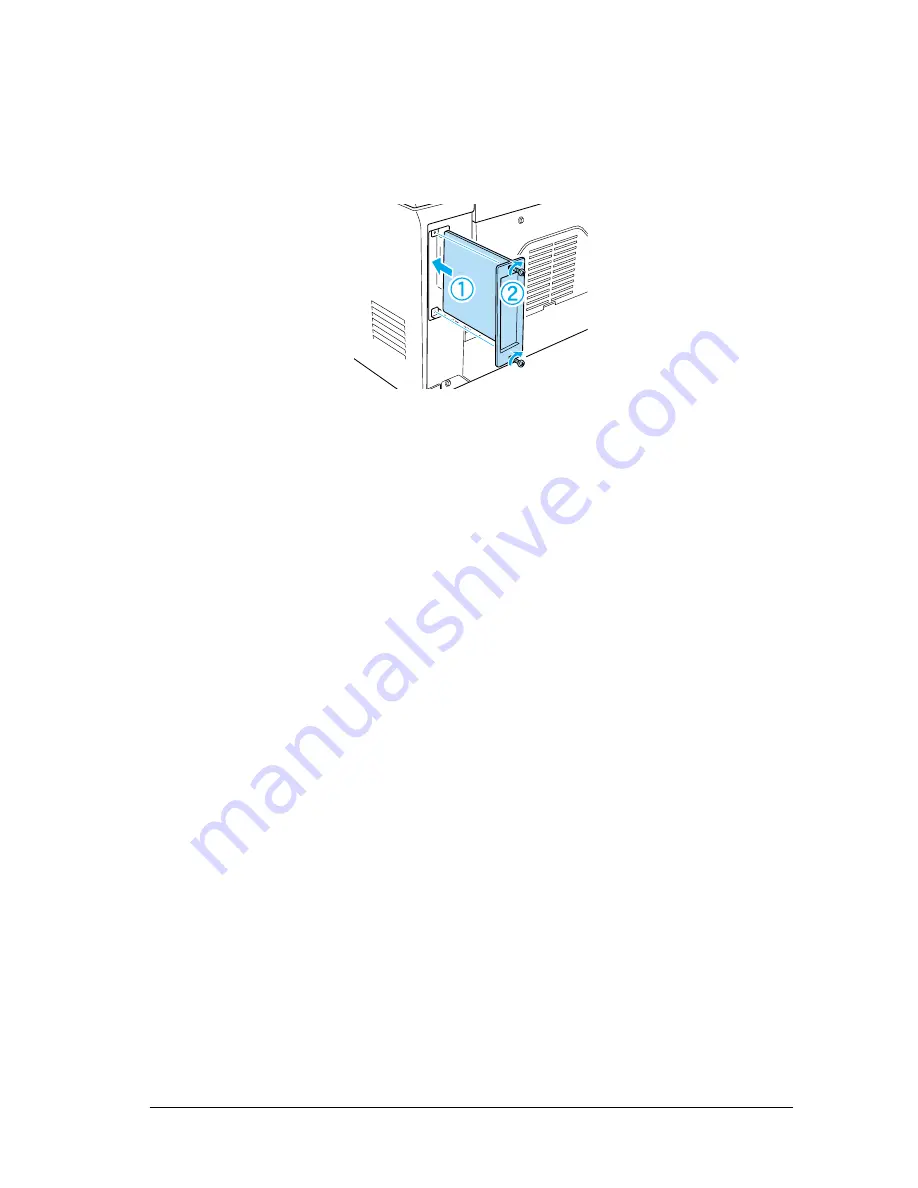
6. Slide the interface card into the grooves of the interface slot,
as shown below. Push the card in firmly to lock it into place.
Then secure the card with the two retaining screws.
7. Plug the printer’s power cord back into the electrical outlet.
8. Turn on the printer.
To verify that the card is correctly installed, print a status sheet.
See “Printing a Status Sheet” on page 104 to print a status sheet.
If the installed interface is not shown on the status sheet, turn off
the printer, unplug it, disconnect all interface cables, and review
the steps above to make sure you installed the interface card
correctly. If the installed interface still does not show up in the
status sheet, contact your dealer or a qualified service
representative for assistance.
Removing an interface card
Follow the instructions below to remove the optional interface
card:
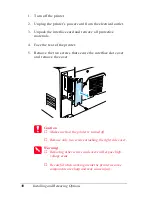
1. Turn off the printer.
2. Unplug the printer’s power cord from the electrical outlet.
3. Face the rear of the printer.
Summary of Contents for EPL-6100
Page 2: ...ii ...
Page 4: ...iv ...
Page 34: ...24 Paper Handling ...
Page 86: ...76 Setting Up Your Printer on a Network ...
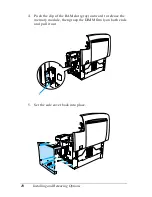
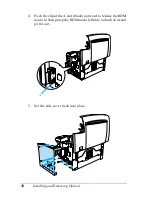
Page 116: ...14 Installing and Removing Options 6 Set the side cover back into place ...
Page 174: ...72 Using the Remote Control Panel Utility ...
Page 186: ...84 Replacing Consumable Products 9 Reinstall the developer cartridge ...
Page 188: ...86 Replacing Consumable Products ...
Page 218: ...116 Troubleshooting 1 Remove the paper tray from the 500 Sheet Lower Paper Cassette Unit A4 ...

