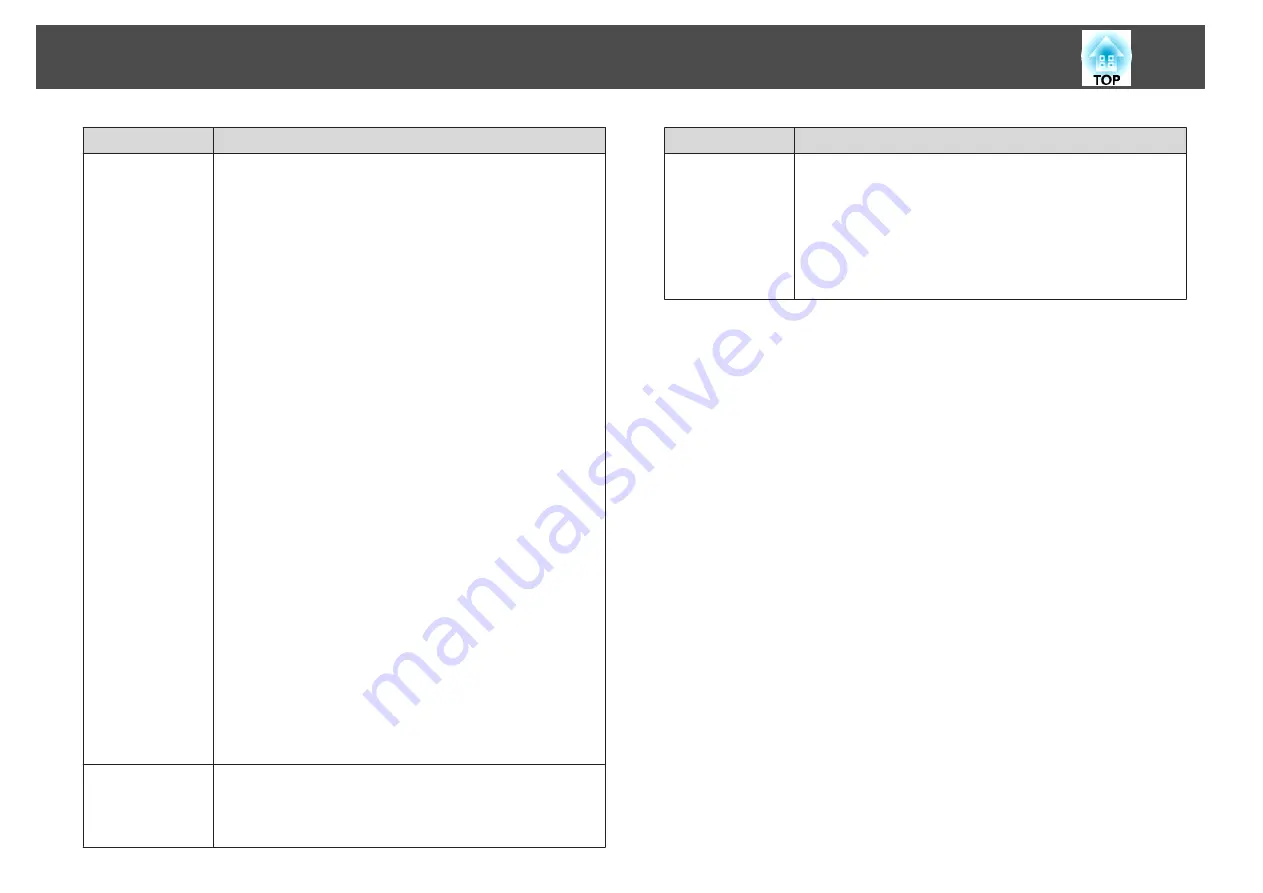
Submenu
Function
Display
You can make settings related to the projector's display.
Menu Position
: Select the position to display the menu on
the projected screen.
Message Position
: Select the position to display the message
on the projected screen.
Messages
: When set to
Off
, the following items will not be
displayed.
Item names when the Source, Color Mode, or Aspect is
changed, messages when no signal is being input, and
warnings such as High Temp Warning.
Display Background
*
: You can set the screen background
to
Black
,
Blue
, or
Logo
when no image signal is available.
Startup Screen
*
: Set to
On
to display the
User's Logo
when
you start projecting.
Standby Confirmation
: If it is set to
Off
, you can turn off
the power simply by pressing the [
t
] button once.
Air Filter Notice
: You can set whether or not (
On
/
Off
) to
enable Air Filter Notice. When this is set to
On
and a clog
in the air filter is detected, the message is displayed on the
screen.
Screen
: (This is unavailable when projecting images from a
computer over a network.) Set the aspect ratio and position
of the projected screen according to the screen being used.
s
Panel Alignment
: Corrects color misalignments (red and
blue) in the screen.
s
Color Uniformity
: Adjusts the color tone balance for the
whole screen.
s
OSD Rotation
: Rotates the menu direction by 90˚ degrees.
User's Logo
*
You can change the user's logo that is displayed as a
background during Display Background, A/V Mute, and so
on.
s
Submenu
Function
Projection
Select from one of the following projection methods
depending on how the projector is installed.
Front
,
Front/Ceiling
,
Rear
,
Rear/Ceiling
You can change the setting as follows by pressing down
the [A/V Mute] button for about five seconds.
Front
W
Front/Ceiling
Rear
W
Rear/Ceiling
List of Functions
147
Summary of Contents for EB-L1050U
Page 1: ...User s Guide ...
Page 14: ...Introduction This chapter explains the names for each part ...
Page 57: ...Basic Usage This chapter explains how to project and adjust images ...
Page 135: ...Configuration Menu This chapter explains how to use the Configuration menu and its functions ...
Page 207: ...Cleaning the Parts 207 ...
Page 214: ...Appendix ...


